This article was co-authored by wikiHow staff writer, Cory Stillman. Cory Stillman is a Technology Writer for wikiHow. Cory has experience writing about Film and TV for several online publications, including Screen Rant and Film Cred. He earned a degree in Film and Media Studies with a minor in Creative Writing and certificates in Global Studies and Children’s Literature from the University of Pittsburgh.
The wikiHow Tech Team also followed the article's instructions and verified that they work.
This article has been viewed 965,769 times.
Learn more...
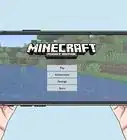
Having a map handy in Minecraft can be a game-changer when you’re playing in multiplayer or survival mode. Fortunately, crafting a map is rather easy. And you can even choose to expand your map once you have crafted it! This wikiHow article will walk you through exactly what you need to do to make, use, and expand a map in Minecraft, including what resources you’ll need and how to combine them to make your map.
Things You Should Know
- You will need a crafting table and a furnace to create a map.
- Before crafting a map, you will need to gather several resources, including sugar cane, iron ore, redstone, and fuel.
- Return to a crafting table at any time with additional resources to expand your map.
- Players cannot create treasure maps. They can only find them. Search near shipwrecks to find a map to buried gold.
Steps
Creating a Map
-
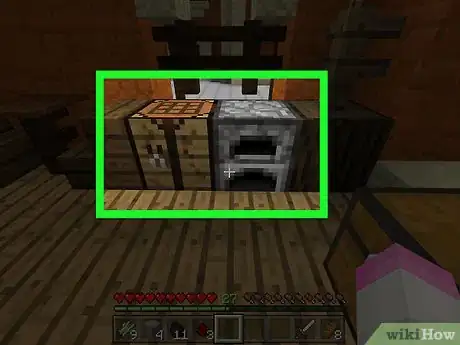
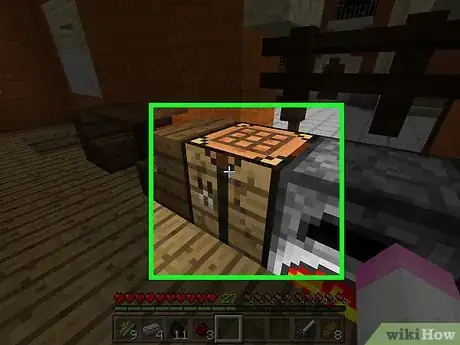
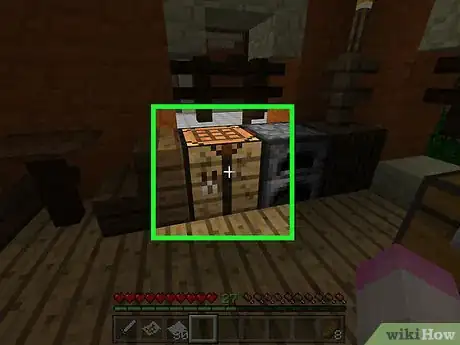
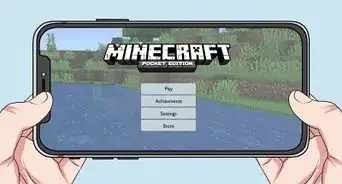
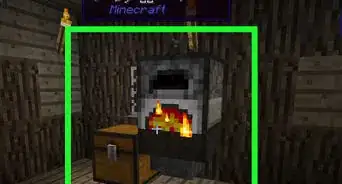
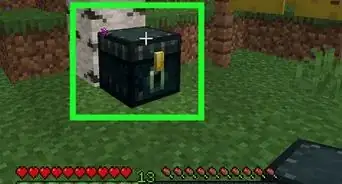
1Make sure that you have a crafting table and a furnace. You'll need the crafting table to create the map and its components, while you'll use the furnace in order to create parts for the compass that accompanies the map.
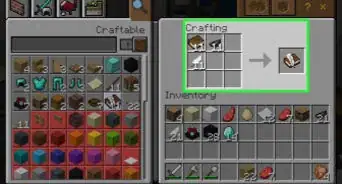
- If you're in creative mode, type map on search bar.
-
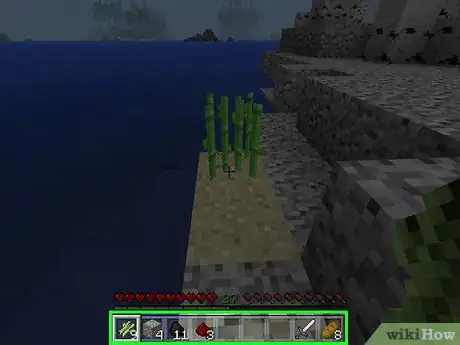
2Gather resources. In order to create a map, you'll need the following items:
- Sugar Canes - You'll need 9 of these. Sugar Canes are light-green stalks that usually grow near water.
- Iron ore - You'll need 4 of these. Iron ore resembles a grey block with orange flecks on it. Make sure to mine iron ore with at least a stone pickaxe.
- Redstone - You'll need one pile of Redstone. You can find Redstone starting at layer 16 and working down, so you'll likely need to dig quite far down to find Redstone. It resembles grey rock with glowing red freckles.
- Fuel - Anything that burns will do. You can gather 4 blocks of wood, or one block of something like charcoal or coal.
Advertisement -
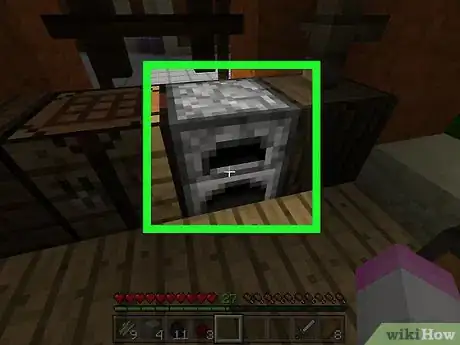
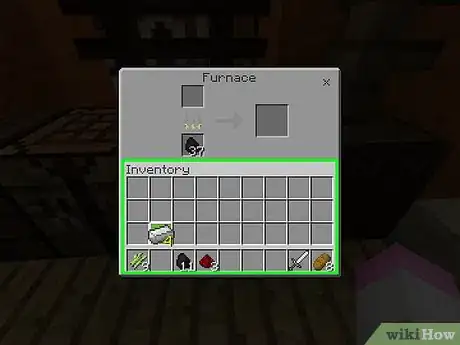
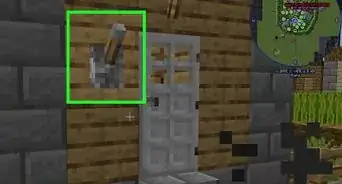
3Open the furnace. Right-click (computer), left-trigger (console), or tap (mobile) the furnace to open it.
-
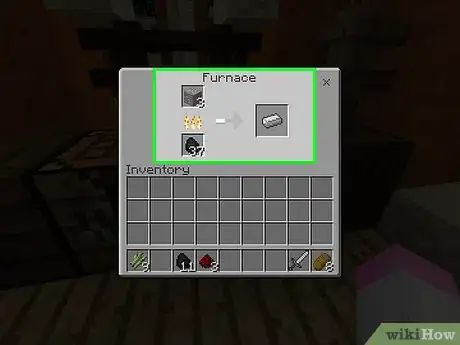
4Smelt iron ingots. Add your iron ore to the top box in the furnace interface, then add the fuel to the bottom box in the interface. The furnace will automatically begin running.
-
5Move the iron bars into your inventory. Select the iron bars, then select an empty space in your inventory.
- On mobile versions of Minecraft, tapping an item will move it straight into your inventory.
- On console editions of Minecraft, selecting an item and then pressing Y or triangle will move the item straight into your inventory.
-
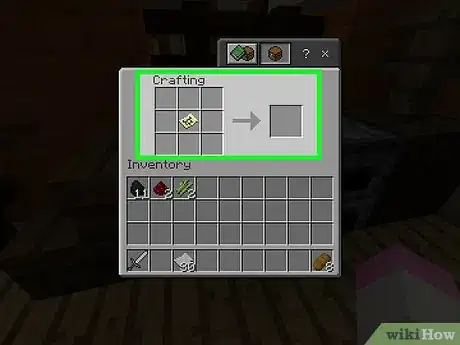
6Open the crafting table. Select the crafting table to do so.
-
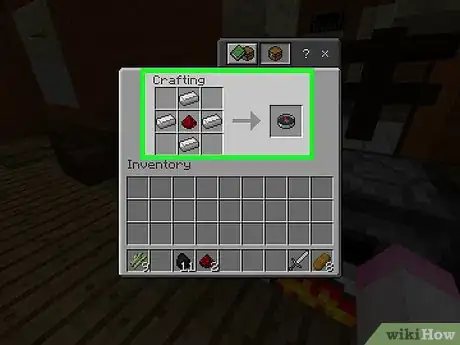
7Create a compass. Place the Redstone pile in the center square of the crafting grid, then place an iron bar in the top-middle, bottom-middle, left-middle, and right-middle squares. You should see a compass icon appear.
- On mobile, tap the sword-shaped "Equipment" tab on the left side of the screen, then tap the compass-shaped icon.
- On console editions, select the "Equipment" tab, find the compass icon, and press A (Xbox) or X (PS).
-
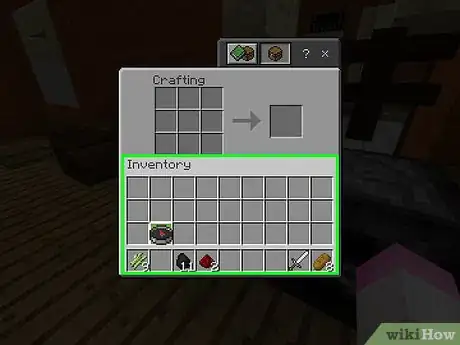
8Move the compass into your inventory. Select the compass, then select your inventory.
-
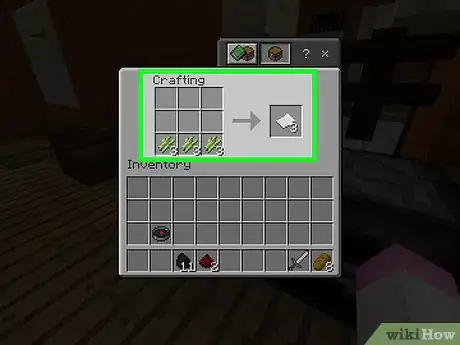
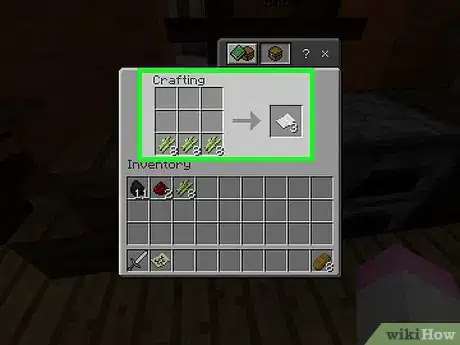
9Create nine pieces of paper. To do so, place three Sugar Canes in the bottom-left crafting square, three in the bottom-middle square, and three in the bottom-right square.
- On mobile, tap the bed-shaped "Items" icon on the left side of the screen, then tap the white paper-shaped icon.
- On console editions, select the "Items" tab, select the paper-shaped icon, and press A or X.
-
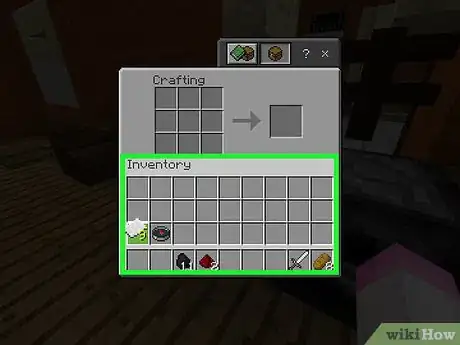
10Move the paper into your inventory.
-
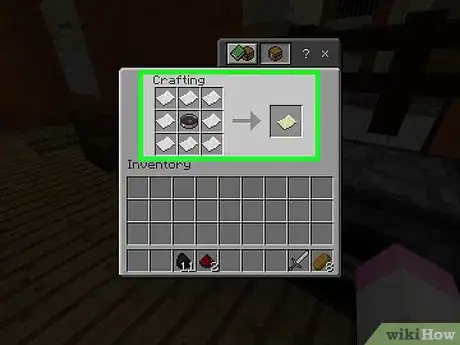
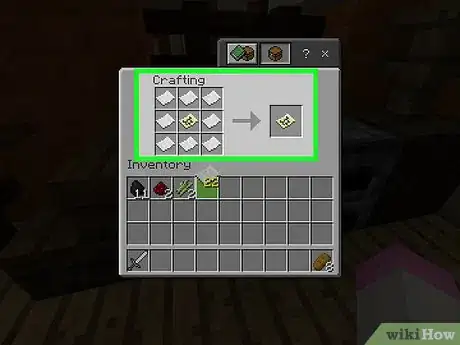
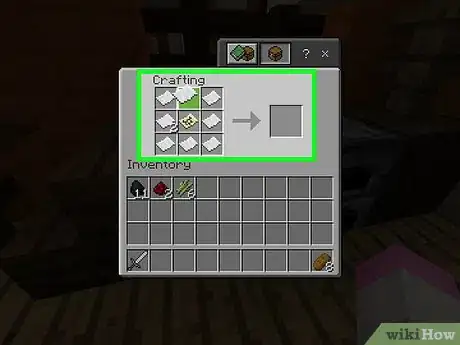
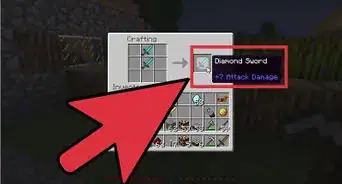
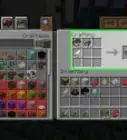
11Create your map. Place the compass in the center square of the crafting grid, then place one piece of paper in each of the remaining empty squares (8 pieces total). You should see a tan piece of paper appear; this is the map icon.
- On mobile, tap the "Equipment" tab, then select the map icon.
- On consoles, select the "Equipment" tab, select the map icon, and press A or X.
-
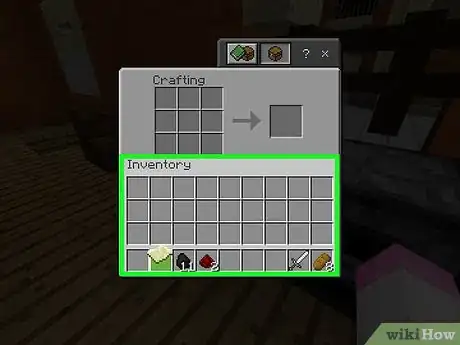
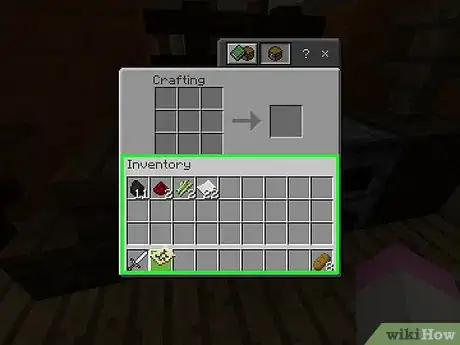
12Move the map into your inventory. Now that you've created your map, you can begin filling it up.
Using the Map
-
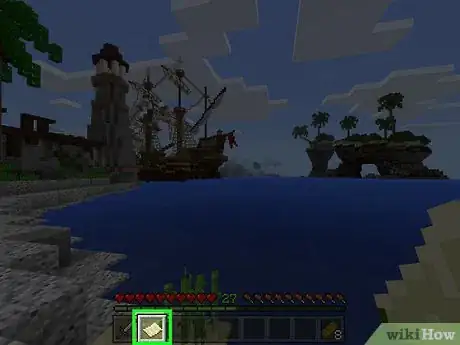
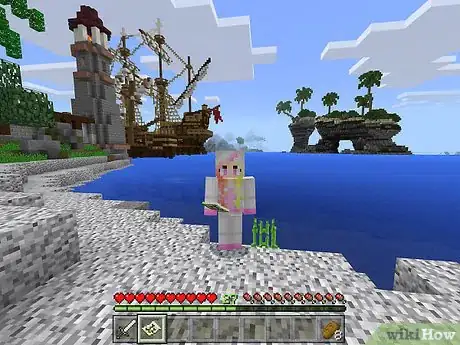
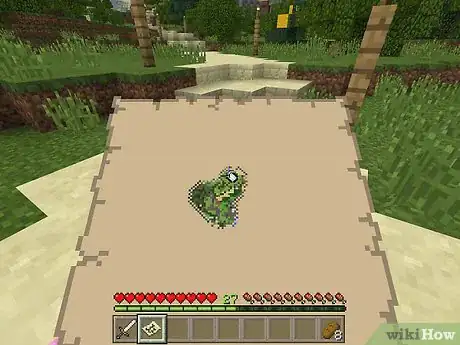
1Equip your map. Select it in the equip bar at the bottom of the screen to do so. The map will be blank when you first create it, but you can fill it by moving around the world while holding it.
- The map will not fill itself unless you are holding it as your active item while moving through the world.
- Keep in mind that you cannot use your own map to search for treasure in Minecraft. To find gold, look for a treasure map.
-
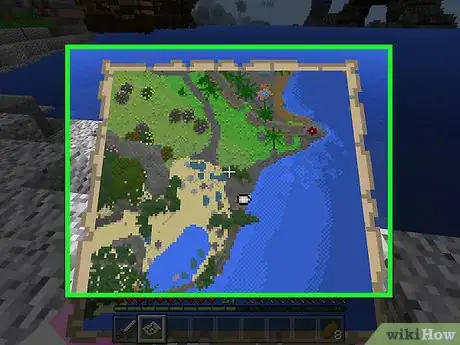
2Bring up the map view. Press the right mouse button or the left trigger, or tap and hold the screen (mobile). You should see the map open.
- On mobile, you can also tap Create Map if you see this option at the bottom of the screen.
- It may take a few moments for the map to fill the first time you use it.
- Your map will begin filling in the direction you are currently looking. North will always be at the top of the map.
-
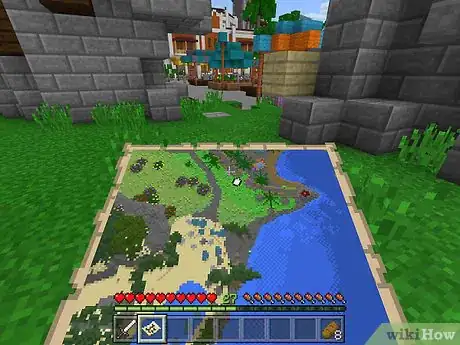
3Walk around while using the map. You'll see the world begin to appear on your map from a top-down perspective. The first map you create is a 1:1 representation of the world, so each pixel on the map represents a single block in the world.
- As you walk while using the map, you'll see the edges of the map start to fill with data.
- Your initial map will only fill when the space is taken up. Maps do not scroll to show more space, so you'll need to expand your map to see more.
-
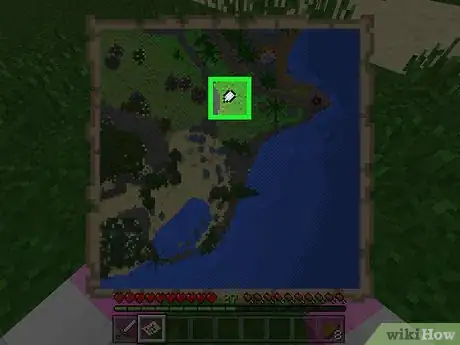
4Find your player indicator. Your location will be noted by a white oval on the map.
- If you constructed your map without a compass (Bedrock Edition only), there will be no indicator.[1]
-
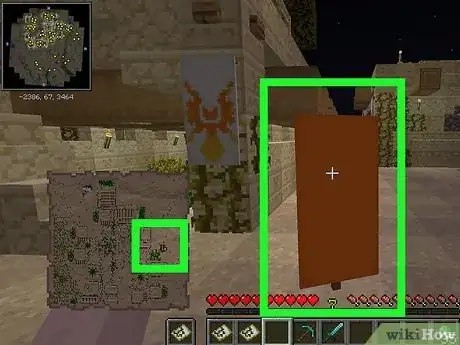
5Mark locations on your map. In the original edition of the game, you can place your map on any banners you find or create. Those banners will then remain marked on your map moving forward. You can also rename these banners to better identify their location.
- Create a banner at a Crafting Table using 6 Wool and 1 Stick.[2]
- Marked banners will remain on your map even after the banner has been destroyed, until you next arrive in that area for the map to update and reflect the banner's destruction.
- In Bedrock Edition, mount your map inside an item frame to do the same.
-
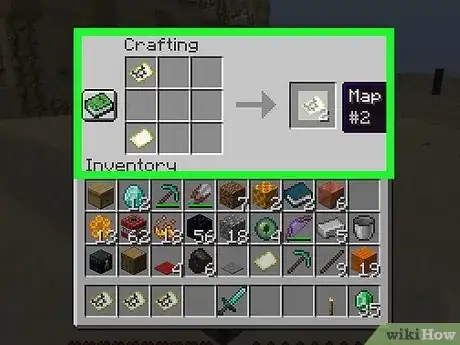
6Clone your map. Craft another empty map and place it in the top left corner of your inventory. Place the map you wish to copy in the bottom left corner, and you will see a new copy of this map appear on the right side. You can now drag that new map into your inventory.[3]
Expanding the Map
-
1Understand how expanding works. The first time you make a map, it's a set size; you can increase the size of the map up to four times (doubling it each time), allowing for a more comprehensive map of the world.
- You cannot expand a map in the Legacy Console versions of Minecraft. This is the version of Minecraft that was originally released for the Xbox 360/One and the PlayStation 3/4.
-
2Craft more paper if necessary. You'll need eight pieces of paper for each zoom level (up to 32 pieces total). If you don't have at least 8 pieces of paper, craft more before proceeding.
-
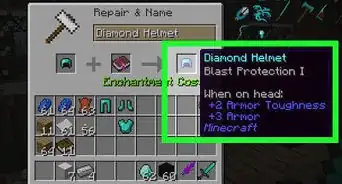
3Open your crafting table. Select the crafting table to do so.
- If you're using Minecraft on mobile, you'll need an anvil for this step instead.
-
4Place your map in the middle. Click your map, then click the center square in the crafting grid.
- On mobile, tap the left-most square on the anvil's interface, then tap your map.
-
5Surround the map with paper. Click your stack of paper, then right-click each empty space around the map at least once.
- On mobile, tap the middle square in the interface, then tap your paper.
-
6Move the resulting map into your inventory. You should see a yellow map icon appear to the right of the crafting interface; click it, then click your inventory.
- If you added two or more pieces of paper to each crafting square, you can add back the map to create another zoomed-out version.
- On mobile, tap the resulting map in the far-right box to move it into your inventory.
-
7Repeat this process up to three more times. By placing the zoomed-out map back in the center of the crafting grid and surrounding it with paper again, you can zoom out your map once again. This process can be repeated up to three times after the initial expansion.
-
8Use the map to document more of the world. By equipping the map and walking around with it, you'll be able to add the world's landmarks to the map.
Community Q&A
-
QuestionWhy are the maps numbered?
 Community AnswerSo you don't have to go through all the maps looking for a specific one. Another thing to do would be adding an anvil with a name tag; this way, you can find the exact map you need.
 -
QuestionHow do I add different locations on a map without another player?
 PeacheePinkeeCommunity AnswerYou have to travel around to expand the map. If you don't want to travel, there is no way.
 -
QuestionHow do I hold the map with two hands on Minecraft PC using a mobile phone?
 Community AnswerJust holding the map should cause your player to use two hands, even on mobile.
Warnings
- If you're killed by a mob (or you die from other causes), your map will drop along with the rest of your inventory. Always be extremely cautious when documenting your world.⧼thumbs_response⧽
References
About This Article
To make a map in Minecraft, make sure you have a crafting table, furnace, 9 sugar canes, 4 iron ore, 1 pile of redstone, and 4 blocks of wood or 1 block of charcoal or coal to use as fuel. Smelt your iron ore in the furnace, and create a compass on the crafting table with the redstone and iron. Then, add the sugar cane to the table to make 9 pieces of paper. Once you have the resources made, place the compass in the center of the crafting table and place one piece of paper in each of the remaining empty squares. A tan map will appear to add to your inventory! If you want to learn how to use the map or expand it so it's larger, keep reading!
