This article was co-authored by wikiHow staff writer, Jack Lloyd. Jack Lloyd is a Technology Writer and Editor for wikiHow. He has over two years of experience writing and editing technology-related articles. He is technology enthusiast and an English teacher.
The wikiHow Tech Team also followed the article's instructions and verified that they work.
This article has been viewed 844,846 times.
Learn more...
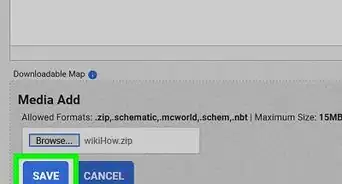
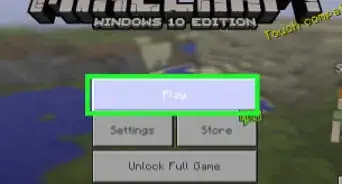
This wikiHow teaches you how to download and install a custom-made Minecraft map. You can do this in Minecraft on Windows and Mac computers, as well as in Minecraft Pocket Edition for iPhones and Androids. You cannot download a custom map on the console editions of Minecraft.
Steps
Downloading Maps
-
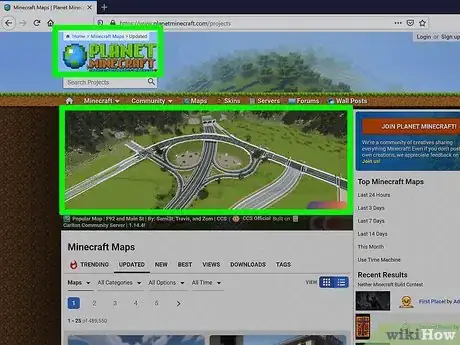
1Go to a Minecraft map website. Skip this method on Android. Some common websites with user-created content include the following:
- MinecraftMaps - http://www.minecraftmaps.com/
- Planet Minecraft - https://www.planetminecraft.com/resources/projects/
- MinecraftSix - http://minecraftsix.com/category/minecraft-maps/
-
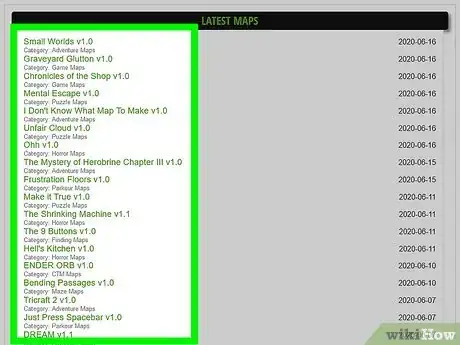
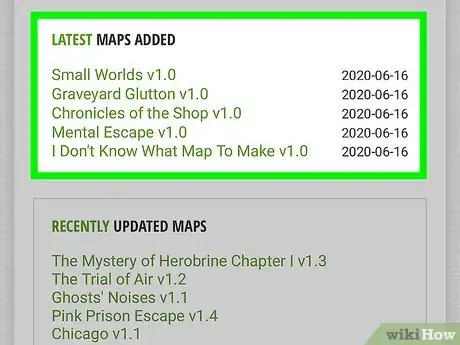
2Select a map. Click on a map that you want to download. Doing so should open the map's page, from which point you can download the map.
- Alternatively, you can type the name of a map into the site's search bar—which you can usually find at the top of the site—and press ↵ Enter.
Advertisement -
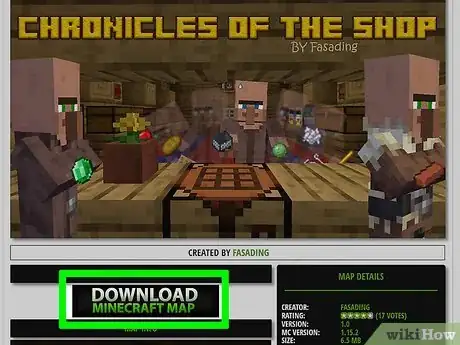
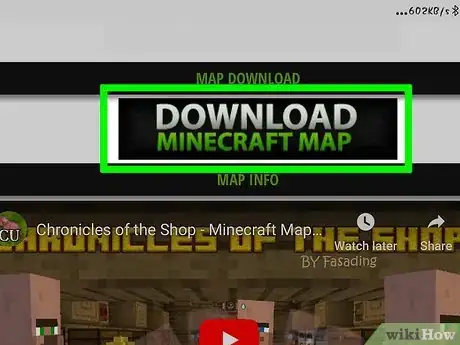
3Click Download. This button's location will depend on the site, so scroll down if you can't find the Download button.
- For some map sites, you may have to click another link or map image before you can click Download.
- You may also have to click SKIP AD in the top-right corner of the page to continue to the download page after clicking Download.
-
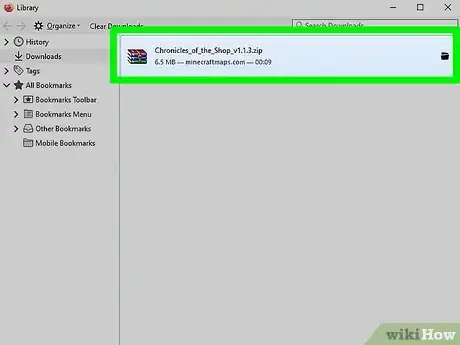
4Wait for the map to finish downloading. Once the map's ZIP or RAR folder finishes downloading onto your computer, you can proceed.
-
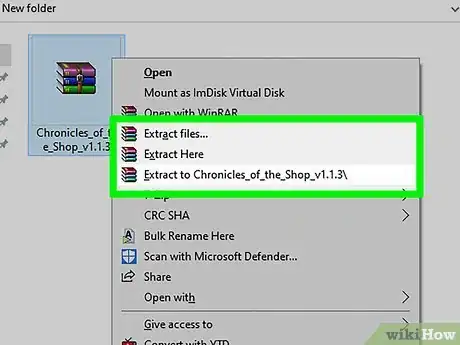
5Unzip the folder. If you're on a Windows computer, you'll need to extract the files from the folder before you can install the map.
- On a Mac, simply double-clicking the folder will unzip it.
-
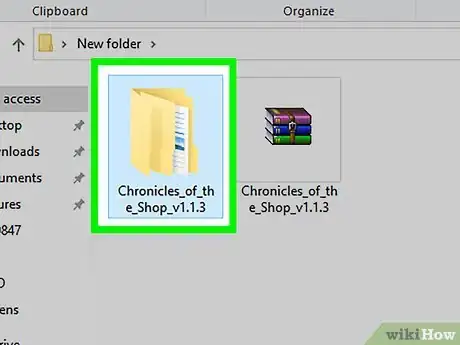
6Open the unzipped map folder. Double-click the folder to open it. There will be another folder inside.
-
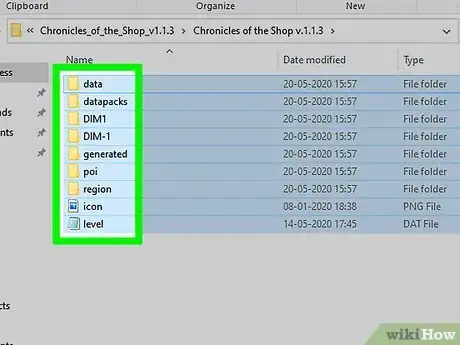
7Double-click the folder inside of the map folder. This will most likely open to a folder full of files and folders, including several folders labeled DIM1 and DIM-1. If so, the folder you just opened is the folder you'll need to copy.
-
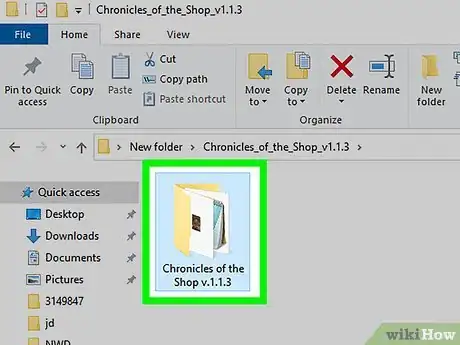
8Select the map folder. On Windows, you must first click the "Back" button in the top-left corner of the File Explorer. Click the map folder to select it.
-
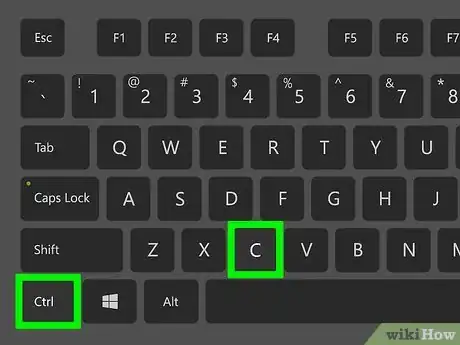
9Copy the map folder. Press Ctrl+C (Windows) or ⌘ Command+C (Mac) to copy the folder. Now that you've copied the map folder, you can continue along to installing it on your computer or smartphone.
- On a Mac, you can also click Edit in the top-left corner of the screen and then click Copy in the drop down menu.
Installing on Desktop
-
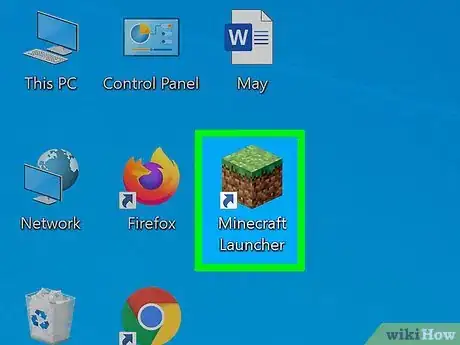
1Open the Minecraft Launcher. Double-click the Minecraft program icon, which resembles a block of dirt with a green tuft of grass on it.
-
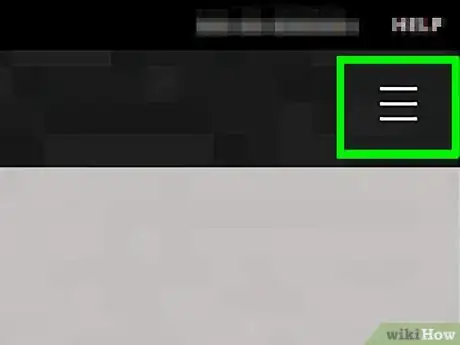
2Click ☰. It's in the upper-right corner of the Minecraft launcher window. Doing so prompts a menu at the top of the window.
-
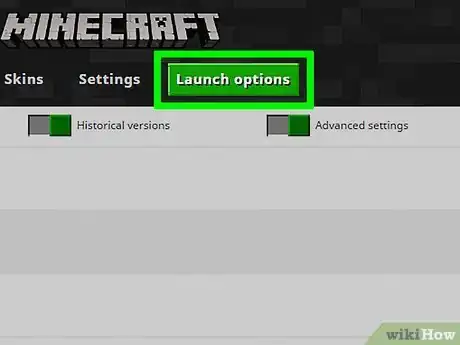
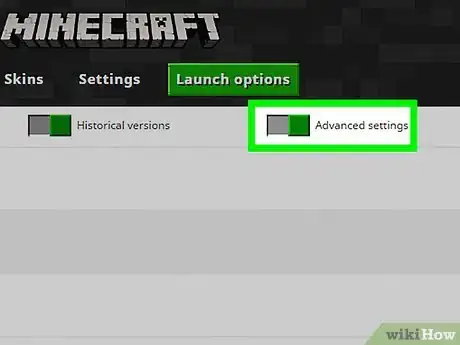
3Click Launch Options. This option is in the upper-right side of the launcher menu.
-
4Enable advanced settings. Click the grey switch below the "Advanced Settings" heading, then click OK on the Java warning.
-
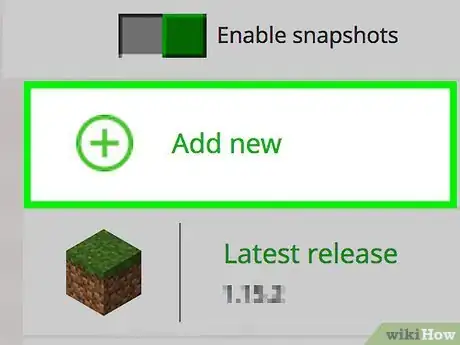
5Click + Add new. It's near the top of the page.
-
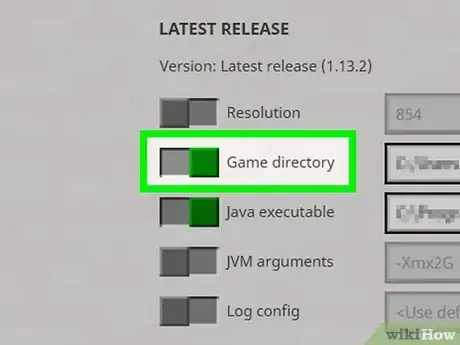
6Click the "Game directory" switch. It's on the left side of the page. Clicking it will make the switch turn green.
-
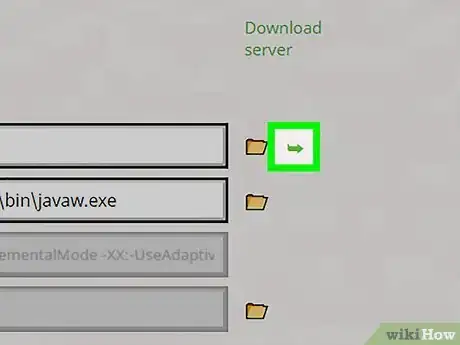
7Open the Minecraft game folder. Click the green, right-facing arrow on the far-right side of the "Game directory" row in the middle of the page. This will open your Minecraft game folder.
- You can close the Minecraft launcher at this point.
-
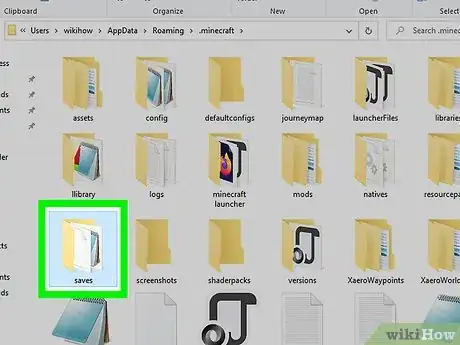
8Double-click the saves folder. This folder is inside of the game folder. Double-clicking it will open your Minecraft saves folder.
-
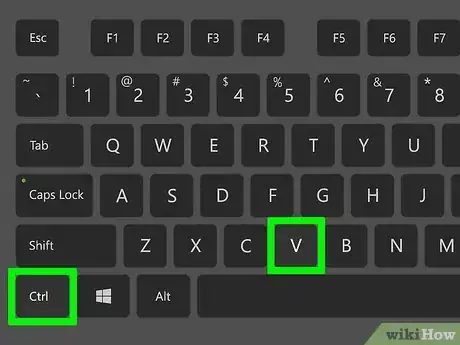
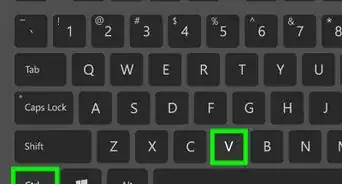
9Add your map folder. Click a white space inside of the saves folder, then press Ctrl+V (Windows) or ⌘ Command+V (Mac). Doing so will paste the map folder into the saves folder then make sure you hit the save button which adds it to your saved worlds. You can now select the map like any other saved map in the Singleplayer menu.
- On a Mac, you can also click Edit and then click Paste Item.
Installing on iPhone
-
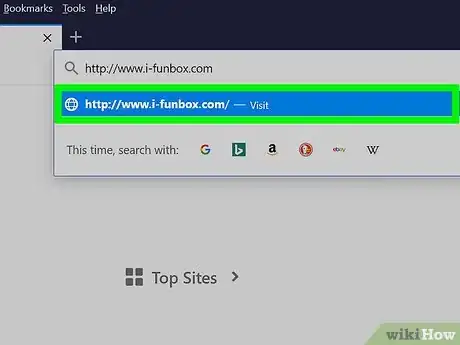
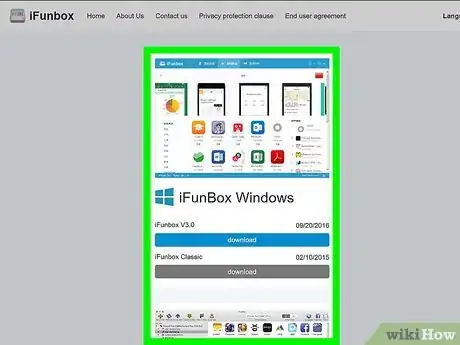
1Open the iFunBox website. Go to http://www.i-funbox.com/ on your computer. iFunBox is a program that allows you to place files on your iPhone or iPad.
-
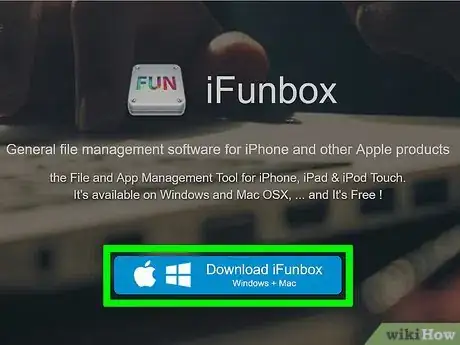
2Click Download iFunBox. This blue button is in the middle of the page.
-
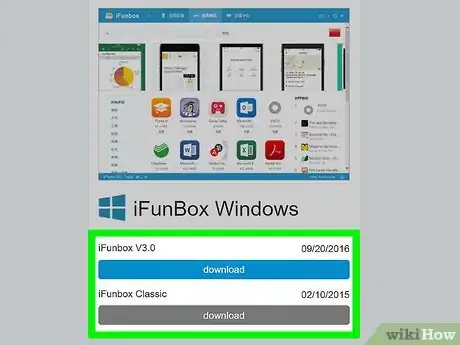
3Locate the version you want to download. Below your computer type's heading (Windows or Mac), find the most recent version of iFunBox.
- The different versions of iFunBox are dated, so the most recent version should have the most recent date next to it.
-
4Click Download. It's a blue button to the right of the most recent version of iFunBox. Doing so will prompt the iFunBox setup file to begin downloading.
-
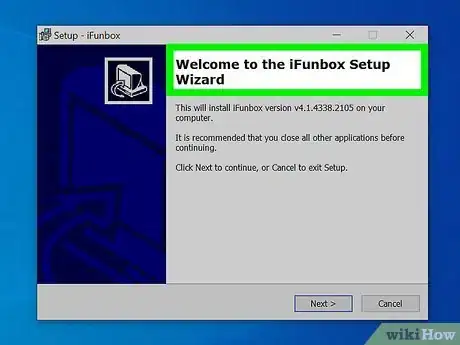
5Install iFunBox on your computer. This process will vary depending on your computer type:
- Windows - Double-click the iFunBox setup file, click Yes when prompted, select a language, click I agree, click Next several times, uncheck the "Additional software" box, and click Install.
- Mac - Double-click the iFunBox DMG file, verify the file if prompted, and click and drag the iFunBox logo onto the "Applications" folder icon.
-
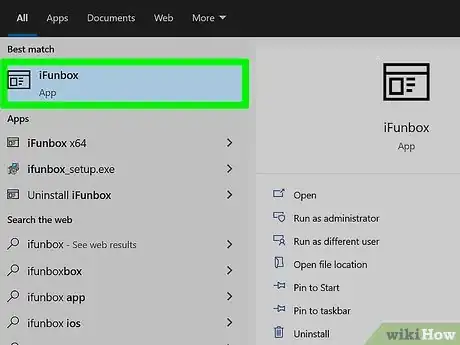
6Open iFunBox. Double-click the iFunBox logo to open it.
-
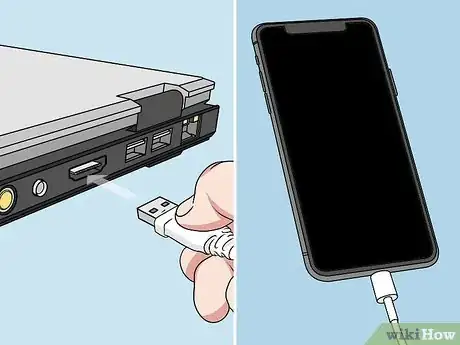
7Connect your iPhone to your computer. Use the charger cord that came with your iPhone to do so.
- If iTunes opens when you do this, close it before continuing.
-
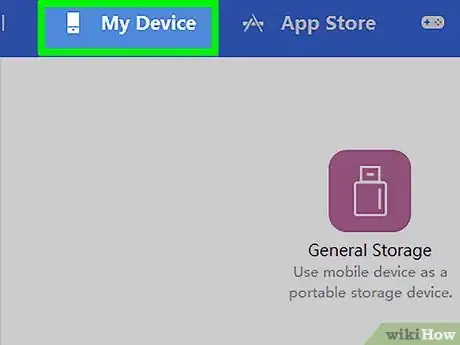
8Click the My Device tab. It's in the top-left side of the iFunBox window.
-
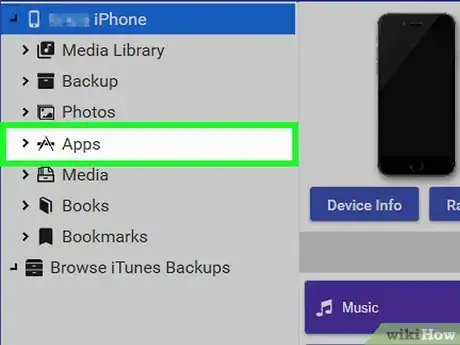
9Click Apps. This tab is in the upper-left corner of the iFunBox left-hand column of options.
-
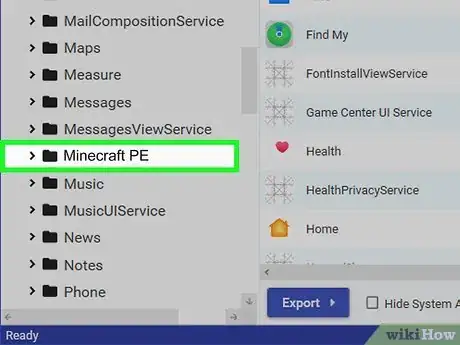
10Double-click Minecraft PE. You may have to scroll down to find this option. A window will open.
-
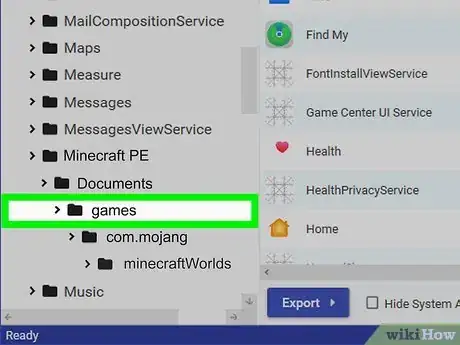
11Double-click the Games folder. It's at the top of the Minecraft PE window.
-
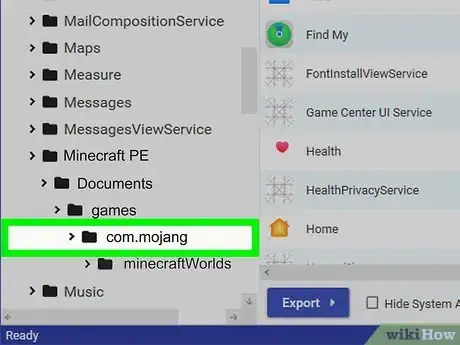
12Double-click the com.mojang folder. You should see this at the top of the window.
-
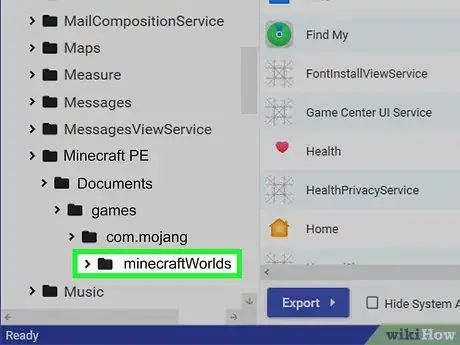
13Double-click the minecraftWorlds folder. Doing so opens the folder in which all of your Minecraft maps are saved.
-
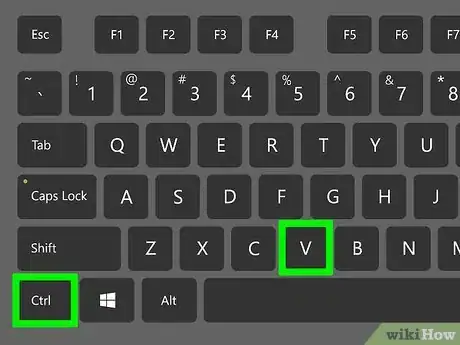
14Add your map folder. Click part of the grey space in the minecraftWorlds folder, then press Ctrl+V (Windows) or ⌘ Command+V (Mac). Doing so will add the map to your iPhone's Minecraft PE game.
- Keep in mind that some Minecraft maps aren't designed for Minecraft PE. These maps will still be playable on PE, but they may not work properly.
Installing on Android
-
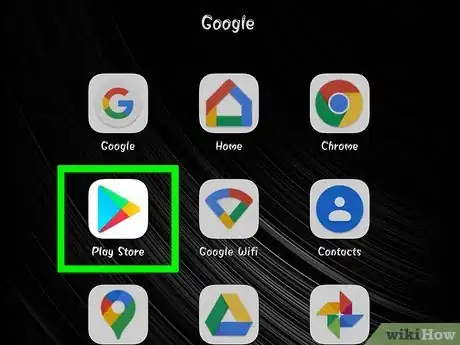
1
-
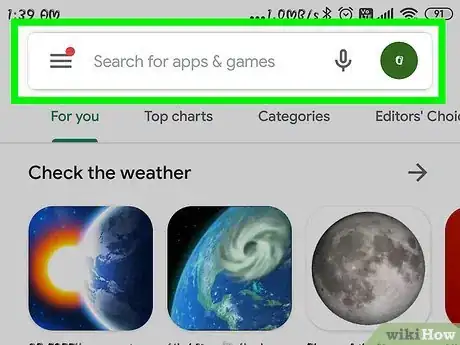
2Tap the search bar. It's at the top of the screen.
-
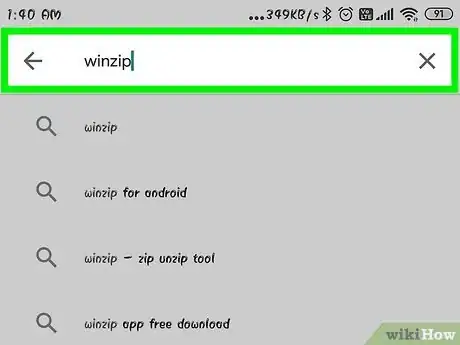
3Type in winzip. This will prompt a drop-down menu to appear below the search bar with the WinZip icon at the top.
-
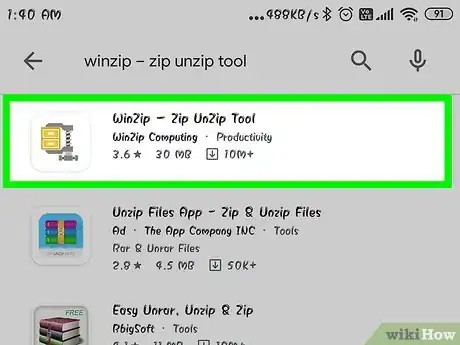
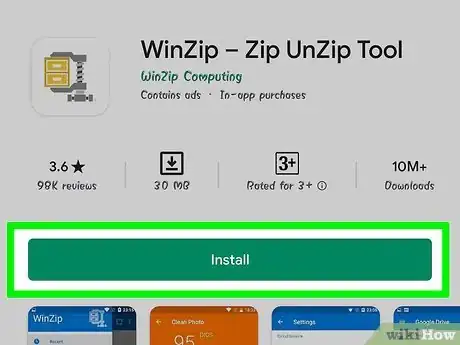
4Tap WinZip - Zip UnZip Tool. The icon next to it resembles a folder with a vice around it. This will open the WinZip app page.
-
5Tap INSTALL. This green button is below the app's icon.
-
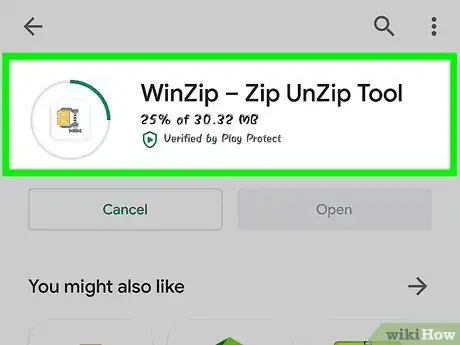
6Tap ACCEPT when prompted. Doing so prompts WinZip to begin downloading to your Android. You can now begin searching for a map to download.
-
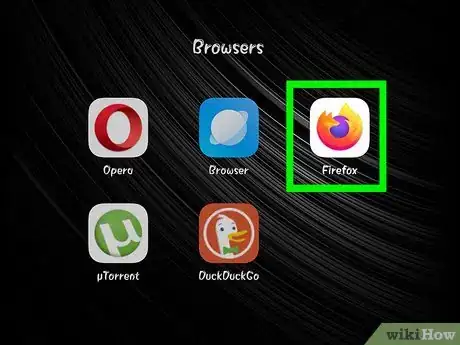
7Open a browser on your Android. Google Chrome or Firefox are two popular options.
-
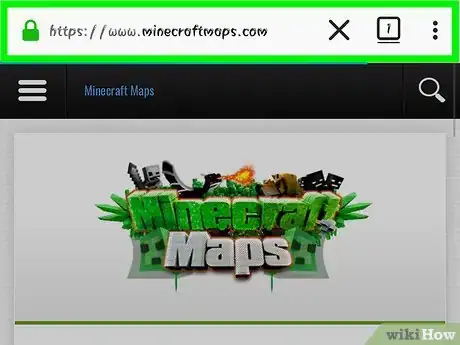
8Go to a Minecraft map website. Some common websites with user-created content include the following:
- MinecraftMaps - http://www.minecraftmaps.com/
- Planet Minecraft - https://www.planetminecraft.com/resources/projects/
- MinecraftSix - http://minecraftsix.com/category/minecraft-maps/
- MCPEDL - https://mcpedl.org/maps-minecraft-pe/
-
9Select a map. Tap on a map that you want to download. Doing so should open the map's page, from which point you can download the map.
-
10Tap Download. Doing so will prompt the file to download onto your Android.
- For some map sites, you may have to tap another link or map image before you can tap Download.
- You may also have to tap SKIP AD in the top-right corner of the page to continue to the download page after tapping Download.
- If you have the option of selecting Download .ZIP, tap that instead.
-
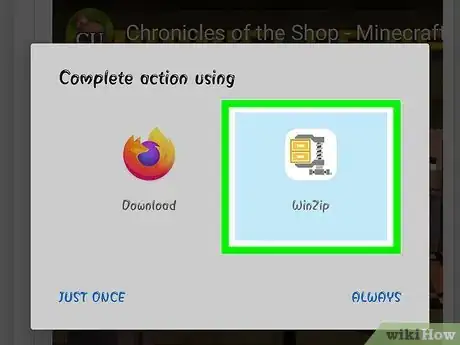
11Tap WinZip when prompted. Doing so will open the ZIP file in WinZip.
- You may also need to tap OK when prompted to continue.
-
12Tap and hold the map folder. A pop-up menu will appear after a few seconds.
- You may first have to tap the "Back" button in the top-left corner of the screen to view the zipped folder itself.
-
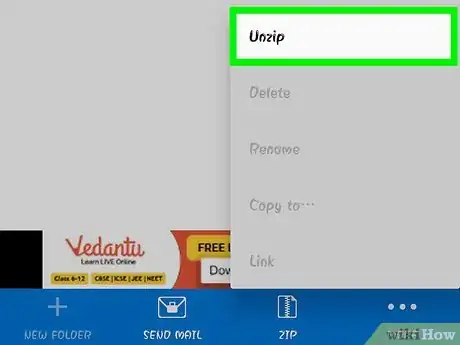
13Tap Unzip to…. It's at the top of the pop-up menu. Another menu will pop up.
-
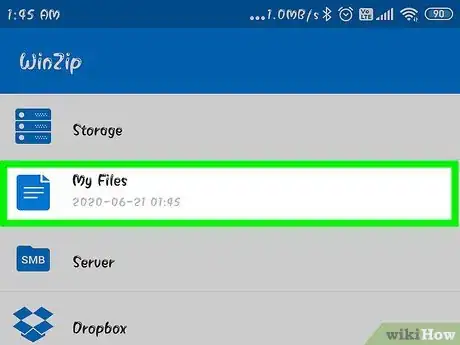
14Tap My Files, then tap UNZIP HERE. Doing so will unzip the folder into the My Files folder.
-
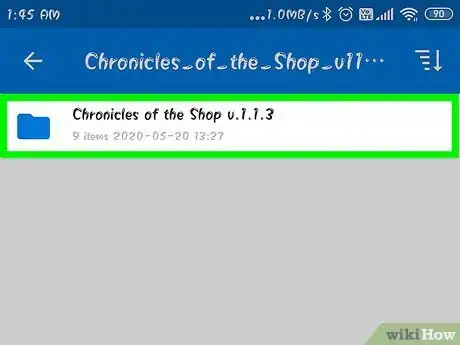
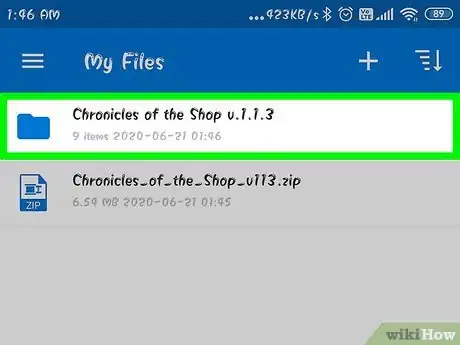
15Tap the unzipped folder. It should open to another folder with the map's name. This is the map folder.
- If it opens to a folder full of files and folders, tap the "Back" button to go back to the first folder.
-
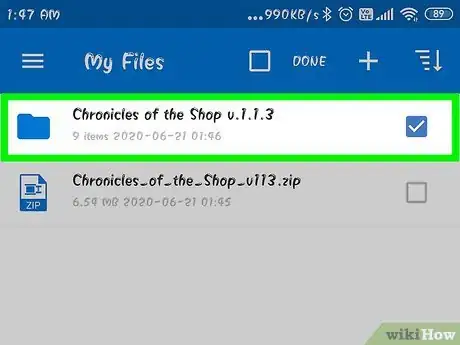
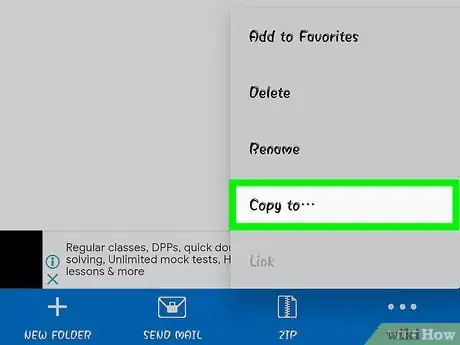
16Tap and hold the map folder. A pop-up menu will appear.
-
17Tap Copy to…. It's in the middle of the menu.
-
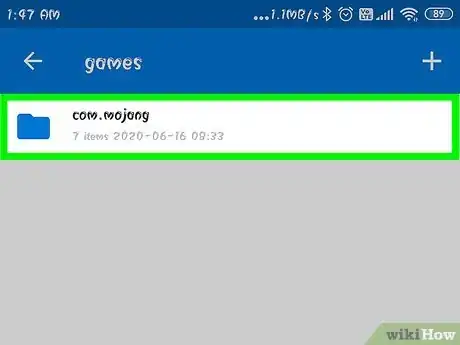
18Navigate to the Minecraft game folder. To do so:
- Tap Storage
- Tap Internal (or SD if that's where Minecraft is saved).
- Scroll down and tap games
- Tap com.mojang
- Tap minecraftWorlds
-
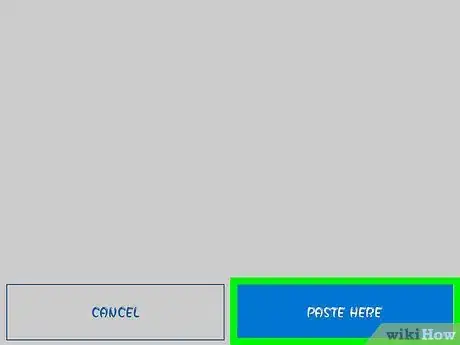
19Tap PASTE HERE. Doing so will paste the Minecraft map folder into the saved game folder for the Minecraft PE app, which means you'll be able to find the map itself in the map menu in Minecraft PE app.
Community Q&A
-
QuestionDo I need to jailbreak my iPod in order to get the map?
 DragonFire3640Community AnswerNo, but you need to use a file with the .mcworld extension.
 -
QuestionWhich button of the downloads do I choose at Planet Minecraft?
 Community AnswerIf you want the map with all the structures you click on 'Download Minecraft World' but if you want just the seed so you can open the world without structures you click on the one underneath it.
 -
QuestionHow do I download Minecraft maps if it won't let me paste into the save folder?
 Community AnswerIf on Windows 10, simply open up the drop-down menu and enter the .zip file (if it's a zip) and click "Extract." A window should now pop up and you can change the directory it's going to drop to. After selecting, click "Extract" or "Done" to extract it to that area.
Warnings
- Maps designed for older versions of Minecraft may not work on newer versions, and vice versa.⧼thumbs_response⧽
About This Article
1. Go to a Minecraft map website like Minecraftsix.com or Minecraftmaps.com on a computer.
2. Click the name of a map to learn more about it.
3. When you find a map you want, click the Download link.
4. Unzip the downloaded file.
5. Right-click the map folder and select Copy. Make sure the folder you copy contains several folders with names like ""DIM1"" or ""DIM-1."
6. In the Minecraft Launcher, click the menu and select Launch Options.
7. Enable ""Advanced Settings"" and click OK to confirm.
8. Click + Add New.
9. Toggle the ""Game directory"" switch to turn it on.
10. Click the green arrow to open the Minecraft game folder.
11. Double-click the saves folder.
12. Paste the map folder you copied earlier into the saves folder by pressing Control + V on a PC or Command + V on a Mac.
13. To play the new map, open Minecraft Launcher, tap the menu, and then select Launch Options. Enable ""Advanced settings"" if you haven't already done so, and then tap + Add New to select and add your new map folder. Once added, the map will appear in the Singleplayer menu along with the rest of your maps.
