This article was co-authored by Amy Guerrero. Amy Guerrero is an Arts and Crafts Specialist and the Owner of Sunshine Craft Co., a crafting studio based in Phoenix, Arizona. Amy specializes in macrame, DIY crafting, and teaching fiber arts. She offers monthly in-person and online workshops along with having developed a range of DIY craft kits for at-home projects. Amy holds a BS in Industrial Design from Philadelphia University. She worked as a graphic designer before starting her own business. Sunshine Craft Co. is a creative hub that offers a wide range of workshops, tools, and resources for any craft project to inspire creativity and community engagement.
This article has been viewed 574,650 times.
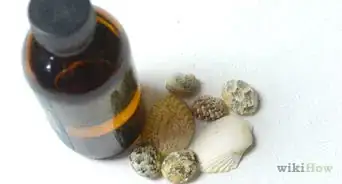
Hemp is a fiber that is made from the cannabis plant. Hemp necklaces are typically made by using the macramé technique, which requires knotting and braiding a thick cord of hemp. The necklaces are fairly simple to make and require few supplies. With some time and practice, you can make a hemp necklace to wear or give as a gift to friends and family.[1]
Steps
Starting the Necklace
-
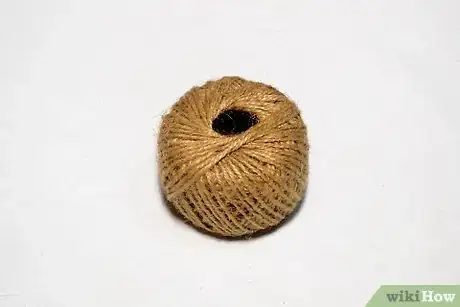
1Choose your hemp twine. Hemp typically comes in a natural tan color, but there are many other colors to choose from. Hemp twine is most often 1mm, although you can find thicker cord. When you choose your cord, make sure that it is even and smooth—unless you prefer a coarser twine.[2]
- You can order hemp online or find it at an arts and crafts or hobby store.
-
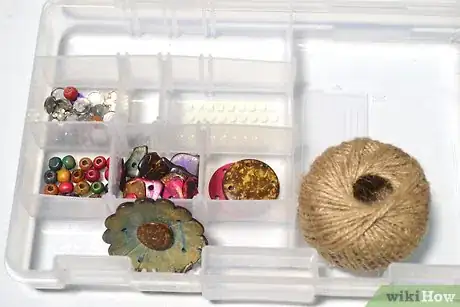
2Decide what type of necklace you want. This method shows how to involve beads and a pendant into your necklace. You can choose to add more beads, or you can decide to only use twine for your necklace. If you decide to only use twine, continue knotting as usual and don't worry about stringing on the beads.Advertisement
-
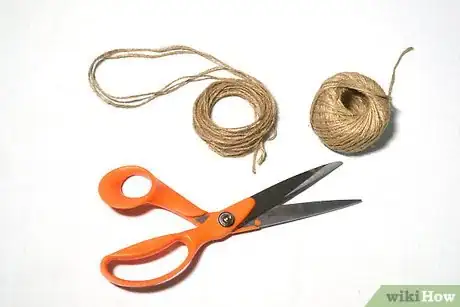
3Cut the hemp. Using scissors, cut one 5-yard (4.5-meter) length of hemp. Then, cut another length, twice as long as the piece of jewelry, plus a few extra inches. This necklace will be about 1.5 feet (~0.5 meter) long, so a single yard (almost a meter) would be appropriate.[3]
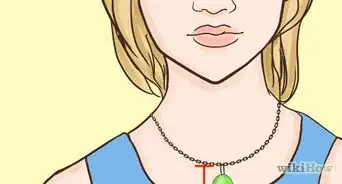
- If you would like a shorter or longer necklace, you can measure the twine around your neck. Add several feet to the amount that you measure to allow space for knotting.
-
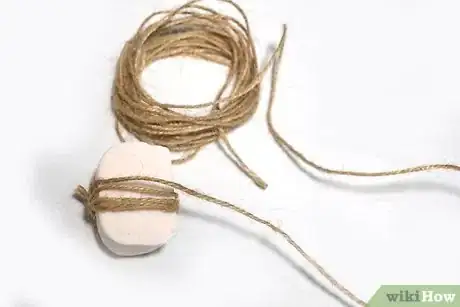
4Wax the cut cord. Rub your hemp thread with beeswax before starting. It helps keep the knots tight and also helps to protect the piece from getting soiled. You can usually find bars of beeswax at hobby stores.[4]
Making the Necklace
-
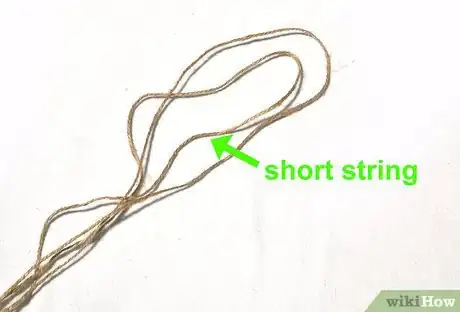
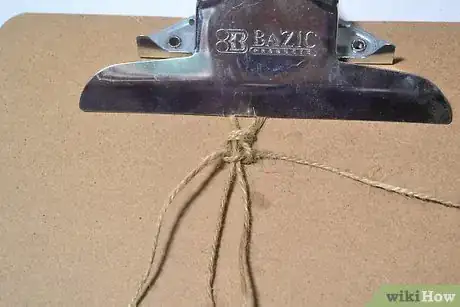
1Fold your cords in half. Fold these lengths in half with the shorter length on the inside and the 5-yard (4.5 meter) length on the outside. The longer 5-yard (4.5 meter) string will make up the “knotter” cords, which will be used to make the knots, while the shorter string will be the carrier cords that are used to anchor the knots. Make sure the ends of each string line up evenly.[5]
-
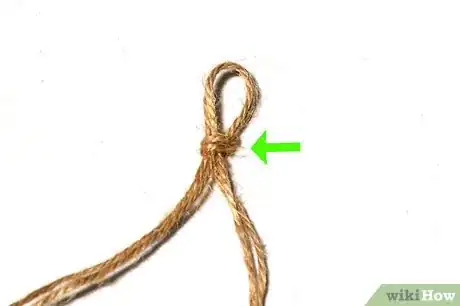
2Tie an overhand knot. Tie this knot at the top of the loops. This keeps the loops from coming undone.[6]
-
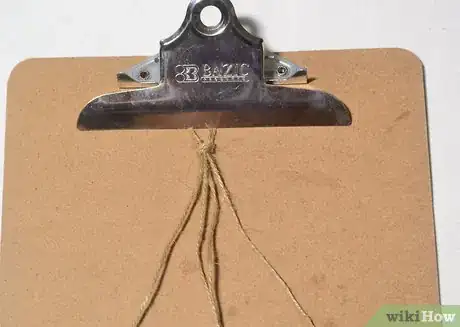
3Arrange your cords. Put the shorter strands on the inside. The longer strands need to be on the outside. If you cannot get the cords to line up just right, you might need to untie your knot, line up the ends again, and then retie the knot.[10]
-
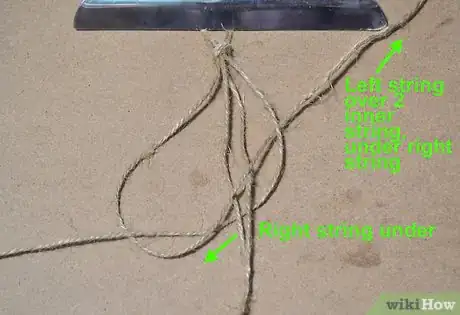
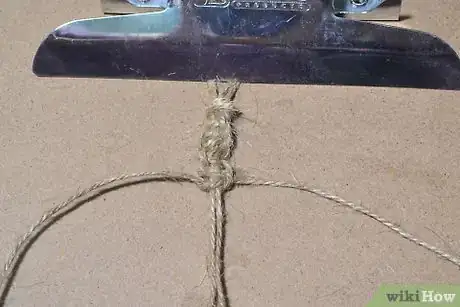
4Tie a half-square knot. Start by grabbing the cord to the far right. Draw it underneath the first two cords to the left and over the last one. Make a loop with the cord to the far right. Bring the cord underneath the first two cords to the left and over the last one.[8]
- Bring the cord on your far left over the two middle cords and through the loop.
-
5Draw up the knot. Keep the two center cords taut and pulled tight parallel to the surface you're working on. Pull the two outside cords up at a vertical angle as the knot runs up the center cords. Tighten the knot when it reaches the top[9]
-
6Continue knotting. For a flat look to your hemp, alternate the side with which you start. For this design, continue knotting until you reach an inch (2.5 cm) in length, or about 17 knots.[10]
-
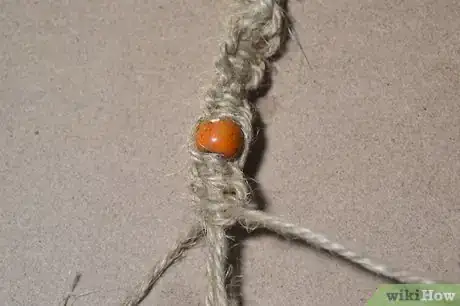
7String a bead onto the two center cords. Secure the against the most recent knot. Then, tie the two outer cords in a square knot beneath the bead. You can continue knotting if you don't want to add beads to your necklace.[11]
-
8Resume knotting. Continue knotting with half square knots as outlined above. Do this until you have knotted 6 inches (15.2 cm). You should still have plenty of hemp leftover at this point.[12] (15.2 cm).
-
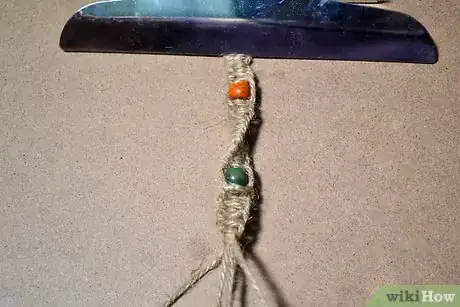
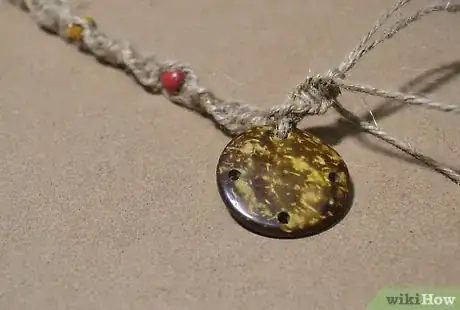
9Attach a pendant. Attach the pendant when you've reached about the middle of your necklace (6 or 7 more inches, or 15 or 17 cm). You can add a pendant by stringing it onto the bottom cord. Resume knotting as usual once the pendant is on.
-
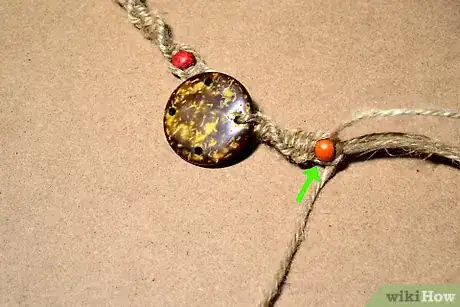
10Add another bead. Continue to knot away from the pendant. When you reach a length that matches that between the first bead and the pendant, string the second bead onto the two center cords. Knot the two outside cords underneath.[13]
-
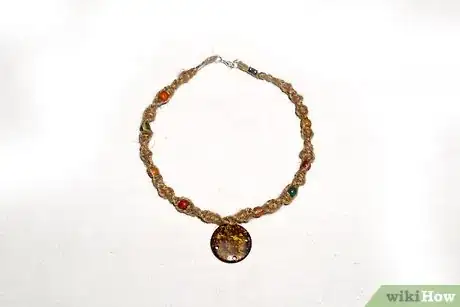
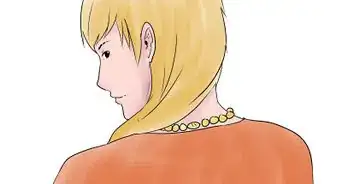
11Finish knotting. For this design, knot another inch (2.5 cm) away from the last bead. Or, finish knotting when you have reached the length that you want your necklace to be. You are almost finished with your necklace at this point.[14]
Completing Your Necklace
-
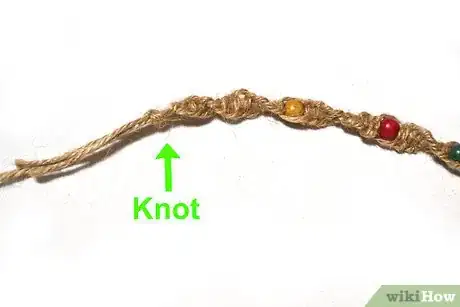
1Tie off the necklace. There are several ways you can finish your necklace. You can use clasps, or you can use the easiest method and simply tie it off. If you don't want to use claps, tie an overhand knot just beneath the last half-square knot. You can apply glue to the knot as you tie it for additional hold.[15]
-
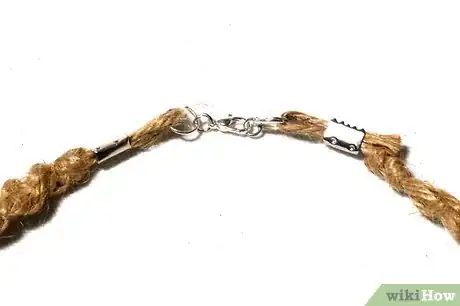
2Finish with a metal clasp. To use a metal clasp, you will need to finish off the ends of the necklace with metal or wire cord tips. You can simply use regular glue to secure the tips. Then, depending on the type of clasps you have, you can either bend the metal clasps over the cord. Or, you can crimp the clasp around the cord if your clasps use a coil. Finish by adding jump to the clasp.[16]
-
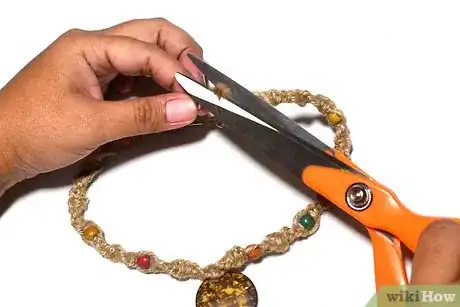
3Trim excess cord. You can use any type of scissors to cut the excess hemp. Cut about 5 inches (12.7 cm) from the overhand knot so you have plenty of length to adjust and tie the necklace. If you don't think you will need to adjust it, you can cut off 2 or 3 inches of cord.[17]
-
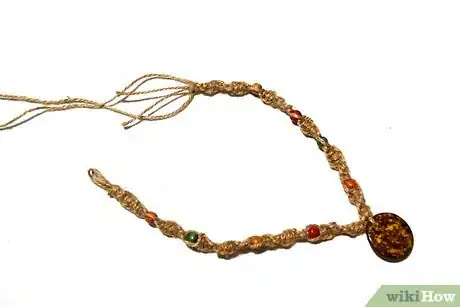
4Finished.
Community Q&A
-
QuestionWhat do I do with the second string?
 Community AnswerIf you are referring to the shorter center string as the second string, they simply hang out in the middle and act as the anchor cords to be tied around by the 5-yard cord. They are usually referred to as the inner 'anchor' cords.
 -
QuestionHow do you get the necklace to stay in the loop?
 Community AnswerAdd a large enough button to the end piece, that won't be too big for the hole. This will ether require actual measuring or some serious eyeballing.
Warnings
- Hemp can't legally be grown in the United States, though it is legal to wear and make jewelry out of. Most hemp is imported from China. Do not grow your own hemp if you live in a place where it is not legal to grow.[18]⧼thumbs_response⧽
Things You'll Need
- A spool of hemp
- Scissors
- Beads with large holes in them (optional)
- A large pendant (optional)
- Plain white glue or craft glue (optional)
- Some way to tie down your work (optional)
Expert Interview
Thanks for reading our article! If you'd like to learn more about doing needlework, check out our in-depth interview with Amy Guerrero.
References
- ↑ https://beadage.net/make-hemp-jewelry/
- ↑ https://beadage.net/make-hemp-jewelry/
- ↑ http://www.madebyhippies.com/hemp/howtotiehempjewelry.html
- ↑ https://beadage.net/make-hemp-jewelry/
- ↑ http://www.madebyhippies.com/hemp/howtotiehempjewelry.html
- ↑ http://www.madebyhippies.com/hemp/howtotiehempjewelry.html
- ↑ If you cannot get the cords to line up just right, you might need to untie your knot, line up the ends again, and retie the knot.
- ↑ https://beadage.net/make-hemp-jewelry/
- ↑ https://beadage.net/make-hemp-jewelry/
- ↑ https://beadage.net/make-hemp-jewelry/
- ↑ https://beadage.net/make-hemp-jewelry/
- ↑ http://www.madebyhippies.com/hemp/howtotiehempjewelry.html
- ↑ https://beadage.net/make-hemp-jewelry/
- ↑ http://www.madebyhippies.com/hemp/howtotiehempjewelry.html
- ↑ https://beadage.net/make-hemp-jewelry/
- ↑ https://beadage.net/make-hemp-jewelry/
- ↑ https://beadage.net/make-hemp-jewelry/
- ↑ https://beadage.net/make-hemp-jewelry/
About This Article
To make a hemp necklace, start by cutting 1 5-yard cord of hemp and 1 cord that’s a little more than twice as long as the necklace you want. Then, fold the cords in half, tie an overhand knot at the top of the loops, and arrange the cords so the longer strands are on the outside and the shorter ones are on the inside. Next, make half-square knots with the longer cords, anchoring the knots to the shorter cords. Continue making knots, stringing any beads you want onto the shorter cords between knots, until your necklace is the desired length. To learn how to finish knotting and tie off your necklace, keep reading!
