This article was co-authored by wikiHow staff writer, Travis Boylls. Travis Boylls is a Technology Writer and Editor for wikiHow. Travis has experience writing technology-related articles, providing software customer service, and in graphic design. He specializes in Windows, macOS, Android, iOS, and Linux platforms. He studied graphic design at Pikes Peak Community College.
The wikiHow Tech Team also followed the article's instructions and verified that they work.
This article has been viewed 147,639 times.
Learn more...
Are there apps you want to try for macOS, but you're not ready to invest in a Mac computer? One way to try Mac apps without buying a Mac is to install macOS on a virtual machine. A Virtual Machine allows you to run other computer operating systems inside another computer. This wikiHow teaches you how to install macOS in VirtualBox.
Steps
Downloading The Files You Need
-
1Download VirtualBox. VirtualBox is a virtual machine program developed by Oracle. Use the following steps to download and install VirtualBox:
- Go to https://www.virtualbox.org/wiki/Downloads in a web browser.
- Click Windows hosts below "VirtualBox 6.1.18 platform packages."
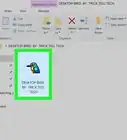
- Click the VirtualBox ".exe" file in your web browser or Downloads folder.
- Click Next.
- Click Browse to select an install location and click Next (it's recommended you allow it to install at the default location).
- Click Next.
- Click Yes to acknowledge it may temporarily disconnect your internet.
- Click Install.
-
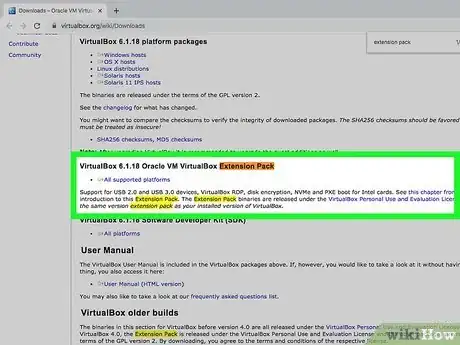
2Download VirtualBox Expansion Pack. You will also need to download and install the VirtualBox expansion pack. This contains fixes for USB 3.0 keyboard and mouse support. Use the following steps to download and install the Virtual Box Expansion Pack:
- Go to https://www.virtualbox.org/wiki/Downloads in a web browser.
- Scroll down and click All supported platforms below "VirtualBox 6.1.18 Oracle VM VirtualBox Extension Pack."
- Double-click the expansion pack file in your web browser or Downloads folder to install it.
- Click Install.
- Scroll down the to bottom of the text and click I agree.
Advertisement -
3Download macOS Catalina. MacOS Catalina is the latest version of macOS. You may need to extract the image from the zip file using WinRAR, WinZip, or 7-Zip. You can download macOS Catalina from one of the following sources:
- Go to https://drive.google.com/file/d/1oACRxJe6NVDwndH6mMjldmmzrScA2qdz/view in a web browser and click Download.
- Go to http://www.mediafire.com/file/2mwxpooe0da6z3n/Catalina_10.15.5.iso/file in a web browser and click Download.
Creating a New Virtual Machine
-
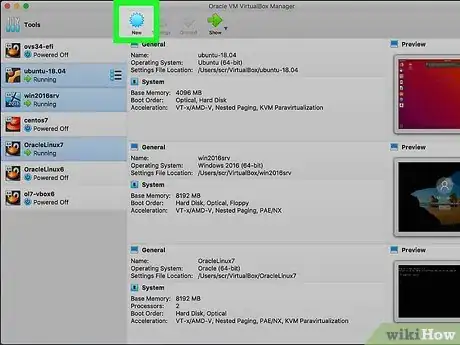
1Open VirtualBox and create a new virtual machine. Use the following steps to create a new virtual machine in VirtualBox:
- Open VirtualBox.
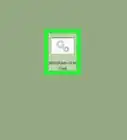
- Click New below the gear icon at the top.
- Click the arrow pointing down next to "Machine Folder" and select a folder to install the virtual machine.
- Use the drop-down menu next to "Type" to select "MacOS X."
- Use the drop-down menu next to "Version" to select "MacOS X (64-bit)."
- Click Next.
-
2Select how much memory you want the virtual machine to have and click Next. Use the slider bar to adjust how much memory you want the virtual machine to have. You can also type the amount of memory you want to allow the virtual machine to have in MB. It is recommended that you allow at least 4 GB (4000 MB) or memory. The more memory you allow it to have, the better the virtual machine will run.
- You cannot assign more memory than your computer has.
-
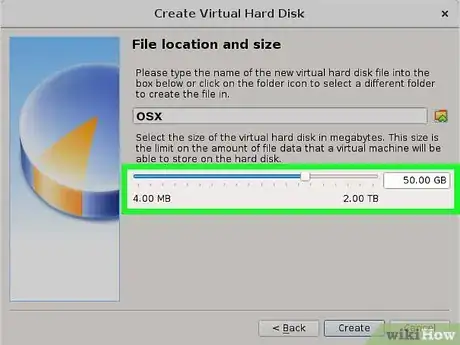
3Select "Use existing virtual hard disk file." It's the last radio option below "Hard Disk". This displays a folder icon next to this option.
-
4Select your macOS image file. To do this, click the radio option next to "Use existing virtual hard disk file" and click navigate to the disk image for macOS that you downloaded. Click it and then click Choose.
-
5Click Create. It's in the lower-right corner. This creates a new virtual machine.
Adjusting the Virtual Machine Settings
-
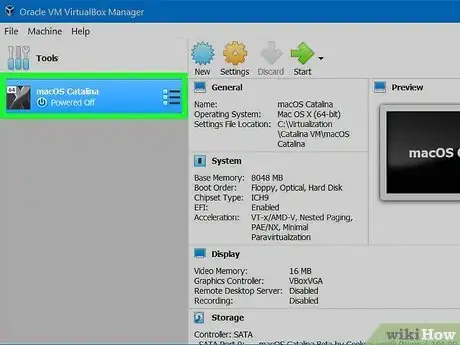
1Select the macOS virtual machine. Click the name of the virtual machine you just created in the panel to the left to select it.
-
2Click the Settings icon. It's the icon that resembles a gear at the top of the page.
-
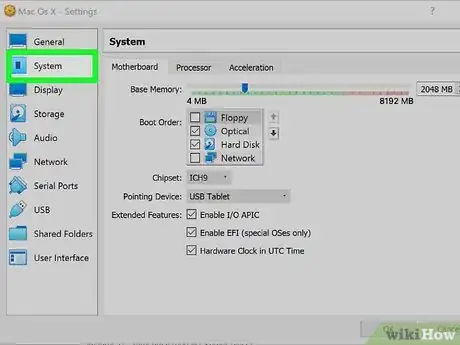
3Click System. It's the second option in the menu bar to the left. This displays your system settings.
-
4Uncheck "Floppy." It's the first option in the box labeled "Boot order." This will ensure that the virtual machine doesn't try to boot from a floppy disk.
-
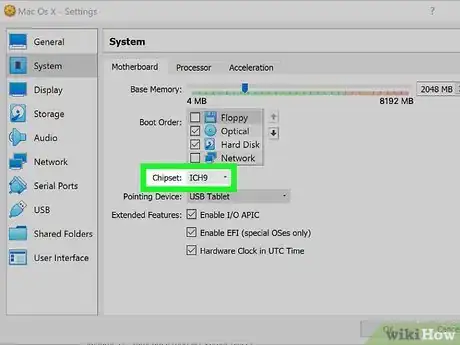
5Ensure "ICH9" is selected as the chipset. If the drop-down menu next to "Chipset" does not read "ICH9", click the drop-down menu and select "ICH9."
-
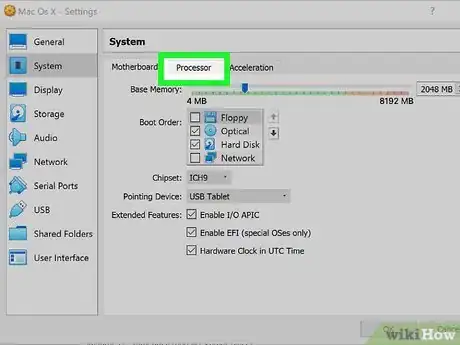
6Click the Processor tab. It's the second tab at the top of the screen under the "System" menu.
- If you have a multi-core processor with cores to spare (such as a Core i7 or i9), you can assign it 2 or more cores to allow more processing power.
-
7Ensure the box next to "Enable PAE/NX" is checked. It's at the bottom of the screen next to "Extended Features."
-
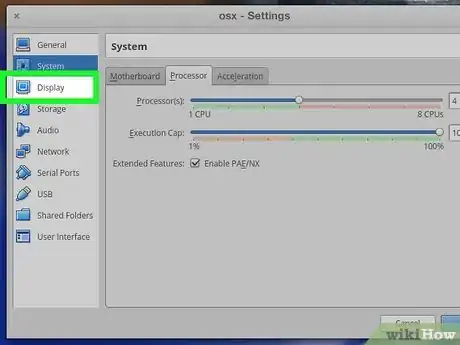
8Click Display. It's next to an icon that resembles a computer monitor in the menu bar to the left.
-
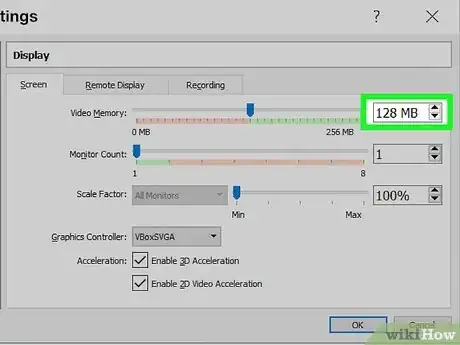
9Set "Video Memory" to "128 MB." Simply drag the slider bar next to "Video Memory" all the way to the right to set the video memory to 128 MB.
-
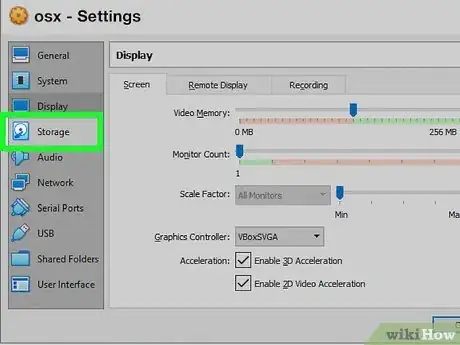
10Click Storage. It's next to an icon that resembles a mechanical hard drive in the menu bar to the left.
-
11Check the box next to "Use Host I/O Cache." It's below "Port Count" in the panel that's furthest to the right.
-
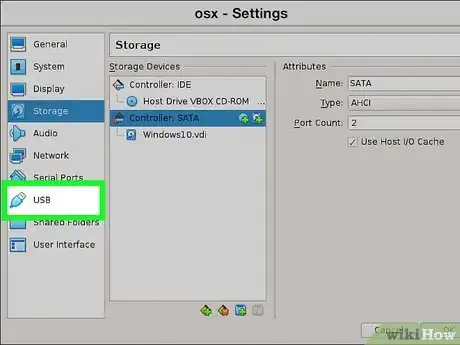
12Click USB. It's next to an icon that resembles a USB plug in the menu bar to the left.
-
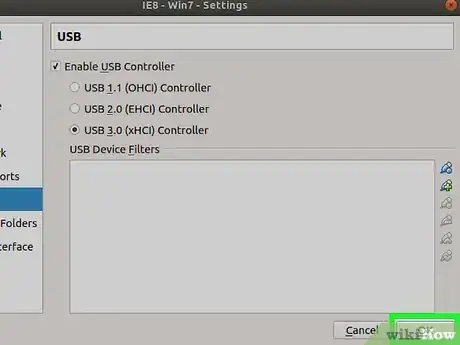
13Select "USB 3.0". Click the radio option next to "USB 3.0" to enable USB 3.0 ports inside the virtual machine.
-
14Click Ok. It's in the lower-right corner of the screen. This saves all your settings.
Patching the Virtual Machine
-
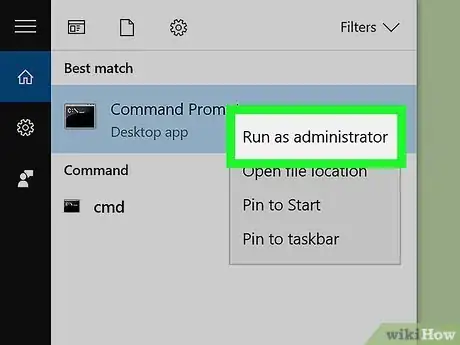
1Open the Command Prompt as an administrator. You'll need to patch the virtual machine manually before it can run macOS. You will need to do this from the Command Prompt. Use the following steps to open the Command Prompt with administrative privileges:
- Click the Windows Start menu.
- Type CMD.
- Right-click the Command Prompt icon and click Run as administrator.
- Click Yes.
-
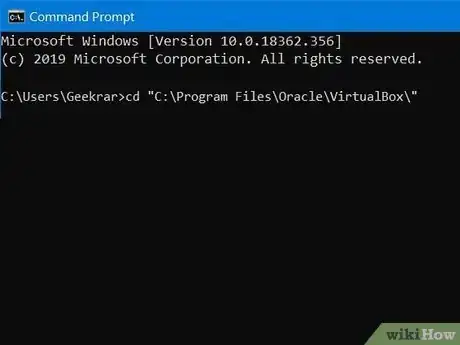
2Change the directory to the program folder for VirtualBox. Type cd followed by the location of the program folder for VirtualBox. By default, the VirtualBox installs to "C:\Program Files\Oracle\VirtualBox\". If this is where it is located on your PC, you would type cd "C:\Program Files\Oracle\VirtualBox\". If this is not where VirtualBox is installed, open File Explorer and search for "VBoxManage.exe" and change the directory to the location of this file.
-
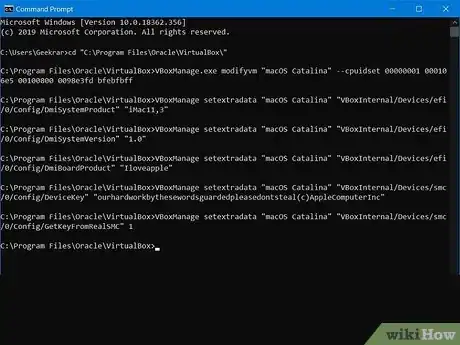
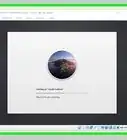
3Enter the following commands with the name of your virtual machine. Enter each of the following commands one at a time and press "Enter.". Replace [vm_name] with the actual name of your virtual machine. Once you are done with this step, you can fire up your virtual machine. Just click the virtual machine inside VirtualBox and click Start. The commands are as follows:
- VBoxManage.exe modifyvm "[vm_name]" --cpuidset 00000001 000106e5 00100800 0098e3fd bfebfbff
- VBoxManage setextradata "[vm_name]" "VBoxInternal/Devices/efi/0/Config/DmiSystemProduct" "iMac11,3"
- VBoxManage setextradata "[vm_name]" "VBoxInternal/Devices/efi/0/Config/DmiSystemVersion" "1.0"
- VBoxManage setextradata "[vm_name]" "VBoxInternal/Devices/efi/0/Config/DmiBoardProduct" "Iloveapple"
- VBoxManage setextradata "[vm_name]]" "VBoxInternal/Devices/smc/0/Config/DeviceKey" "ourhardworkbythesewordsguardedpleasedontsteal(c)AppleComputerInc"
- VBoxManage setextradata "[vm_name]" "VBoxInternal/Devices/smc/0/Config/GetKeyFromRealSMC" 1
Warnings
- Apple does not allow Mac OS X to be installed on non-Apple hardware. Doing so will void Apple's End User License Agreement.⧼thumbs_response⧽

