wikiHow is a “wiki,” similar to Wikipedia, which means that many of our articles are co-written by multiple authors. To create this article, 61 people, some anonymous, worked to edit and improve it over time.
This article has been viewed 425,382 times.
Learn more...
This wikiHow will teach you how to make an eye-catching and compelling web banner. A banner is a great way to display your company name and logo or an advertisement (or both at the same time). If you're not sure how to go about making a banner or what kind of text and visuals you should include, we're here to help! Below you'll find everything you need to know to get started.
Steps
Using Photoshop
-
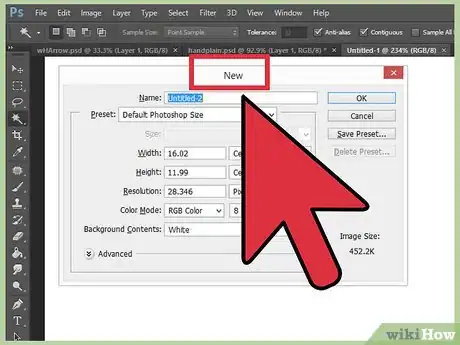
1Create a new document. Define your banner size: there are a number of standard banner sizes.[1] For our purposes, we'll focus on a standard "full banner" size: 468 pixels by 60 pixels:
- Note: this is a standard size, but it's not a requirement. If your needs and requirements call for other dimensions, let that be your guide.
-
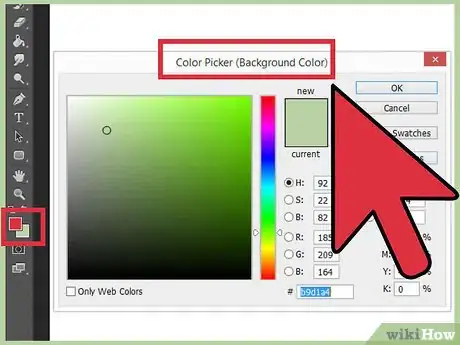
2Set the background color. Fill the background layer with a color that compliments your website design.
- Click on the Foreground Color to bring up the Color Picker, and select your fill color.
- With the Paint Bucket tool, fill background layer of the banner with your chosen color.
Advertisement -
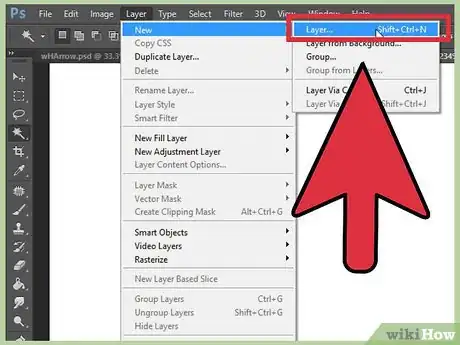
3Create a new layer. We are going to fill this with a richer color to help set off the text and logo. We want it to be proportional to the size of the banner, and centered.
- In the new layer, create a selection that is somewhat smaller than the original banner, and fill it with the desired color.
- Center the filled area. Select the entire layer by pressing CTRL-A (PC) or Command-A (Macintosh).
- From the Layer menu, select Align Layers to Selection > Vertical Centers. Repeat this step but select Horizontal Centers. This will center the contrast layer horizontally and vertically.
-
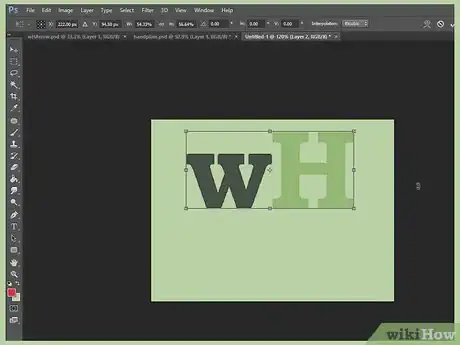
4Add your logo. Open your logo file, copy it, and paste it into your banner document where it will appear as a new layer. Resize it as necessary to fit. Press CTRL-T on a PC, or Command-T on a Macintosh, and use the handles to resize the document as necessary, using the shift key on the handles to resize proportionally.
-
5Add your company or website name. Select the text tool, pick your desired font, and type it in. If it's not the right size, adjust as necessary, as described in the previous step.
-
6Add extra elements. Sometimes, a logo and name is enough. Other times, adding some lines and ornaments will add the needed interest to your banner. Create a new layer to do this so that you can make any adjustments necessary without disturbing other layers.
-
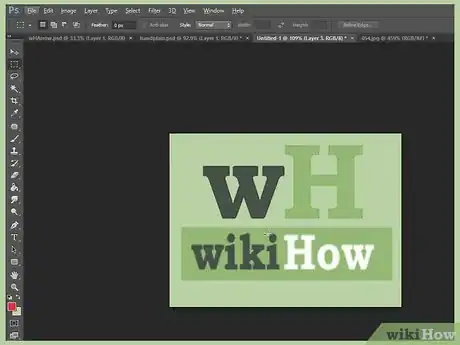
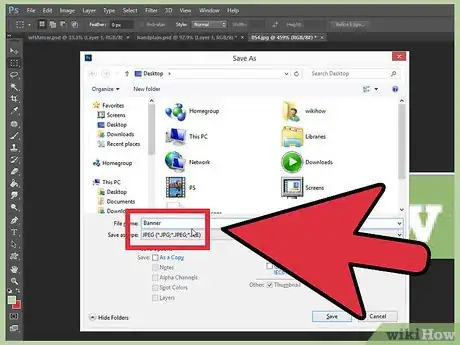
7Clean it up. Fine tune the placement of logo and title, and any extra elements, and then save your banner.
Using Microsoft Paint
-
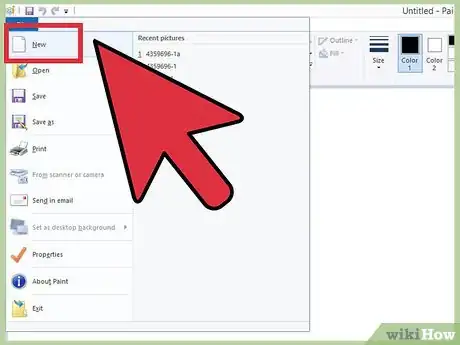
1Create a new document.
-
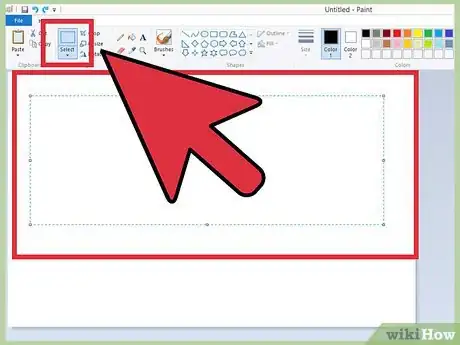
2Draw a banner-sized selection. It can be any size you like, or click here to see standard banner sizes.
-
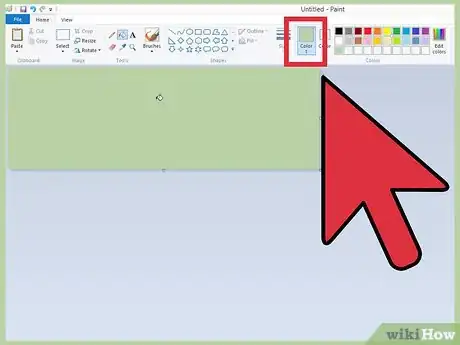
3If you want a colored background, use the paint bucket tool to fill the banner with any color you like. Make it something that works with the rest of your website.
-
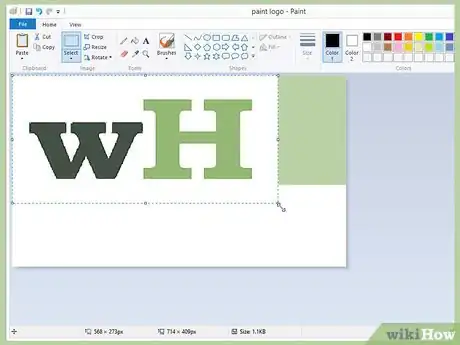
4Add photos, pictures and text. Click on the Paste tab, and from the menu, select Paste from.
- Find a picture you like, and click the Open button.
-
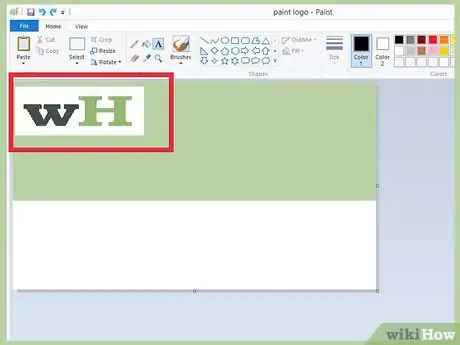
5Resize your picture if needed. Click on the Resize tab, then choose Pixels. Set the vertical height to match the height of your banner.
- Move the picture into place.
- Add as many pictures as you like (and that will fit!)
-
6Add your name. Using the Text tool (the A button), add your name or any other text you like.
-
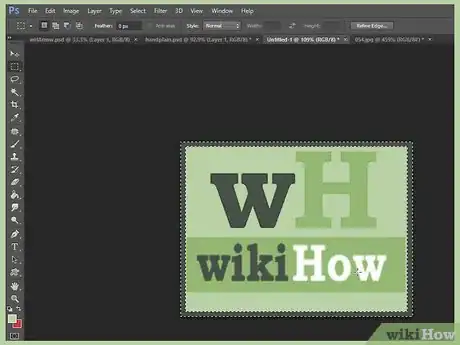
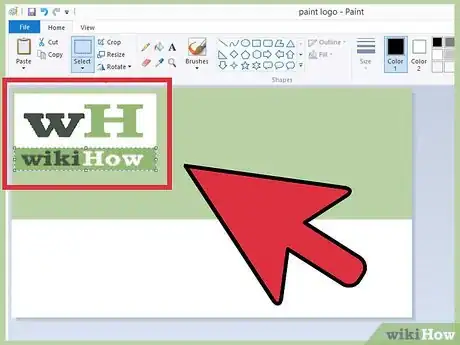
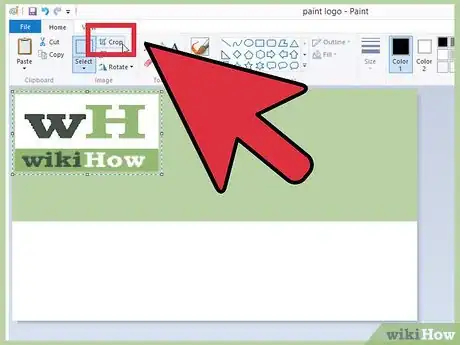
7Crop your banner. Use the Select tool and draw a box around your banner. Make sure it's the size you want your finished banner to be. Then click Crop.
-
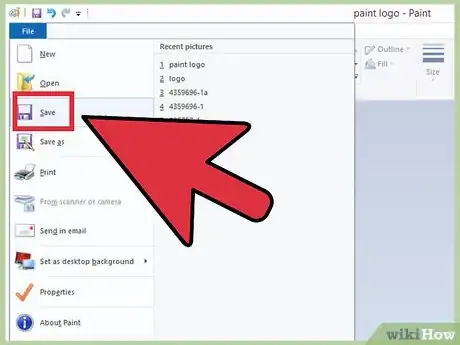
8Once you're done, save it!
Using Microsoft PowerPoint
-
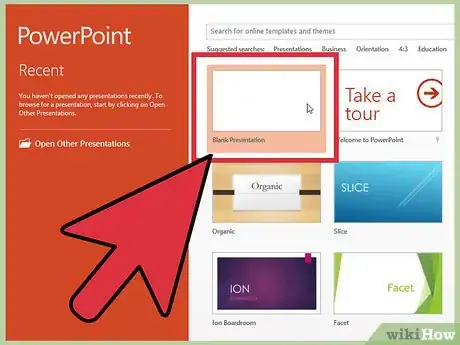
1Create a new, blank PowerPoint document.
- Adjust the view so that it is at 100%.
-
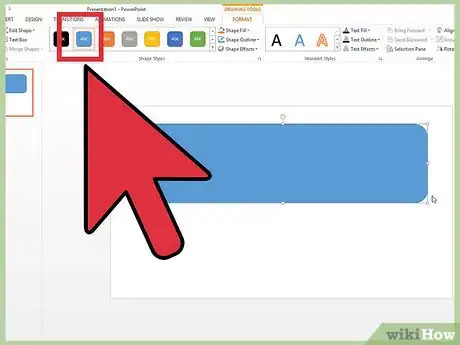
2Draw the banner background. Use one of the standard banner sizes[2] , or whatever size you need.
- Click on the Shape tab, and choose a basic rectangle.
- Draw it out at your desired size, and then fill it as desired. You can use a solid color, or from the fill color menu, select Fill Effects, or click on the Quick Styles button and choose a preset fill.
-
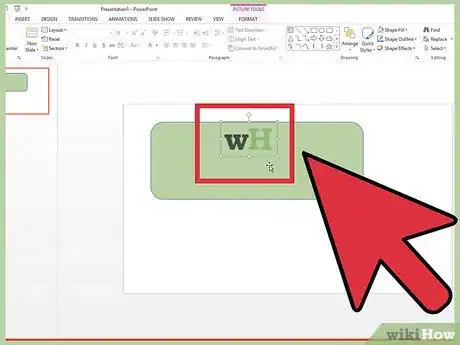
3Add a photo or logo. You can add photos, logos, or other images to your banner. We'll use some clip art to illustrate. Click on the Picture button, and select the desired type of image you wish to include. Add your picture, resize it, and place it in your banner
-
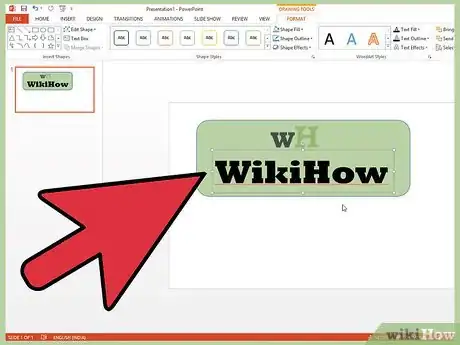
4Add text or other elements. Put your company name, tagline, or any other information you wish to round out your banner and complete it.
-
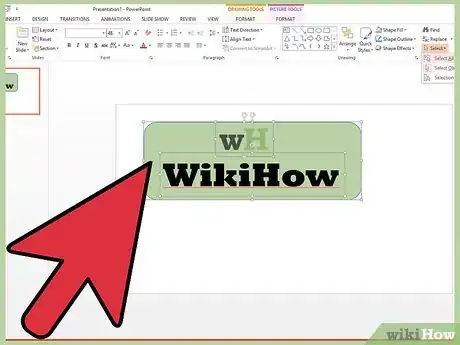
5Select the banner. From the Edit menu, choose Select All or type CTRL-A (PC) or Command-A (Mac). Important: make sure your banner is exactly the way you want it and there is nothing else on the slide!
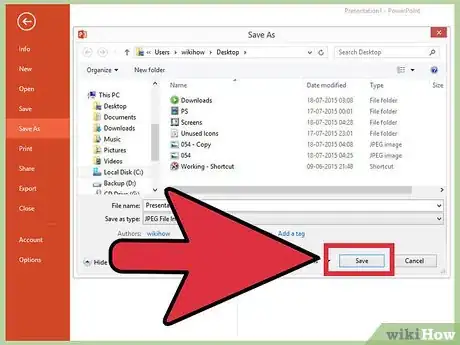
- Right click on any non-text element of your banner, then choose Save as Picture...
-
6Save your banner. Open it, and verify it's as you wanted it, and use as needed!
Using Online Banner Constructors
-
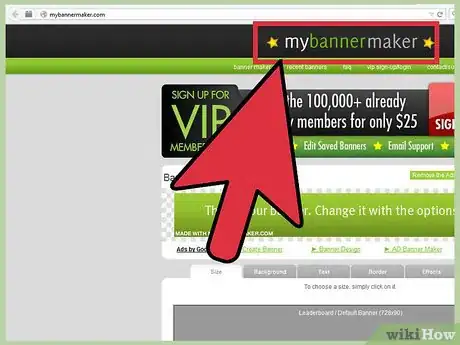
1Visit one of the following websites: BannersABC.com, Addesigner.com, mybannermaker.com, etc. (Google for more). There are a number of different online banner-builders. Spend a few minutes comparing the various features, and pick the one that suits you best.
-
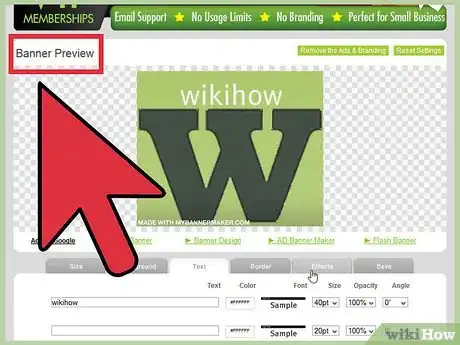
2Add your text and images. Follow the on-screen prompts and methods to build your banner. They will often have their own artwork that you can use, or you can import images of your own creation to add to the banner.
-
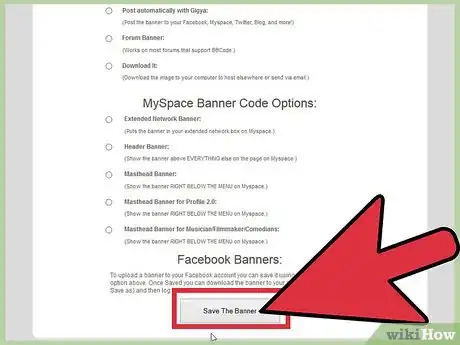
3Generate your banner. When finished, there will generally be an export function that will let you specify which folder or directory you want to save to, and file format (jpeg is usually good). Follow the instructions, save, download, and use as needed.
Making an Avatar to Match Your Banner
-
1This is optional. However, you might want a matching avatar for your banner if you're using it on forums.
-
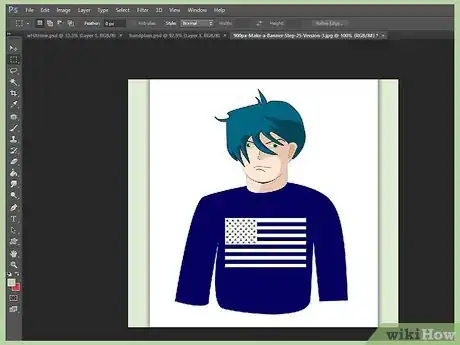
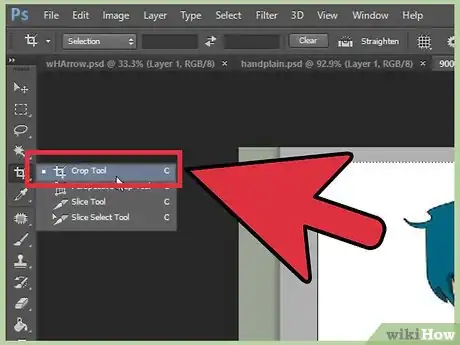
2Using the Crop option. It's available in most graphics applications. Crop your banner down to a small section.
- Alternately, you can design a small version that incorporates elements of your larger banner. It might be just your logo, or your picture, or just your company name. The key is to keep it legible.
-
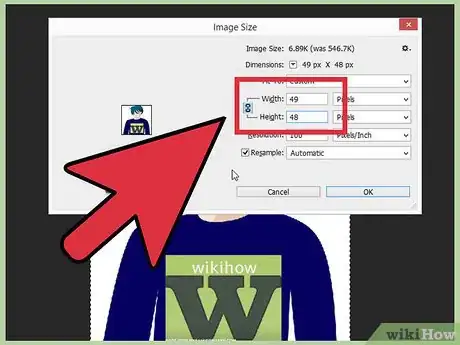
3Your avatar should be small. 48 by 48 pixels is a standard size.
-
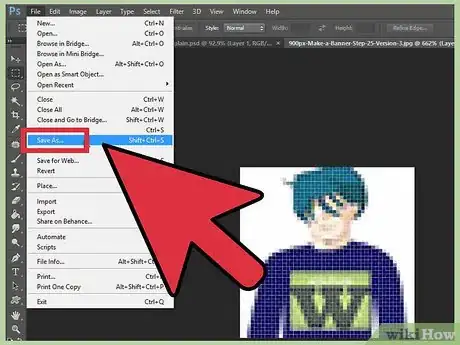
4Save your avatar!
Adding a Banner to Forum Signatures, Websites, etc
-
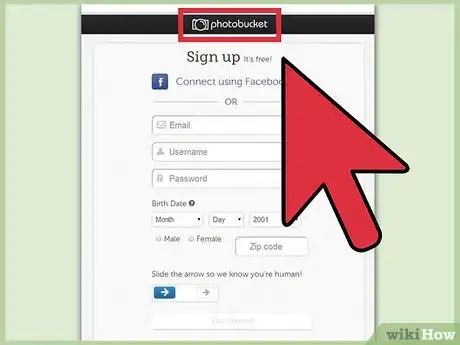
1Make an account. Use a photo sharing site such as Photobucket, Flickr, Tumblr, or something similar.
- Once you have made your account, you can upload your banner, avatar, and any other images onto the website.
-
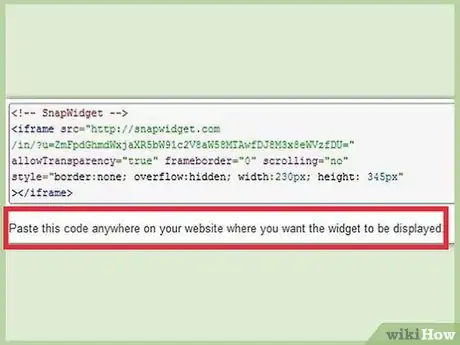
2Get the code. Use the sharing capabilities to get the HTML code to add your banner to your forum signature, website, or anything else.
Community Q&A
-
QuestionHow do I cut pictures using apps?
 Community AnswerYou can usually cut images with any built-in image viewer on your phone or computer.
Warnings
- Making a banner takes time and patience!⧼thumbs_response⧽
- To keep it in best condition save it in 24 bit bitmap, and make a copy in Jpeg and Gif, because Jpegs and Gifs can add random blur to it.⧼thumbs_response⧽
- When you upload your photo on to Photobucket, if you used PowerPoint to make your banner it might be an EMF file, which Photobucket does not accept. To convert it, make sure when you save your image (step #9) as a JPEG or GIF image. That way you can upload it on Photobucket.⧼thumbs_response⧽
References
About This Article
1. Create a new Photoshop document in the desired banner size.
2. Set the background color.
3. Create a new layer.
4. Add your logo.
5. Add your company name or website.
6. Add additional elements.
7. Make final edits.
8. Save the banner as a JPEG.
