This article was co-authored by wikiHow Staff. Our trained team of editors and researchers validate articles for accuracy and comprehensiveness. wikiHow's Content Management Team carefully monitors the work from our editorial staff to ensure that each article is backed by trusted research and meets our high quality standards.
This article has been viewed 99,601 times.
Learn more...
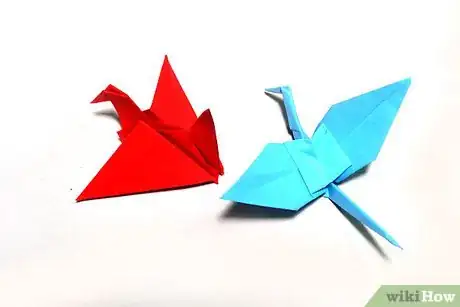
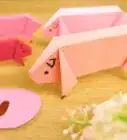
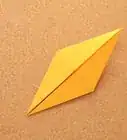
There are many kinds of origami birds that you can make. The Flying Bird and the Crane are two of the most popular. They may look complicated, but they're really both made with just standard origami paper and a series of basic folds. Once you've mastered those two, you can try your hand at more exotic origami birds.
Steps
Making a Flying Bird
-
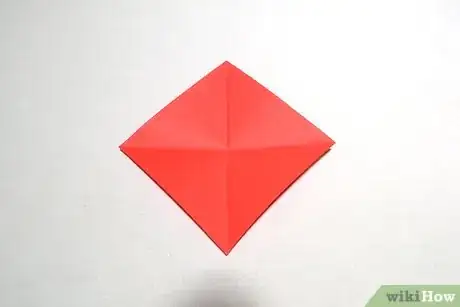
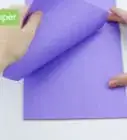
1Fold your paper diagonally. Start with a square of origami paper (colored side up). Turn it so that it looks like a diamond. Fold the top of the diamond all the way down to the bottom and crease. Unfold, then make another fold, taking the left tip over to the right one, and crease. Unfold once again.[1]
-
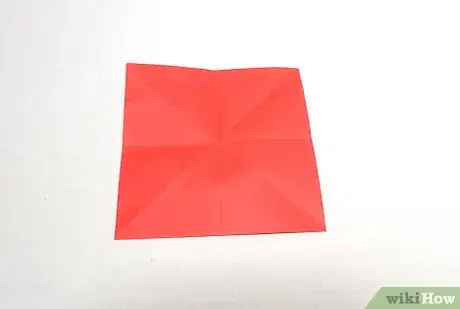
2Make horizontal and vertical folds. Flip the paper over. Turn it so that it is oriented like a square again. Fold the top left and right corners down to the bottom ones and crease. Unfold, then take the top and bottom corners on the left and fold them over to the corresponding corners on the right. Crease at the fold, and unfold your paper again.[2]Advertisement
-
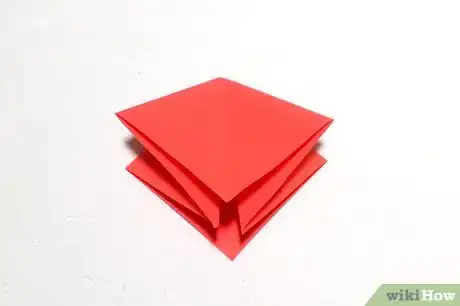
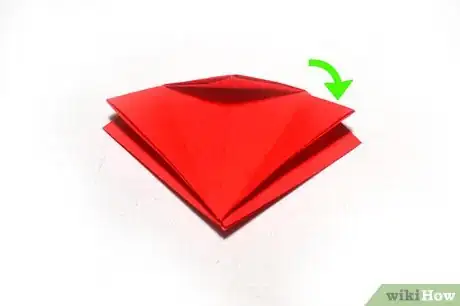
3Fold the top corners to the bottom. Turn your paper so that it is diamond shaped again and fold the top to the bottom. It will look like a triangle. Push the left and right tips into the interior of the triangle until they reach the bottom tip, and crease.[3]
-
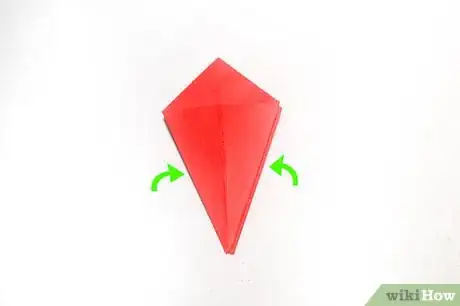
4Make creases on the left and right. The paper should now look like a smaller square with upper and lower flaps. Turn it so that looks like a diamond. Take the tips of the upper flaps on the left and right and fold them to the center of the square. Make creases, then unfold.[4]
-
5Fold the top down. Take the top flap of the diamond and fold it downwards. Crease it to make a line running between the folds made by the right and left flaps. The tip of the top should touch the center crease. Unfold the top flap.[5]
-
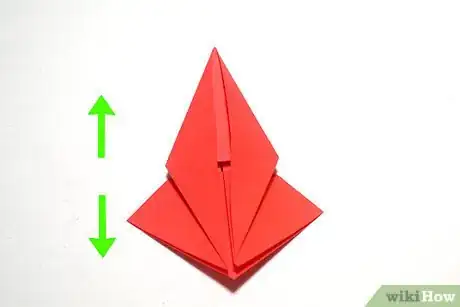
6Open the upper flap. Lift the upper flap, starting from the bottom of the diamond. Keep lifting it upwards until it lies flat. The sides of the upper flap should fold inwards at the same time. Press the folds.[6]
-
7Repeat on the other side. Flip your paper over and work with the flap on the other side (originally the lower flap, now facing upwards) to make creases on its left, right, and top tips. The lift the flap from the bottom until it lies flat, as you did before. Press all of the folds.[7]
-
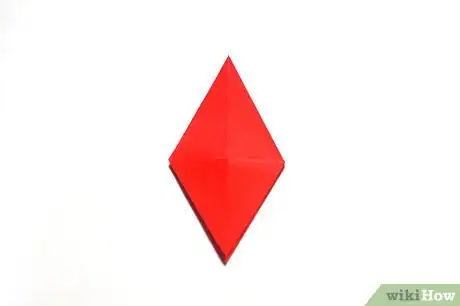
8Make the bird’s legs and neck. Your paper should now look like a narrow diamond shape. One of the points will be separated into two sections that you can move freely. Turn the paper so that these face downwards. Take the right section and fold it diagonally, just below the left point of the diamond, so that the tip points upward and slightly to the left. Do the opposite on the right side, then unfold.[8]
- Make an outside reverse fold on the right section by pushing the outer edge of inward, and pulling it upwards until it reaches the diagonal fold you made.
- Make an inside revers fold on the left section by pushing its inner fold inwards and pulling it upwards until it reaches the diagonal fold.
- Press the folds again to neaten them.
-
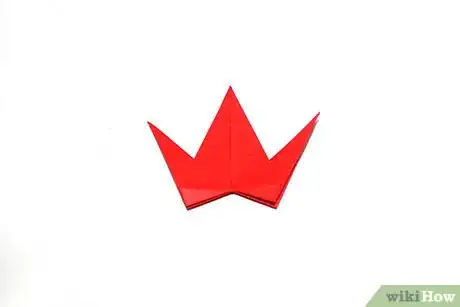
9Fold the bird’s head. You paper should now look roughly like a bird, with a narrow neck and tail/legs, and two wings in the middle. Make another outside reverse fold on the very tip of the neck to make a head for your bird.[9]
-
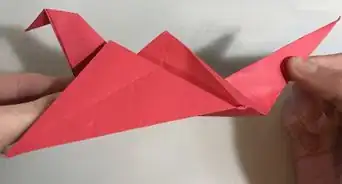
10Make the bird’s wings. Right now, you paper will resemble a bird with both wings pointing directly upwards. Make a slightly diagonal fold on each wing so that it is raised up a bit on the side closest to the head. Crease the folds,then lift the wings up so they stick out to the right and left of the bird.[10]
-
11Make your bird’s wings flap. Your bird is now ready to “fly”! Gently pull and push on its tail to make its wings flap up and down.[11]
Folding a Paper Crane
-
1Make a diagonal fold. Turn a square of origami paper (with the colored side up) so that it looks like a diamond. Take the top of the diamond and fold it all the way down to the bottom and crease.[12]
-
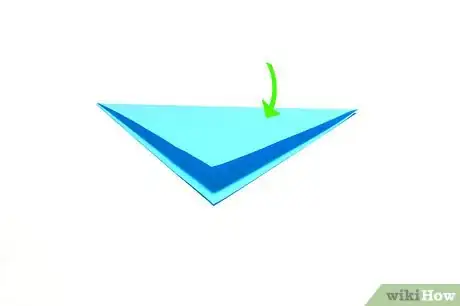
2Fold the paper in half. Your paper should now resemble a triangle with the longest side at the top. Take the left tip of the triangle and fold it over so that it lays on top of the right tip. Crease the fold.[13]
-
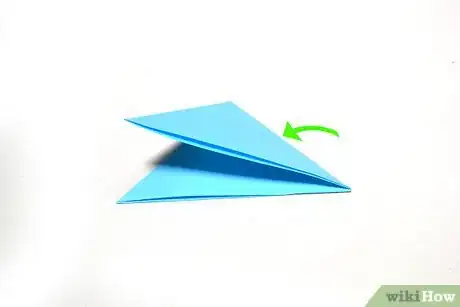
3Open the top flap. Now your paper should look like a smaller triangle with upper and lower flaps. Take the right tip of the top flap and push it toward the bottom tip. To do this, open up the flap as you push, and then fold the paper down flat so that the tips touch.[14]
- Turn the paper over, and repeat this step on the other side with the lower/left flap.
-
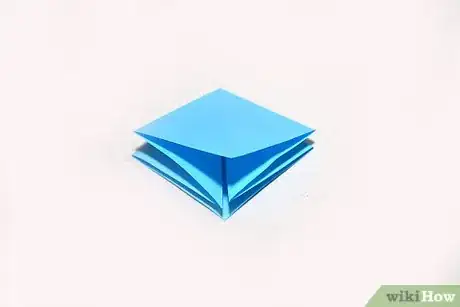
4Fold the left and right sides in. You’ll now have a smaller square with upper and lower flaps. Take the left and right tips of the upper flap and fold them toward the center. Crease the folds, then unfold the tips again.[15]
-
5Lift the upper flap. Take the bottom of the upper flap, and raise it upwards. Gently push it down flat. The sides of this flap should fold inward along the creases you previously made on the sides of the upper flap.[16]
- Flip your paper over, and repeat this step on the other side.
-
6Make the paper narrower. Your paper will now look like a narrow diamond, with upper and lower flaps. Fold the left and right tips of the upper flap of the diamond from the bottom tip, moving them toward the center. Crease the folds. Turn the paper over and repeat on the other side. You should now have an even narrower diamond, with the bottom tip at a narrower angle than the top one.[17]
- After narrowing the diamond, take the right flap of each side and fold it over the left flap.
-
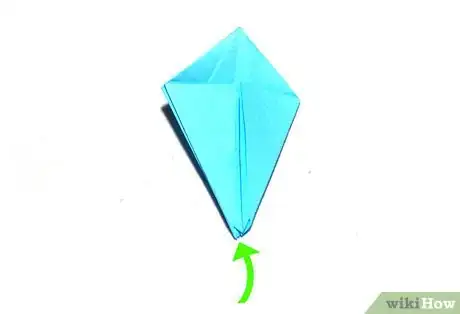
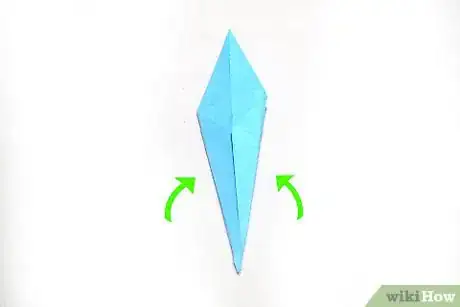
7Fold the bottom of the diamond upwards. Take the upper flap at its bottom point, folding it upwards. Crease the fold about three-fourths of the way from the bottom. Flip your paper over and repeat on the other side.[18]
-
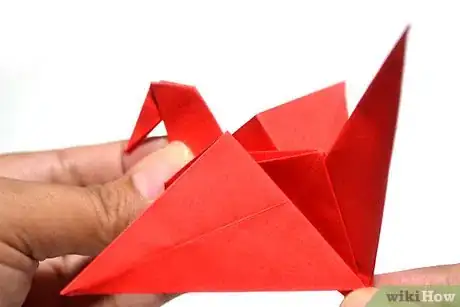
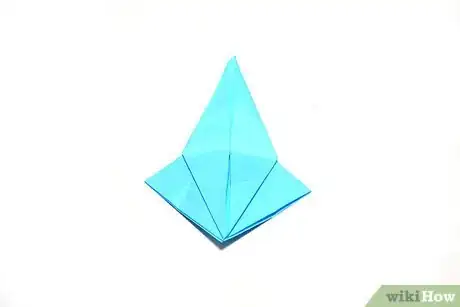
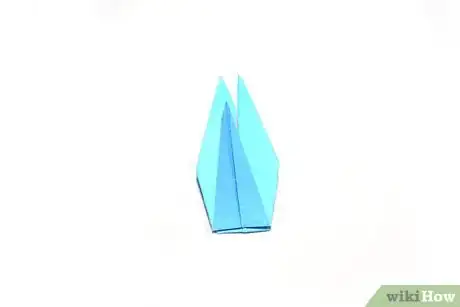
8Form the crane’s neck and tail. If you hold your paper in your hand, you should now feel narrow pieces on the left and right in between the upper and lower flaps. Gently pull these apart until they look roughly like a bird’s neck and tail with wings sticking up between them. Crease the folds to hold them in place.[19]
-
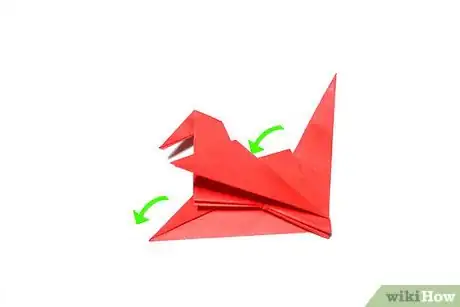
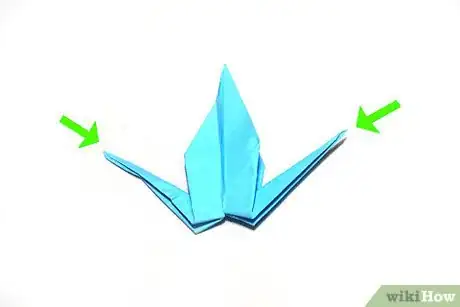
9Make the bird’s head. Choose which point you want to be your bird’s neck. Push down slightly on the fold near the end. Keep pushing until the fold goes inward and the tip forms roughly a right angle with the neck, forming the bird’s head. Crease the fold.[20]
-
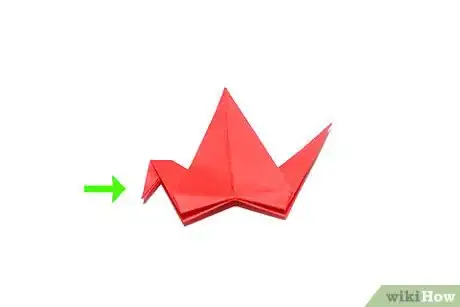
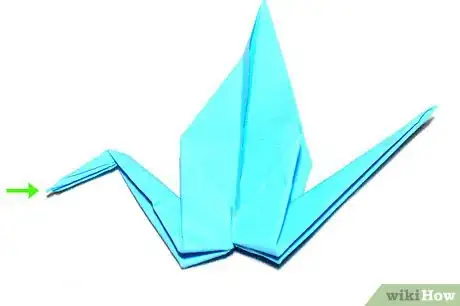
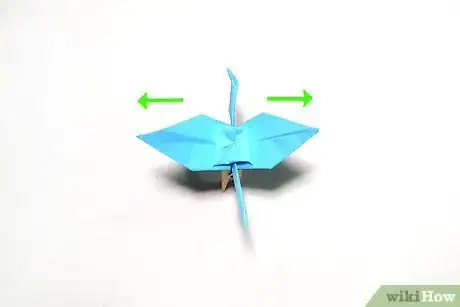
10Fold the crane’s wings. Now your paper should look like your bird’s wings are pointed straight up. Fold them down on each side of the bird’s body, and make a horizontal crease. Lift them up slightly, and the wings should now stick out at the sides, so that your crane looks like it is in flight. [21]
-
11Finished.
References
- ↑ http://www.origami-fun.com/origami-flapping-bird.html
- ↑ http://www.origami-fun.com/origami-flapping-bird.html
- ↑ http://www.origami-fun.com/origami-flapping-bird.html
- ↑ http://www.origami-fun.com/origami-flapping-bird.html
- ↑ http://www.origami-fun.com/origami-flapping-bird.html
- ↑ http://www.origami-fun.com/origami-flapping-bird.html
- ↑ http://www.origami-fun.com/origami-flapping-bird.html
- ↑ http://www.origami-fun.com/origami-flapping-bird.html
- ↑ http://www.origami-fun.com/origami-flapping-bird.html
- ↑ http://www.origami-fun.com/origami-flapping-bird.html
- ↑ http://www.origami-fun.com/origami-flapping-bird.html
- ↑ https://www.origamiway.com/origami-crane.shtml
- ↑ https://www.origamiway.com/origami-crane.shtml
- ↑ https://www.origamiway.com/origami-crane.shtml
- ↑ https://www.origamiway.com/origami-crane.shtml
- ↑ https://www.origamiway.com/origami-crane.shtml
- ↑ https://www.origamiway.com/origami-crane.shtml
- ↑ https://www.origamiway.com/origami-crane.shtml
- ↑ https://www.origamiway.com/origami-crane.shtml
- ↑ https://www.origamiway.com/origami-crane.shtml
- ↑ https://www.origamiway.com/origami-crane.shtml
About This Article
To make origami birds, start by folding a square piece of paper in half vertically, horizontally, and diagonally, unfolding after each fold. Then, fold the top corners to the bottom and press the sides in so the paper is folded up in a small square. Fold the corners in toward the center crease and then unfold. Next, fold the paper into a small diamond. Fold the bottom flaps up to make the bird's legs and neck. Fold the tip of one of the flaps down to make the head and beak. Finally, make the wings by folding the 2 large flaps down on each side. If you want to learn how to make a paper crane, keep reading the article!
