X
wikiHow is a “wiki,” similar to Wikipedia, which means that many of our articles are co-written by multiple authors. To create this article, volunteer authors worked to edit and improve it over time.
This article has been viewed 72,705 times.
Learn more...
This is the starting base for making the origami crane and lots of other origami birds and figures. It's a good basic skill that any aspiring paper folder should know. Read on to learn how to make it!
Steps
-
1Start with a square sheet of paper. The front of your paper (the side you want to show in the end) corresponds to the blue side of the paper in the photo. The hidden back of the paper is white in the photo.
-
2Fold the paper in half, into a rectangle. Be sure to crease your folds crisply.Advertisement
-
3Unfold, and fold in half the other way.
-
4Unfold the rectangle. Turn the paper over and fold in half into a triangle. You should see the back of your paper. Unfold and repeat along the other diagonal.
-
5Unfold the paper and turn it back over. You should see the diagonal creases create "valleys" and the perpendicular creases create "mountains".
-
6Bring the corners together. Allow the valley creases to meet in the middle. By flattening two opposite sides, you should find yourself with a square that is open on the bottom. Make sure your square is rotated so that the opening is on the bottom, as shown in the picture. (Now you've made the square base.)
-
7Bring the right corner of the top flap to the middle crease, so that the lower right edge lines up with the crease.
-
8Repeat this action on the left, so that the top looks like a kite.
-
9Fold down the top corner to make the crease lie along the horizontal line created in the previous two steps.
-
10Unfold. In doing so, you return to having a square with an opening facing down.
-
11Take the bottom corner of the square and start to fold it up along the horizontal crease you made in the previous two steps. As you fold, note the four diagonal creases on the inside that you made earlier. You will need to reverse the two creases on the upper flap. To reverse a crease, fold it in the opposite direction that it naturally folds. Bring the outer edges to the middle and flatten, so that you have a diamond.
-
12Turn your paper over, and repeat the previous five steps. Now you've finished your bird base! Perhaps try making a crane now.
-
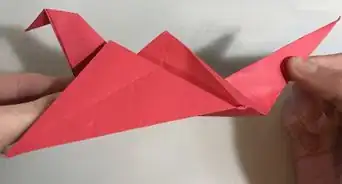
13Finished.
Advertisement
Things You'll Need
- A square piece of paper
- A large flat space to fold on
About This Article
Advertisement