wikiHow is a “wiki,” similar to Wikipedia, which means that many of our articles are co-written by multiple authors. To create this article, volunteer authors worked to edit and improve it over time.
There are 7 references cited in this article, which can be found at the bottom of the page.
wikiHow marks an article as reader-approved once it receives enough positive feedback. This article received 16 testimonials and 97% of readers who voted found it helpful, earning it our reader-approved status.
This article has been viewed 180,501 times.
Learn more...
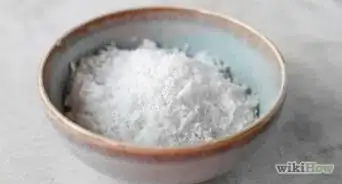
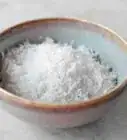
Coconut flour is a soft flour made from the pulp left over after producing coconut milk. It's a popular gluten-free, protein-rich substitute for traditional wheat flours. Best of all, you can easily make your own at home.
Ingredients
- 1 ripe coconut
- 4 cups (1 L) water
Steps
Removing the Coconut Meat
-
1Drill a hole into the coconut. Cut a hole through one of the eyes or indentations of the coconut.[1]
- A power hand drill is one of the easiest ways to cut a hole into the coconut, but if you do not have one, you could also use a corkscrew, screwdriver, or metallic skewer, instead.
- Worst case scenario, you can use a hammer and a nail. Pound the nail into the coconut using the hammer. Then, using the back end of the hammer to lift the nail back out, creating a hole.
- Create your hole in one of the three "eyes" of the coconut. These spots are the thinnest spot on the outer shell and the easiest to drill through.
- It may help to hold the coconut on a non-slip surface, like a cutting board or kitchen towel, to prevent it from slipping around as you attempt to drill through it.
-
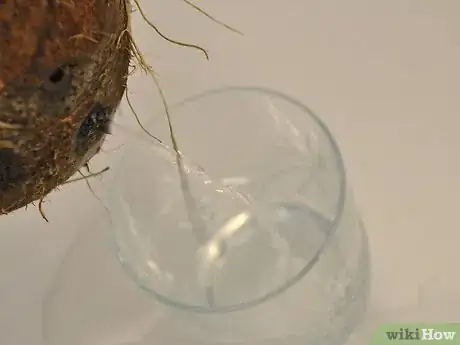
2Drain the coconut water. Tip the coconut upside-down so that the liquid in the center drains out.[2]
- Coconut water can be used for cooking purposes or served with ice as a beverage, but if you have no plans for the coconut water, simply discard it by pouring the water down the drain.[3]
Advertisement -
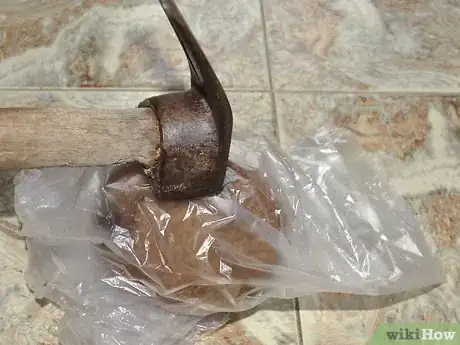
3Break the coconut open. Place the coconut in a large plastic bag or wrap it securely in a kitchen towel. Strike the coconut through the bag or towel using a wooden rolling pin or hammer until it breaks in two.[4]
- For best results, place the coconut on a cement floor, sidewalk, or other equally hard surface. Do not use a kitchen counter since you may accidentally damage the counter as you strike the coconut.
- Use as much force as possible to strike the coconut in the direct middle. Some will open quickly, while others may take more effort.
- You could also open the coconut by striking its center on a sharp rock or by sawing it in half with a hand saw. If using a saw, saw down the center seam that passes in between the eyes of the coconut.
-
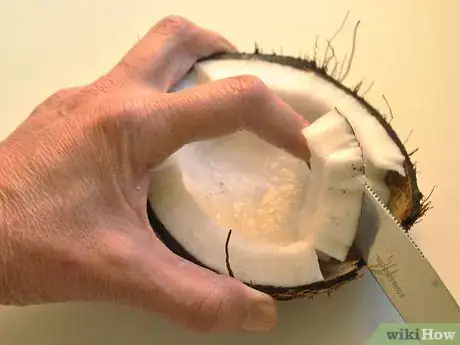
4Cut out the coconut flesh. Use a standard butter knife or small paring knife to cut the white meat away from the hard outer shell.[5]
- Cut through the meat by making a cut from the inside all the way through to the shell. Use your fingers or the tip of the knife to pry the meat off the shell in chunks.
- To make the process easier, cut the meat into v-shaped sections or cross-hatched sections, creating pieces inside the shell that can be readily removed.[6]
- You might be able to wedge a metal spoon or dull knife in between the meat and the shell without making any slices through the center of the meat. If you can, try lifting the meat away from the shell after wedging the utensil in the gap.
-
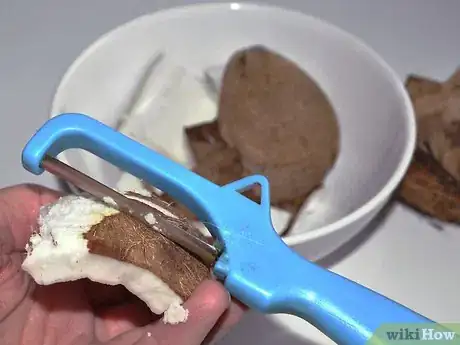
5Peel off the brown skin. Use a vegetable peeler to remove the thin layer of brown skin on the outside of the white coconut meat.
- If you successfully removed all of the flesh from the shell, there will be a brown skin on the portion of the flesh that touched the shell. This part needs to be removed before you can prepare the coconut for flour or any other use.
Straining the Liquid
-
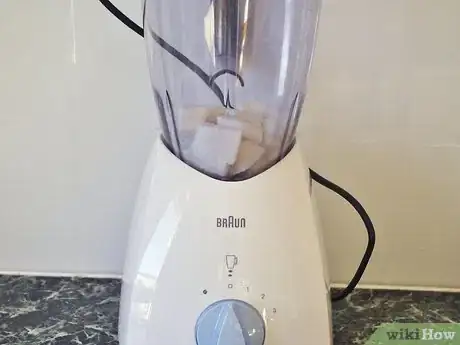
1Transfer the coconut meat to a blender. If the pieces of meat are too large to fit into your blender, cut them into smaller portions using the same butter knife or paring knife used to cut the meat from the outer shell.
- If desired, you could use a food processor instead of a blender. Make sure that the food processor is large enough to hold both the coconut and the water you will be adding to it, however.
-
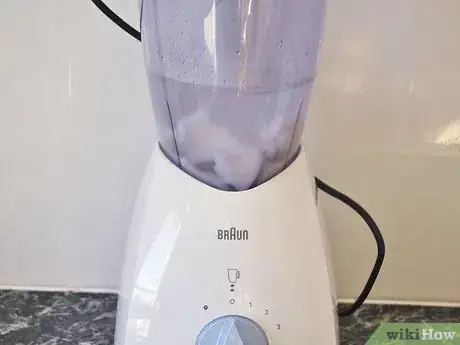
2Add 4 cups (1 L) of boiling water. Fill a tea kettle or saucepan with 1 quart (1 L) of water and bring the water to a boil over high heat. Pour this water into the blender.
- The water should completely cover the coconut.
- Strictly speaking, the water does not need to be boiling, but boiling water will soak into the coconut quicker than cool or room temperature water.
- To accomplish the same level of absorption using cool or room temperature water, let the coconut meat soak in the water for 2 hours before pressing forward.
-
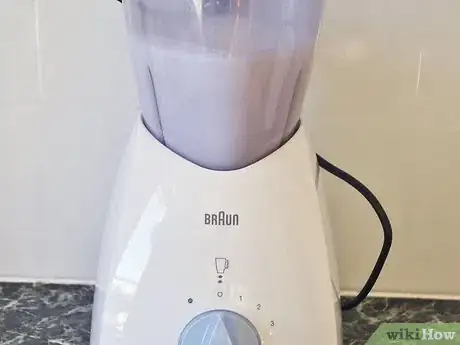
3Blend on high speed. Pulse or blend the water and coconut for 3 to 5 minutes, or until the pulp is fairly smooth.
- The pulp will not be "puree" smooth, but there should be no large chunks of coconut remaining or any soupy areas. The water and coconut should be evenly blended and dispersed throughout.
-
4Let cool slightly. Wait another 3 to 5 minutes to allow the pulp time to cool to the touch.
- If you do not give the pulp time to rest, you may burn your fingers when you try to strain it. Note, however, that this is not an issue if you used cool or room temperature water. In that instance, the pulp can be strained immediately.
-
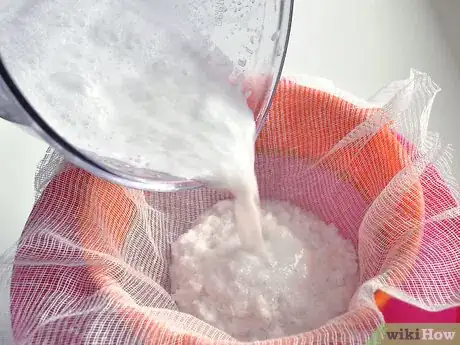
5Strain the coconut milk out through a nut milk bag. Pour the contents of the blender through a nut milk bag. Collect the milk in a bowl placed beneath the bag and save the pulp retained inside of the bag for your flour.
- If you do not have a nut milk bag, you could use a cheesecloth. Arrange the cheesecloth into a mesh strainer and pour the contents of the blender through the cheesecloth and strainer. As before, collect the milk in a bowl placed beneath the bag and use the pulp for your flour.
- You will not need the coconut milk any longer for this particular project. The coconut milk can be discarded, if desired, but you can also drink the milk or use it for cooking purposes as a substitution for dairy milk.
Dehydrating the Coconut Pulp
-
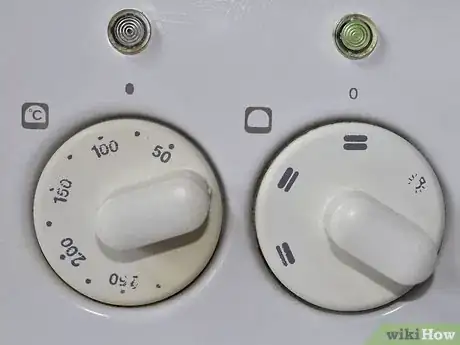
1Preheat the oven to 170 degrees Fahrenheit (77 degrees Celsius). Meanwhile, prepare a large cookie sheet by laying a sheet of parchment paper over it.[7]
- The oven needs to be set to a very low temperature. The objective is to dehydrate the coconut pulp without toasting or burning it. The only way to do this in your oven is to bake the coconut at as low a temperature as possible.
- Do not use cooking spray. The surface of the cookie sheet needs to be dry.
- Do not use aluminum foil. The delicate coconut taste can be affected by the metallic taste of foil.
-
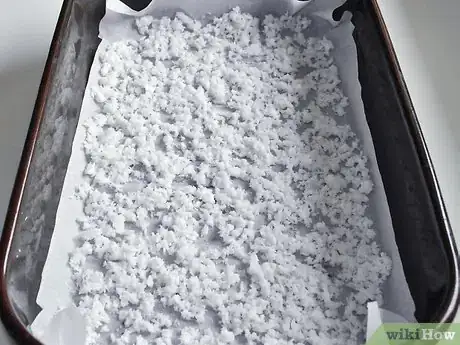
2Transfer the coconut pulp to the baking sheet. Spread the strained coconut pulp out over the parchment paper, forming it into a flat, even layer.
- Use a fork to break up any large chunks of pulp. The layer of coconut should be as thin as possible.
-
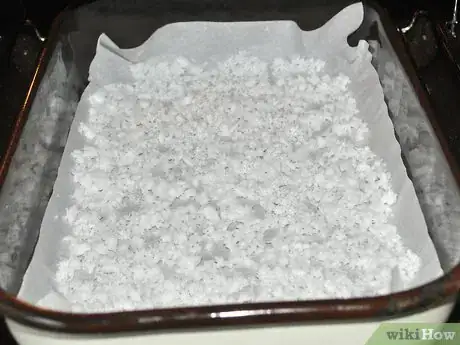
3Bake the pulp for 45 minutes. Cook the pulp until it feels completely dry to the touch.
- After pulling it out of the oven, let it cool off for 1 or 2 minutes. Carefully touch it with your hands. If it feels perfectly dry, the coconut is ready. If you can still feel some moisture, you should put it back into the oven for a few more minutes.
- Coconut can burn even at low temperatures, so you need to monitor the coconut closely as it dehydrates. Pull it out of the oven at the first sign of toasting or burning.
Grinding the Coconut into Flour
-
1Transfer the dehydrated pulp to a food processor. Scrape all of the dry coconut into a food processor or blender.[8]
- Do not add any water or other ingredients. It is crucial that the coconut be completely dry as it goes into the food processor or blender.
- Make sure that the food processor or blender is completely dry, as well. If you are using the same blender used during the coconut milk part of the process, you will need to wipe the bucket dry using paper towels before you can add the dry, dehydrated pulp back into it.
-
2Blend on high. Pulse or blend the coconut for 1 to 2 minutes, or until it appears finely ground.[9]
- You may need to use a dry spatula to stir the coconut flour so that all the pieces are exposed to the blades and thoroughly ground up. If you do this, however, pause the pulsing or blending process whenever you put the spatula into the machine.
-
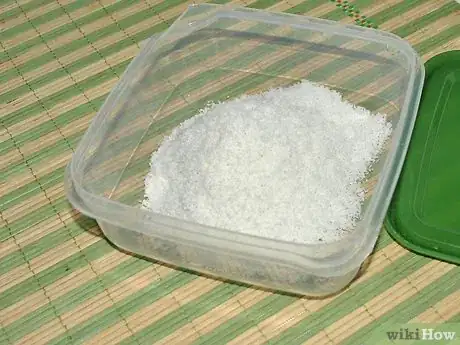
3Store the flour in an airtight container until ready to use. You can use the coconut flour immediately, but if you plan to save some of it for later use, transfer it into an airtight container and keep it stored in a cool, dry area.
- When stored properly, coconut flour can last up to one year on the shelf.
- That said, fresh coconut flour usually tastes better than old coconut flour.
Community Q&A
-
QuestionIn the absence of an oven can I make use of a stove or gas or can I sun dry it?
 Dileep GhatgeCommunity AnswerYes. You must keep the flame of a stove or gas as low as possible. Keep the coconut flour moving continuously using a spoon. Keep observing the effect of flame on the flour. If you feel it is too hot, stop and close the flame. Your pan may be hot enough to evaporate water, so keep stirring the flour. You may restart the flame if you feel it necessary to reheat it. Don't let it turn yellow, and then brown. Be very careful. Sun drying is easiest. Keep the container covered with a thin cloth and keep it in the sun for as long as necessary. Make sure it is dried fully.
 -
QuestionWhat could I use coconut flour for?
 Community AnswerIt's great for making baked goods such as cakes or bread. It can be used in place of flour for frying also.
 -
QuestionCan a microwave oven be used?
 Community AnswerYes, but make sure you keep it in for the same time as you would keep it in your oven.
Things You'll Need
- Power drill, corkscrew, screwdriver, metal skewer, or hammer and nail
- Hammer or wooden rolling pin
- Kitchen towel
- Large plastic bag
- Butter knife, paring knife, or metal spoon
- Vegetable peeler
- Kettle or saucepan
- Blender or food processor
- Nut milk bag or cheesecloth and mesh strainer
- Mixing bowl
- Baking sheet
- Parchment paper
- Oven
- Spatula
- Airtight container
References
- ↑ https://www.foodnetwork.com/grilling/summer-parties/photos/how-to-break-down-a-coconut
- ↑ https://www.foodnetwork.com/grilling/summer-parties/photos/how-to-break-down-a-coconut
- ↑ https://www.webmd.com/vitamins/ai/ingredientmono-1261/coconut-water
- ↑ https://www.foodnetwork.com/grilling/summer-parties/photos/how-to-break-down-a-coconut
- ↑ https://www.polynesia.com/blog/polynesian-cultural-center-tips-remove-coconut-meat-shell/
- ↑ http://thenaughtyvegan.com/how-to-remove-coconut-meat.htm
- ↑ https://allsortsofpretty.com/super-easy-diy-coconut-milk-coconut-flour/
- ↑ https://www.youtube.com/watch?v=gi24hYCiog8
- ↑ https://www.youtube.com/watch?v=1gbncQyeI9I
About This Article
To make coconut flour, take a husked coconut and pierce one of the eyes with a drill or skewer. Drain out the water, then break the coconut by wrapping it in plastic wrap or a clean kitchen towel and hitting it with a hammer. Cut out the flesh of the coconut with a paring knife and remove any brown skin with a vegetable peeler. Put the coconut meat in a blender with 4 cups (1 L) of boiling water and blend it at high speed for 3 to 5 minutes. Let the blended mixture sit and cool for another 3 to 5 minutes, then strain it through a nut milk bag or a piece of cheesecloth. Once you’ve strained off as much of the liquid as possible, spread the coconut pulp on a baking sheet lined with parchment paper. Bake it for about 45 minutes at 170° F (77° C) until it feels completely dry. Blend the dry pulp in a blender or food processor at high speed for 1 to 2 minutes to grind it into a fine powder. Store your coconut flour in an airtight container for up to 1 year. For more tips on removing the fresh coconut meat, read on!
