wikiHow is a “wiki,” similar to Wikipedia, which means that many of our articles are co-written by multiple authors. To create this article, 21 people, some anonymous, worked to edit and improve it over time.
The wikiHow Culinary Team also followed the article's instructions and verified that they work.
This article has been viewed 221,001 times.
Learn more...
Applejack and apple-infused brandy are liqueurs that you can make at home with a little bit of effort and a lot of patience. Applejack is a fermented and later distilled apple cider, whereas infusing brandy with apples gives the brandy a sweet, spicy, apple pie-like taste. Though not technically applejack, the apple-infused brandy is a less time-consuming alternative. Regardless of which you are in the mood for, you can do the majority of the work to make it in an afternoon at home!
Things You Should Know
- Heat a gallon of apple cider, adding 5 pounds of brown sugar when the temp hits 110 °F and a packet of brewer's yeast when the temp hits 115-120 °F.
- Add the remaining 4 gallons of apple cider, seal the container's lid, and store the mixture away for 6-10 days.
- To make apple-infused brandy, heat a mixture of apples, cinnamon, and sugar over medium heat.
- Combine white wine, brandy, and your apple mixture in a glass container, then seal the container and store it away for 3 weeks.
Ingredients
Applejack
- 5 gallons of fresh apple juice with no preservatives or added sugar
- 5 pounds of brown sugar
- A packet of brewer’s yeast
- A sealable five-gallon container
- A fermenting airlock
- A large pan
Apple-Infused Brandy
- 2 Cups red apples, peeled and chopped
- 3 Cinnamon sticks, each 3 inches (7.62 cm) long
- 2 Tablespoons (30 mL) of water
- 2 1/2 Cups sugar
- 2 Cups (480 mL) brandy
-
3 Cups (720 mL) white wine, dry
Steps
Making Applejack
-
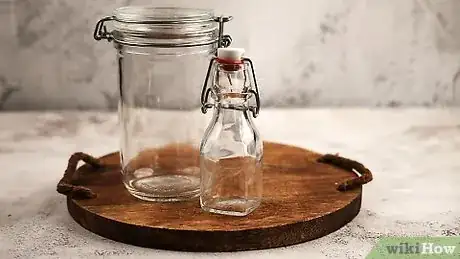
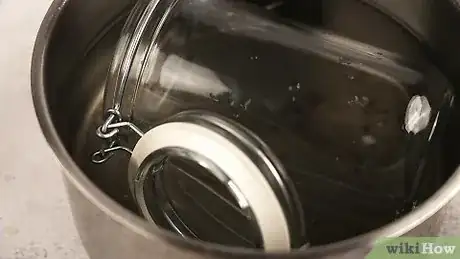
1Sterilize all of your equipment. Since the fermentation process for applejack requires activating the proper bacteria, you want to make sure that only those bacteria are in the mixture. Therefore, you want to sterilize all of your equipment, especially the five-gallon container.[1]
- You can use an iodine solution, known as an iodophor, to sterilize everything. The solution is readily available from most home brewing outlets.[2]
-
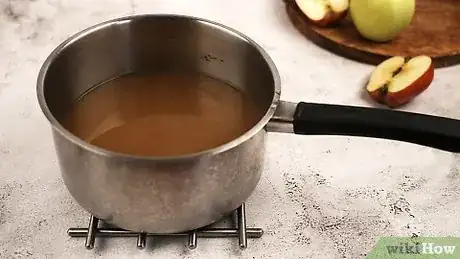
2Heat one gallon of apple cider over medium heat. You want to make sure that all of the apple cider you use is free of preservatives and has no sugar added, especially since you will add your own sugar. Pour the first gallon of apple cider into the large pan and heat over medium heat.[3]Advertisement
-
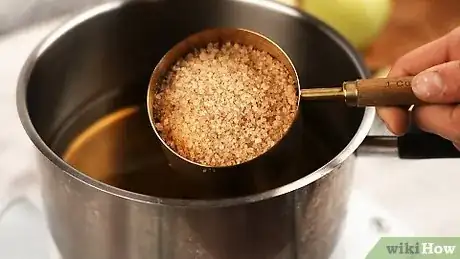
3Add all five pounds of brown sugar. Once the gallon of apple cider reaches approximately 110 degrees Fahrenheit, begin stirring in all five pounds of brown sugar. Keep stirring in the sugar until all five pounds have fully dissolved in the apple cider.[4]
-
4Stir in the packet of brewer’s yeast. Once all of the sugar has been stirred into the gallon of cider, you also want to add the packet of brewer’s yeast. If the apple cider has reach over approximately 115-120 degrees Fahrenheit, then let it cool to this temperature before added the yeast.[5]
- Temperatures over 130 degrees Fahrenheit will kill the yeast instead of activating it, and temperatures under 105 degrees Fahrenheit won’t activate the yeast at all, so it’s very important to add with the cider in the correct temperature window.[6]
- Follow the directions on your particular packet of brewer’s yeast for the amount of time the yeast should be kept at the activation temperature.
-
5Remove the cider from the heat source. Once you’ve added the yeast at the proper activation temperature and kept if there for the correct amount of time, you can remove the cider from the heat source. It needs to cool enough so that you can add it to the airtight five-gallon container without causing pressure issues as it cools.[7]
- Since the cider wasn’t overheated to begin with, this will only need to cool for five-to-ten minutes.
-
6Add the other four gallons of apple cider to the five-gallon container. While waiting for the yeast and brown sugar cider to cool, you can add the rest of the apple cider to the sterilized five-gallon container.[8]
- Only add a little bit of the fourth gallon because the additions to the heated cider will result in a bit more than five total gallons, and you don’t want to overflow the container.
- If you have a five-gallon container meant for brewing, that’s great. If you don’t, you can even use a five-gallon water jug. However, you have to make sure that you still have the cap if you use a water jug, and you have to make sure that it seals properly.[9]
-
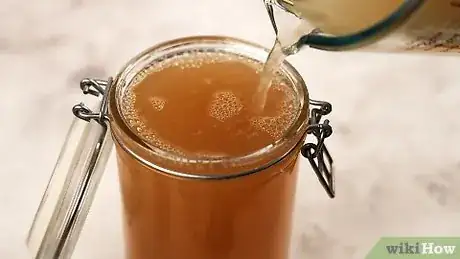
7Add the rest of the cider to the container. Once the heated cider has cooled for ten minutes, you can add it to the rest of the apple cider in the five-gallon container. Then add a bit more of the final gallon of cider, but not all of it. The five-gallon container should still have several inches of room left at the top of it.
- As the yeast feeds on the sugar in the mixture, it will foam and create pressure. If the container is too full, then you can end up with a mess on your hands.[10]
-
8Seal the container with the lid/cap with the brewer’s airlock attached. A brewer’s airlock is a device that allows pressure to escape the container without allowing any outside air in. Attach the airlock to the cap by following the instructions for the specific unit you purchased.
- You’ll easily be able to find the device at the same home brewer’s store where you found your yeast.
- The airlock will also require about an ounce of water inside it. This allow the gas to escape up through the water without allowing any outside air to pass down in.[11]
-
9Store in a cool, dark place for 6-10 days. You now want to allow the applejack to ferment for a minimum of six days. However, the longer you allow the yeast to feed, the higher the alcohol content of the applejack will be.[12] Closer to ten days is going to give the applejack more bite.
- Especially if you’re using a clear water jug, you want to store the container in a dark place because too much sunlight can kill the yeast.
- Give the container a tap once a day. You don’t want to shake it hard—just give it a tap or a rattle to send any gas in the liquid up to the surface to vent to keep from building too much pressure.[13]
-
10Sterilize the apple cider containers and hose. Once you’ve waited your six-to-ten days for the yeast to do its job, it’s time to bottle the applejack. Begin by sterilizing the original gallon jugs in which your apple cider came. You can sterilize them with the same iodophor as the larger container. You also want to sterilize the small hose or piece of tubing you have to move the applejack.
-
11Siphon the applejack between the containers. You will see a layer of sediment from the yeast at the bottom of the larger container. Insert the sterilized tube to a level just above the sediment so you won’t get any of it, and siphon the applejack out of the five-gallon container and into the smaller, sterilized one-gallon containers.
- Make sure that you still have the caps in order to seal the one-gallon containers.
- Realistically, you can simply refrigerate the mixture at this point to kill the yeast, and you’ll have an apple wine that is in the neighborhood of 40 proof—20% alcohol. However, you can freeze off some of the water in the current mixture to increase the alcohol content further and possibly even double it.[14]
-
12Freeze the applejack. Once you have all of the applejack sealed in the smaller containers, freeze them. You want the contents of each container to be frozen solid before moving on to the next step.[15]
-
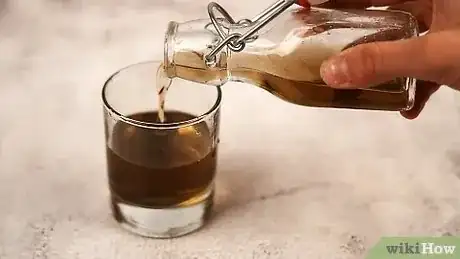
13Separate the applejack from the water. After you have frozen the containers solid, open them, tip them upside down and let them drip into mason jars. Since water freezes at a much lower temperature than alcohol, the liquid that drips into the jars will be concentrated applejack as it separates from the still frozen water above.[16] You will fill several jars as the content continues to melt and release more alcohol.
- You will visibly see the frozen portion losing its caramel color as the alcohol drains and leaves behind the ice.
- The process can take an hour and a half or two hours, so be patient.
- If you truly want to separate the water out as much as possible, then pour the contents of the jars back into the jugs once you’ve dumped out the melted water and freeze them again. After two or three times through the distillation process, you’ll notice that the contents don’t freeze at all. Your applejack will be closer to 80 proof—40% alcohol—when this happens.[17]
-
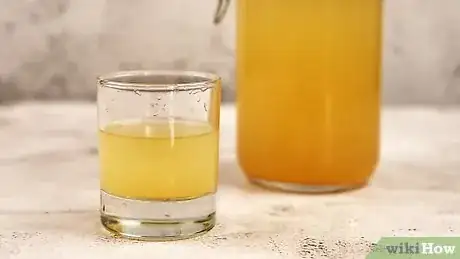
14Enjoy responsibly. Once you have removed much of the water and impurities from your applejack, it is ready to drink. Always enjoy in moderation!
Making Apple-Infused Brandy
-
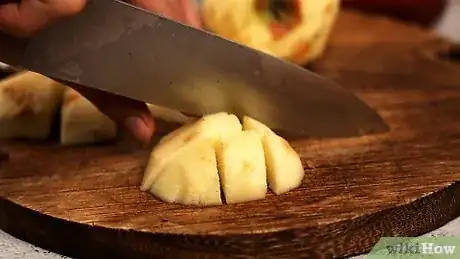
1Peel and chop 2 cups of red apples. Though not technically applejack, apple and brandy pair well together, and infusing brandy with natural apple flavoring is a fun alternative to making homemade applejack. In order to infuse the brandy with natural apple flavoring, you will need to begin by peeling and chopping from fresh apples. Two cups worth is enough for this recipe.[18]
-
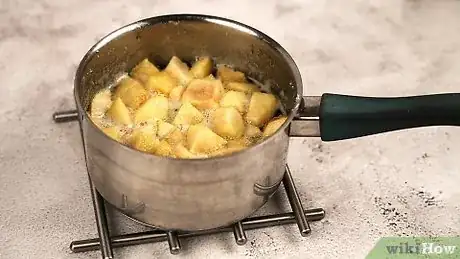
2Combine chopped apples, 3 cinnamon sticks, and 2 tablespoons (30 mL) of water into a saucepan and stir. To give your infused spirit some extra spice and cider-flavored goodness, try adding three cinnamon sticks to the apples and water.[19]
-
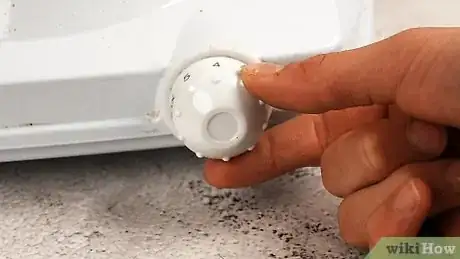
3Apply medium heat for ten minutes. To help release all of the natural flavors and to kill any germs that you don’t want to add to your infusion, you should heat the mixture for ten minutes on medium heat.[20]
- The mixture should be covered during heating.
-
4Pour in 2 1/2 cups (580 mL) of sugar and stir. Once you have heated the mixture, add the 2 1/2 cups of sugar. Stir in the sugar and continue stirring over heat until the sugar has dissolved in the mixture.[21]
-
5Turn off heat and set aside mixture to cool. After the sugar has fully dissolved in the mixture, remove it from the heat and allow it to cool. It doesn’t have to cool to room temperature, but it needs to cool enough that placing it in an airtight bottle won’t create any pressure problems as the liquid cools further.
-
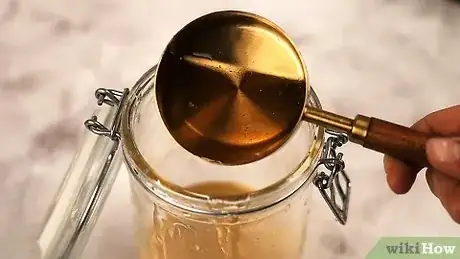
6Add the mixture to a large, airtight glass container. Once the mixture has cooled to warm but not scalding, add it to a large glass container.[22]
- It’s very important to make sure that the container can be sealed airtight.
- Add the entire mixture, not just the apples and liquid.
-
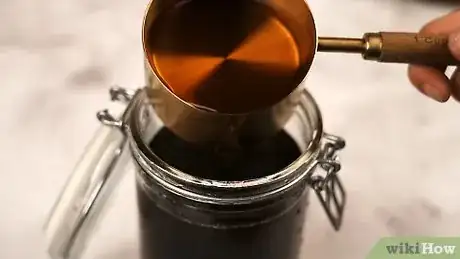
7Add 2 cups (480 mL) of brandy into the glass container. Now that you have finished the process for prepping the mixture, you can combine the brandy with the apples and sugar.[23]
-
8Combine 3 cups (720 mL) of dry white wine with the brandy and apple mixture in the glass container. The final ingredient for this recipe is the three cups of dry white wine, which you should now add to the mixture.[24]
-
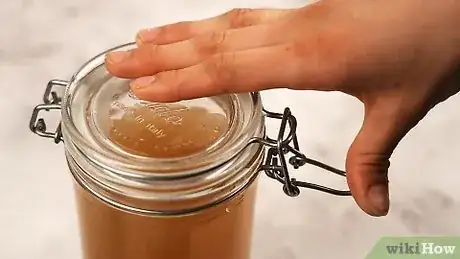
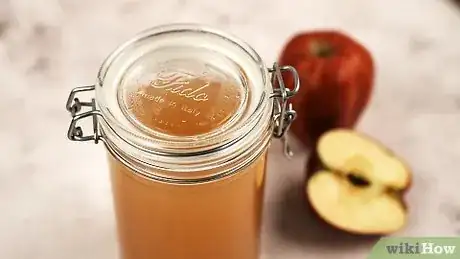
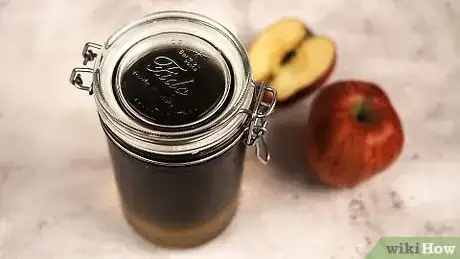
9Seal the container. Once you have combined all of the ingredients and given them a good mixing, it is time to seal the container. Once sealed, you want to store the container in a cool dark place to get the most out of the infusion.[25]
-
10
-
11Strain the contents of the mixture through a double layer of cheesecloth. Once the three full weeks has past, it is time to open the container, but don’t drink your apple brandy just yet. Strain the mixture through a double layer of cheesecloth to remove any sediment.[28]
-
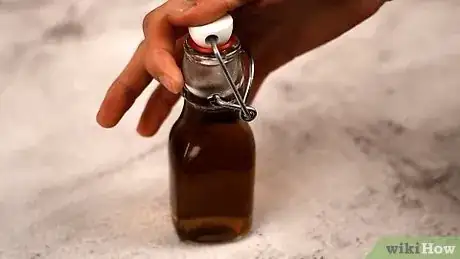
12Pour the strained mixture into a glass bottle and cover it securely. Though it was time to remove the infusion mixture from the liqueur, the apply brandy is not quite ready yet. Add the mixture to a glass bottle that you can seal.[29]
-
13Wait 2 weeks. Again, patience is an important part of knowing how to make apple brandy. Like last time, you should store the bottle in a cool dark place. However, you do not need to worry about shaking the contents of the bottle after they have been strained.[30]
-
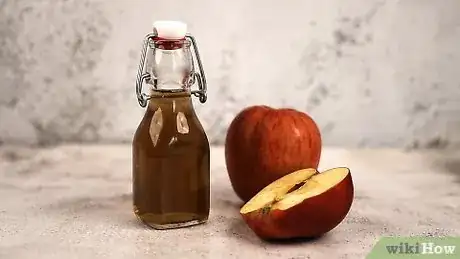
14Open the bottle and enjoy a delicious glass of homemade apple brandy. All of your time and patience has now paid off. Once the two-week window has past, you are free to open and enjoy your apple brandy by itself or mixed in a cocktail.
Community Q&A
-
QuestionDo I need to keep applejack in a fridge?
 Community AnswerNo, you just need to keep it in a cool, dry place.
 -
QuestionCan I use pasteurized cider to make applejack?
 Matthew FergusonCommunity AnswerYes, as long as there are no preservatives added to the cider; preservatives may kill your yeast and should never be added to your fruit/juice when making a fermented product.
 -
QuestionHow much yeast do I use for 5 gallons of applejack?
 Joseph BaurysCommunity AnswerTwo grams of a good brewer's yeast per gallon is standard. I recommend Home Brew Stuff (~$18/lb), which can be found on Amazon and most brew stores.
Warnings
- Too much applejack or apple-infused brandy can be highly intoxicating; enjoy this drink in moderation.⧼thumbs_response⧽
References
- ↑ https://www.youtube.com/watch?v=gAqKvM7JHkw
- ↑ http://realbeer.com/jjpalmer/cleaning.html#iodo
- ↑ https://www.youtube.com/watch?v=gAqKvM7JHkw
- ↑ https://www.youtube.com/watch?v=gAqKvM7JHkw
- ↑ https://www.youtube.com/watch?v=gAqKvM7JHkw
- ↑ https://www.exploratorium.edu/cooking/bread/yeast_temp.html
- ↑ https://www.youtube.com/watch?v=gAqKvM7JHkw
- ↑ https://www.youtube.com/watch?v=gAqKvM7JHkw
- ↑ https://www.youtube.com/watch?v=gAqKvM7JHkw
- ↑ https://www.youtube.com/watch?v=gAqKvM7JHkw
- ↑ https://www.youtube.com/watch?v=gAqKvM7JHkw
- ↑ https://www.youtube.com/watch?v=gAqKvM7JHkw
- ↑ https://www.youtube.com/watch?v=gAqKvM7JHkw
- ↑ https://www.youtube.com/watch?v=sJqsJWJBaZY
- ↑ https://www.youtube.com/watch?v=sJqsJWJBaZY
- ↑ https://www.youtube.com/watch?v=sJqsJWJBaZY
- ↑ https://www.youtube.com/watch?v=sJqsJWJBaZY
- ↑ http://www.food.com/recipe/apple-brandy-93360?layout=desktop
- ↑ http://www.food.com/recipe/apple-brandy-93360?layout=desktop
- ↑ http://www.food.com/recipe/apple-brandy-93360?layout=desktop
- ↑ http://www.food.com/recipe/apple-brandy-93360?layout=desktop
- ↑ http://www.food.com/recipe/apple-brandy-93360?layout=desktop
- ↑ http://www.food.com/recipe/apple-brandy-93360?layout=desktop
- ↑ http://www.food.com/recipe/apple-brandy-93360?layout=desktop
- ↑ http://www.food.com/recipe/apple-brandy-93360?layout=desktop
- ↑ http://www.food.com/recipe/apple-brandy-93360?layout=desktop
- ↑ http://www.food.com/recipe/apple-brandy-93360?layout=desktop
- ↑ http://www.food.com/recipe/apple-brandy-93360?layout=desktop
- ↑ http://www.food.com/recipe/apple-brandy-93360?layout=desktop
- ↑ http://www.food.com/recipe/apple-brandy-93360?layout=desktop
About This Article
To make applejack, start by heating apple cider, brown sugar, and brewer's yeast in a large pot. Then, pour the mixture into a container along with some more apple cider and then seal the container shut with a brewer's airlock. Store the mixture somewhere dark for a week and then siphon it out of the original container into a new container so there's no yeast sediment. Once you've done that, put the new container in the freezer and leave it in there until the mixture is frozen solid. Finally, separate the applejack from the water in the container and enjoy. If you want to learn how to infuse brandy with apple flavors, keep reading the article!
