This article was co-authored by Art Fricke and by wikiHow staff writer, Hunter Rising. Art Fricke is a home renovation and repair specialist and the owner of Art Tile & Renovation based in Austin, Texas. With over 10 years of experience, he specializes in bathroom and kitchen renovations. Art focuses on a single contractor approach to customized renovation work, and performs projects such as installing custom tile showers, fixing tiled shower leaks, replacing cracked tiles, and installing floor and wall tile.
There are 14 references cited in this article, which can be found at the bottom of the page.
This article has been viewed 26,293 times.
Peel and stick tiles have sticky coatings on their backs so you can easily apply them without using other adhesives, such as thinset. You can also place peel and stick tiles over other flat floorings, such as laminate, so you don’t have to remove it. If you want to put peel and stick tile in your home, make sure the floor is flat and clean first. Plan where you want to place your tiles before firmly pressing them down. When you finish laying the tiles, roll over them so they’re less likely to come up!
Steps
Preparing the Floor
-
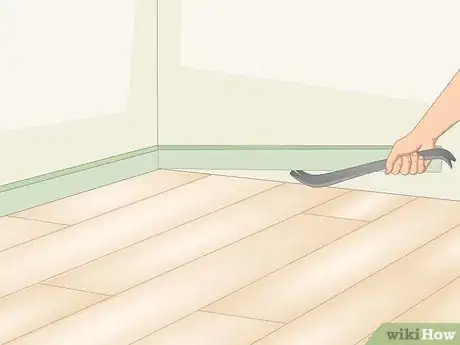
1Take the baseboards off of the walls. Slide a straight pry bar or putty knife between the baseboard and your wall. Pull the handle of the pry bar away from the wall to loosen the nails holding the boards in place. Place the pry bar in a different spot along the baseboard and repeat the process to pull out the nails. Try to remove the baseboards without breaking them so you're able to reinstall them later.[1]
- Removing the baseboards ensures that you don’t see any of the cut edges of the tiles against your walls.
- If you aren’t able to pull the nails completely from your wall, use a pair of nippers to cut them so they’re flush with the wall.
-
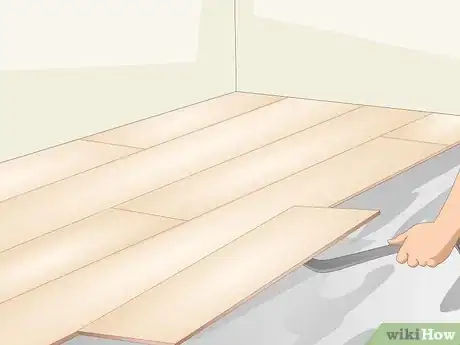
2Remove the existing flooring if it’s uneven. You can install peel and stick directly on top of flat flooring, such as laminate, linoleum, and concrete, as long as it doesn’t have any large holes or cracks. If you have uneven tile, hardwood, or carpet, start in the corner furthest from the door and lift the old flooring up with a pry bar. Once you get the old flooring out, use a floor scraper to remove any residual adhesive that’s left on the subfloor so you can get it perfectly flat.[2]
- Don’t try to apply peel and stick tiles over uneven surfaces since they will bend or flex.
- Removing existing flooring can create dust or debris, so wear proper eye protection or dust masks.
- If you aren’t able to remove the old flooring yourself, hire a professional service to remove it for you.
Advertisement -
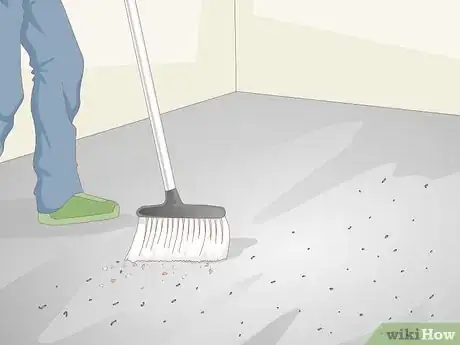
3Sweep the floor to remove any dust or dirt. Use a stiff-bristled broom to clean from the walls toward the center of the room. Go over the same area 2–3 times to lift up any stuck-on debris so you can get the floor as clean as possible. Once you have a pile of dirt in the center of the room, transfer it to a dustpan so you can easily throw it away.[3]
- You can also use a vacuum if it’s easier for you to use.
Warning: Avoid getting the floor wet before installing the tile since you could trap moisture inside.
-
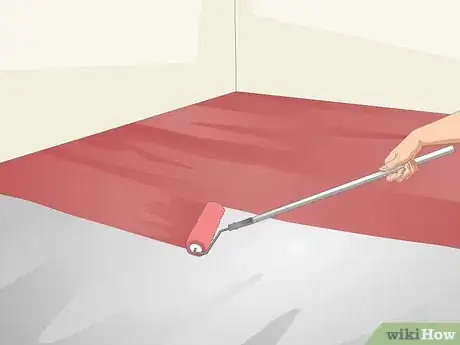
4Paint a coat of latex primer on the subfloor if it’s made from wood or concrete. Porous substances, like wood and concrete, can absorb water and cause damage to your home later on. Pour a latex floor primer in a paint tray and apply it to a foam paint roller. Start in the corner of your room furthest from the exit, and spread a thin layer on your floor as you work closer toward the door. Allow the primer to dry for at least 24 hours after you spread it so you don’t trap moisture in your floors.[4]
- You can buy latex floor primer from your local hardware store.
- Typically, 1 US quart (950 ml) or primer will cover around 50 square feet (4.6 m2).
Installing the Tiles
-
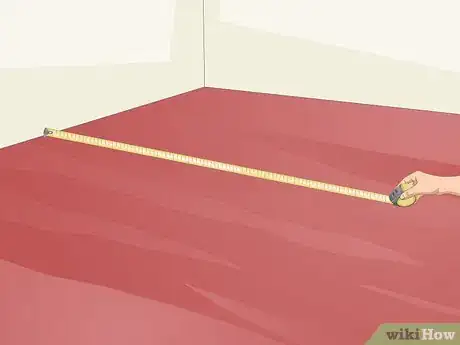
1Measure the area of your room to find how many tiles you need. Find the length and width of the room where you’re installing tiles and multiply the numbers together to find the area. Divide the room’s area by the area that a single tile covers so you know how many tiles you need. Account for about 15% extra so you have enough scrap pieces of tile in case you make a mistake.[5]
- For example, if your room is 10 by 15 feet (3.0 m × 4.6 m), then you would multiply 10 x 15 = 150 square feet (14 m2). If the tile you plan on using covers 1 square foot (0.093 m2), then you’ll divide 150/1 = 150 tiles. Since 15% of 150 is about 20, you’ll need about 170 tiles for your room.
-
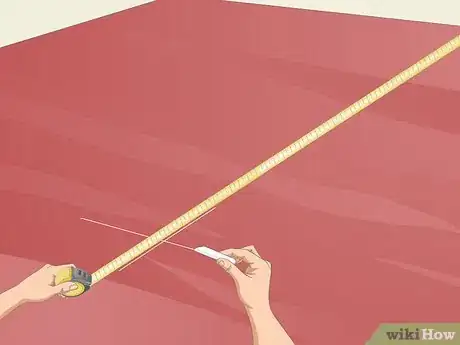
2Mark the center of the room with perpendicular chalk lines. Find the width of your room in 2 different spots and mark the center of each measurement on your floor. Pull a chalk line from 1 wall across to the other so it crosses through the marks you made. Snap the chalk line against the floor to leave a center line going through the marks. Find the middle of the chalk line you snapped and mark it with a pencil. Snap another line perpendicular to the first one so it goes through the mark in the middle of your room. The lines will split your room into 4 separate quadrants.[6]
- Make sure your lines are perfectly square with a straight edge so you can lay the tiles along the line.
-
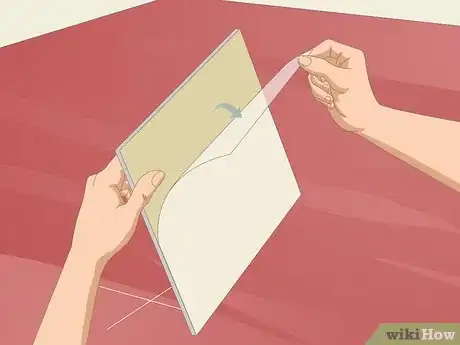
3Peel the protective backing off of 1 tile. Flip your first tile over so the bottom faces up. Use your fingernail to peel the plastic backing off one of the tile's corners. Pull the backing off slowly so you don’t touch any of the adhesive, or else it may not stick as well later on. Hold onto the edges and non-adhesive side of the tile to move it.[7]
- Throw away the backing as soon as you remove it so your room doesn’t get messy while you’re working.
- Don’t remove the backing until you’re ready to install the tile since it can be challenging to move later on.
-
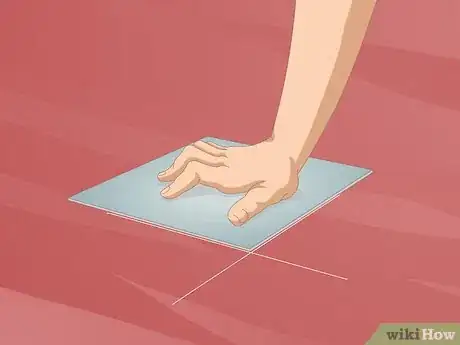
4Press the first tile in the corner where the chalk lines intersect. Flip the tile over so the adhesive side faces down toward the floor. Line up a corner of the tile with one of the 4 corners made from the chalk lines in the center of the room. Make sure the sides line up perfectly with the chalk, or else the rest of your tiles may look crooked as well. Slowly lower the tile to the floor before pressing on it with the base of your palm.[8]
- Peel and stick tiles are difficult to remove cleanly once you place them, so make sure the tile lines up before you set it down.
-
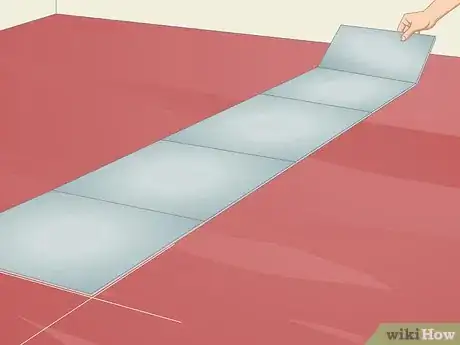
5Lay additional tiles in the same quadrant, working toward the walls. Only work in 1 quadrant of your room at a time so it’s easier to set the tiles without walking over them. Place the next tile so the edges form a straight line with the first tile you put down. Ensure the tiles line up with the ones next to them before you remove the backing, or else they’ll look crooked. Continue adding tiles 1 at a time to make sure they form a clean surface across the entire floor.[9]
- Complete 1 row at a time before moving onto the next row in the same quadrant.
- If you plan on putting grout between your tiles, put tile spacers between each of the tiles so the grout can fill in between them.
Tip: If the tiles have arrows on the bottom, make sure they all point in the same direction or else the pattern won’t look consistent.
-
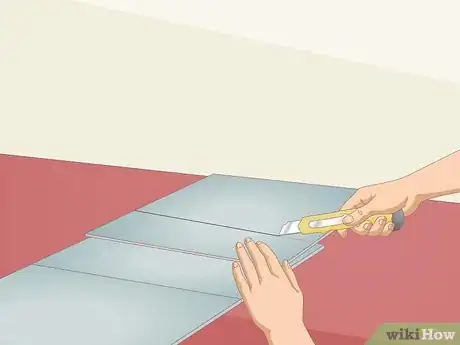
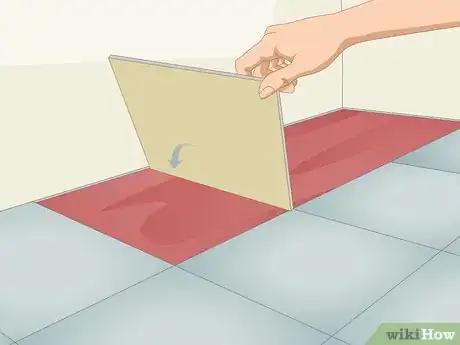
6Cut tiles with a straight edge and utility knife if they don’t fit. Measure the size of the gap between the last full tile on your floor and the wall so you can find out what size you need. Use a straight edge and a pencil to transfer the measurement onto the top side of the tile. Pull a utility knife blade along the line to score it and snap through the tile. Peel the backing off and stick the tile as you regularly would.[10]
- If you need to place tiles around a vent opening, trace the vent opening on a sheet of paper and cut it out. Trace the piece of paper on your tiles so you know where to make your cuts.
- If you need to cut a tile to fit around a curved surface, make a stencil of the shape with paper. Transfer the stencil to the tile and pull the multi-knife blade of a Dremel tool slowly along the line to make your cut.[11]
-
7Repeat the process for the remaining quadrants. Once you've finished a section, move onto the next. Use the same procedure so you start from the center marking and work your way across in rows. It's best to start on the far side of the room and work toward the exit.[12]
Finishing Your Tile Floor
-
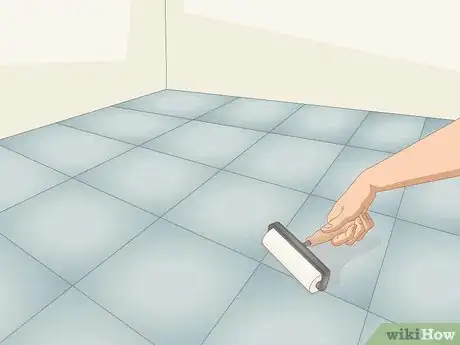
1Go over the tiles with a roller to help them adhere better. A vinyl roller has a weighted end and ensures the entire tile presses against your floor. Start the roller in 1 corner of your room and pull the roller slowly over all of the tiles. Overlap areas you’ve already rolled by about 2–3 inches (5.1–7.6 cm) to ensure you get even coverage. Continue rolling across all of your tiles so they’re less likely to lift up as they age.[13]
- Ask hardware or flooring specialty stores if they can rent you a vinyl roller so you don’t have to buy one.
Tip: If you aren’t able to get a vinyl roller, you can also use a standard rolling pin. Apply firm pressure as you roll over each of your tiles.
-
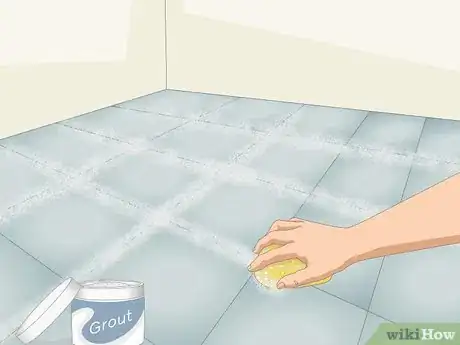
2Apply grout if you’re using groutable peel and stick tiles. Grout helps fill in spaces between tiles and prevents dirt from getting stuck on your floors.[14] Mix the grout in its container so you can spread it around easily, and transfer some onto your floor with a grout sponge. Press the grout into the spaces between your tiles with the sponge until it’s flush with the tops of the tiles. Leave the grout to dry for at least 24 hours so it has time to set.[15]
- Don’t apply grout if you didn’t use groutable peel and stick tiles since they will be too thin otherwise.
- Be sure to wipe any excess grout away with clean water so your tiles don’t try with a hazy finish.[16]
-
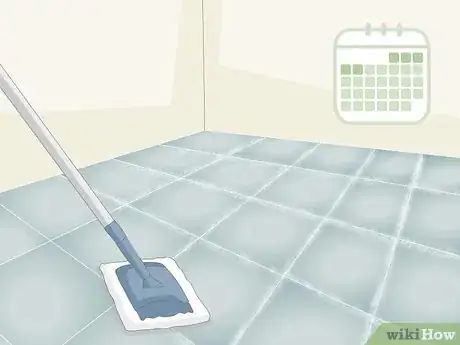
3Wait 5 days before cleaning or washing your floor. Your new tiles will take some time to fully set and waterproof your floors, so avoid doing any heavy cleaning. Don’t use a mop or water on the floor since moisture could still get caught underneath the tiles. After 5 days, you can clean as you normally would.[17]
- It’s okay to sweep or vacuum if you need to.
- Try to avoid using the room with new tiles as much as you can so you don’t feel the need to clean it.
-
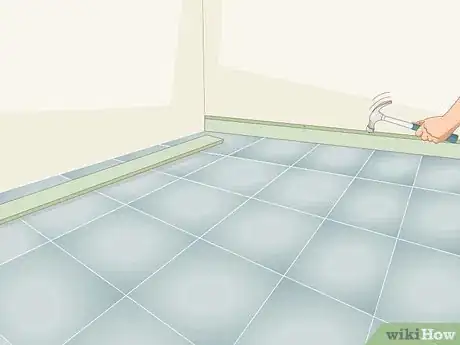
4Reinstall the baseboards in your room. Line up the old baseboards with their positions on the walls and press them in firmly. Use a hammer to pound the nails back into your wall to secure the boards in place. Continue working around the perimeter of your room to reinstall the boards so they hide the edges of your tiles.[18]
- Get new baseboards if you accidentally broke the old ones.
Warnings
- Use caution while cutting the peel and stick tiles so your knife doesn’t slip while you’re working.⧼thumbs_response⧽
- Don’t remove the backing from your tiles if you aren’t ready to place them since they will be difficult to move.⧼thumbs_response⧽
Things You’ll Need
Preparing the Floor
- Pry bar
- Hammer
- Floor scraper
- Sander
- Foam roller
- Latex floor primer
Installing the Tiles
- Measuring tape
- Chalk line
- Pencil
- Utility knife
- Straight edge
- Tile spacers (optional)
Finishing Your Tile Floor
- Vinyl roller or rolling pin
- Tile grout
- Grout sponge
- Sponge
- Bucket
- Hammer
- Mop
References
- ↑ https://www.bobvila.com/articles/how-to-remove-baseboard/
- ↑ https://www.homerepairtutor.com/how-to-remove-old-carpet/
- ↑ https://youtu.be/WdtdVT8YMd0?t=34
- ↑ https://youtu.be/WdtdVT8YMd0?t=86
- ↑ http://www.dailycivil.com/how-to-calculate-number-of-tiles-in-a-room-2/
- ↑ https://www.thisoldhouse.com/how-to/how-to-lay-vinyl-tile-floor
- ↑ https://youtu.be/WQmJrfjOF7o?t=45
- ↑ https://www.thisoldhouse.com/how-to/how-to-lay-vinyl-tile-floor
- ↑ https://www.thisoldhouse.com/how-to/how-to-lay-vinyl-tile-floor
- ↑ https://youtu.be/WQmJrfjOF7o?t=108
- ↑ https://youtu.be/ToqP_9l66GY?t=12
- ↑ https://www.thisoldhouse.com/how-to/how-to-lay-vinyl-tile-floor
- ↑ https://youtu.be/WQmJrfjOF7o?t=139
- ↑ Art Fricke. Home Renovation & Repair Specialist. Expert Interview. 1 July 2020.
- ↑ https://www.jennaburger.com/2012/01/groutable-vinyl-floor-tile/
- ↑ Art Fricke. Home Renovation & Repair Specialist. Expert Interview. 1 July 2020.
- ↑ https://youtu.be/WQmJrfjOF7o?t=170
- ↑ https://www.bobvila.com/articles/how-to-remove-baseboard/
