This article was co-authored by Gregory Cade, JD. Gregory Cade is an Environmental and Occupational Law Attorney. With over 25 years of experience, he has extensive knowledge in injuries resulting from toxic substance exposure like pesticides. He is a member of numerous professional organizations, including The American Bar Association, The National Association of Environmental Professionals, and The American Association for Justice. Gregory graduated with a BS in Natural Science and Mathematics with an emphasis in Chemistry and Biology and an MPH in Occupational Health, Safety, and Industrial Hygiene from The University of Alabama at Birmingham. He also holds a JD from Miles School of Law.
This article has been viewed 63,078 times.
Are you in a building that was constructed between 1920 and 1980? Do you see oily stains on your tiles, or powdery residue? If so, you may have asbestos in your tiles. Ingesting or inhaling the thin fibers of asbestos can cause cancer and serious pulmonary diseases like mesothelioma, so this isn’t something you can solve on your own.[1] If you do suspect you have asbestos tiles, contact a professional. In this article, we’ll cover everything you need to know about identifying and getting rid of asbestos tiles in your wall and ceiling.
Steps
Looking for Physical Indicators
-
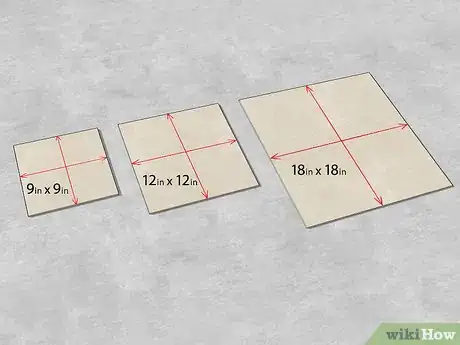
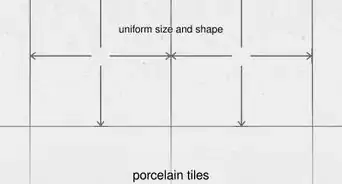
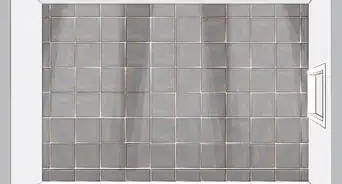
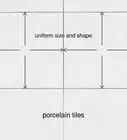
1Check for 9 in (23 cm), 12 in (30 cm), or 18 in (46 cm) square tiles. The most popular size and shape of asbestos tiles when they were used as a popular building material were 9 in (23 cm) by 9 in (23 cm) squares. But 12 in (30 cm) and 18 in (46 cm) squares were commonly used as well.[2]
- Contact an asbestos professional to inspect your tile to see if it contains asbestos.
- You may be able to test the tile yourself with a test kit that you can order online.
- The asbestos-containing tiles could be thick, stone-like tiles or they could be thin, vinyl tiles.
-
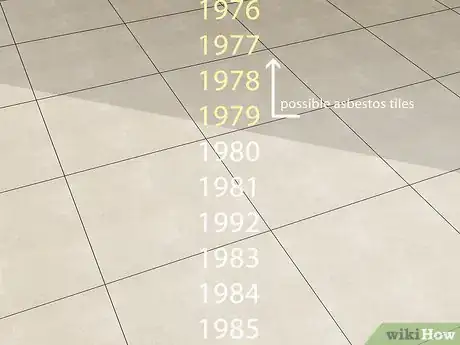
2Find out if any of the tiles were installed before 1980. Asbestos tiles can be difficult to identify because you can’t see the asbestos in the tile. Because asbestos was widely used before 1980, if you have flooring tiles that were installed before then, you need to test a piece of the flooring to make sure it’s safe.
- You can test the tile yourself or hire an asbestos professional to inspect and test the tiles for asbestos.
- Knowing when your building was built can help you find out when the tiles were installed. Access your building information by searching through public records to find out when it was constructed.
Tip: If you can’t confirm when the tiles were installed but you think they may have been installed before 1980, it's better to be safe than sorry and have them checked for asbestos.
Advertisement -
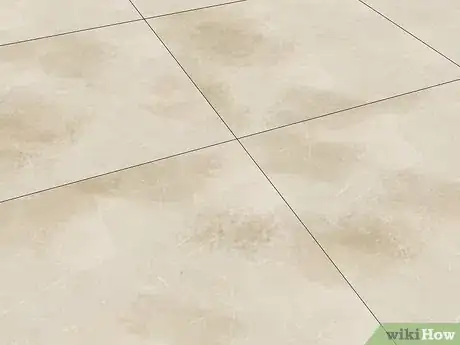
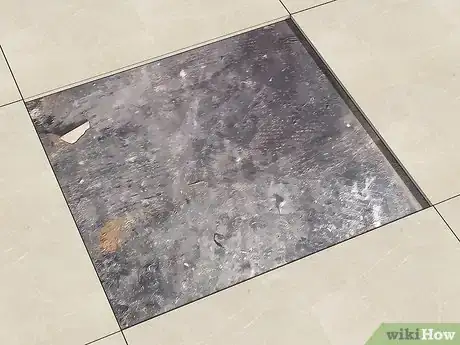
3See if your tiles appear stained or oily. Asbestos tiles contain asphalt as a main ingredient. Asphalt can degrade over time and cause the tiles to appear grimy or have spots of discoloration.[3]
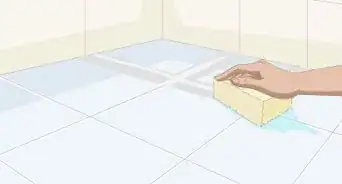
- Try cleaning the tile with soap and water and if the discoloration or oil doesn’t seem to come off, it may be because it’s a tile that contains asphalt and asbestos.
-
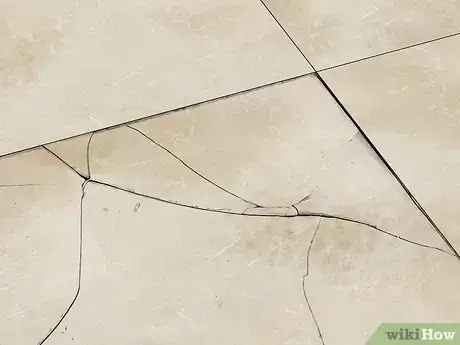
4Inspect the tiles for cracks and damage. Asbestos is only harmful if it’s ingested or inhaled. In order for asbestos to be released into the air, tile that contains asbestos must be damaged or degrading. Check your tile to see if there are cracks or spots where the material seems to be breaking down.[4]
- Be especially concerned if you’re not sure how old the tiles are or if you believe they were installed before 1980.
-
5Look for residue of old flooring tiles that may have contained asbestos. Many old flooring tiles that contained asbestos were designed and arranged in a 9 in (23 cm) by 9 in (23 cm) pattern. If you’re renovating a building or redoing the flooring in a room, look for the pattern of older tiles that could indicate that asbestos tiles were present.[5]
- Even if the tiles were removed or don’t contain asbestos, the adhesive on the backing could contain it.
- If you do find old flooring tiles that you think may contain asbestos, stop working immediately and contact an asbestos professional.
Testing Tiles for Asbestos
-
1Contact your local building authority to see if you can test for asbestos. There may be local rules and regulations regarding the testing of asbestos. You may be required to hire a licensed asbestos professional in order to test any tiles you think may contain asbestos.[6]
- Contact your local government or go online to check your local laws regarding asbestos testing.
-
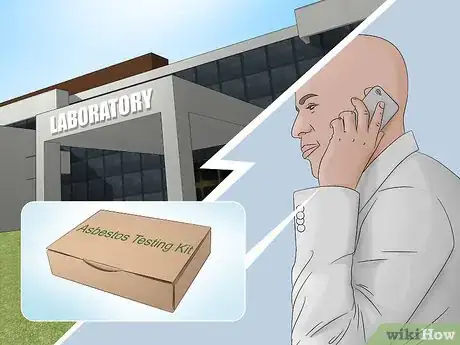
2Obtain an asbestos test kit if local regulations allow for it. You can purchase an asbestos test kit at hardware stores or online. Check the packaging to find out how you need to provide the sample and where you need to send it once you’ve taken a sample. Follow all instructions carefully.[7]
- If you’re in the US, make sure you purchase a test kit that uses lab methods that are approved by the Environmental Protection Agency. Check the packaging to make sure.
- Asbestos test kits cost around $10.
- While you may be allowed to do it yourself, it is recommended to contact an accredited asbestos inspector to gather samples to avoid contamination.
-
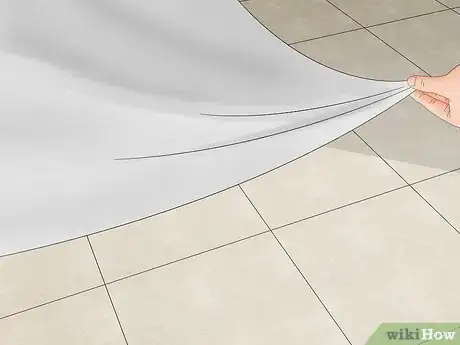
3Lay plastic sheeting around the area to catch any potential asbestos. When you’re taking a sample of your tile, you don’t want to risk asbestos potentially contaminating the area. Asbestos dust can still harm someone, even in small amounts. Lay down a plastic sheet or a tarp to catch any dust that could escape.[8]
- Newspaper or towels are not sufficient to contain asbestos fibers.
-
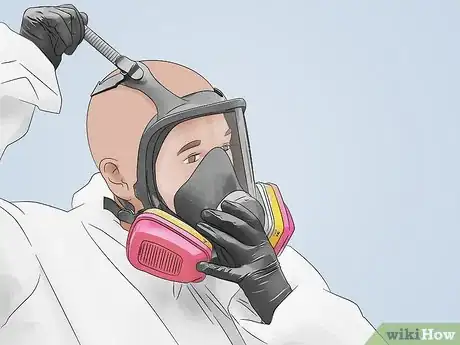
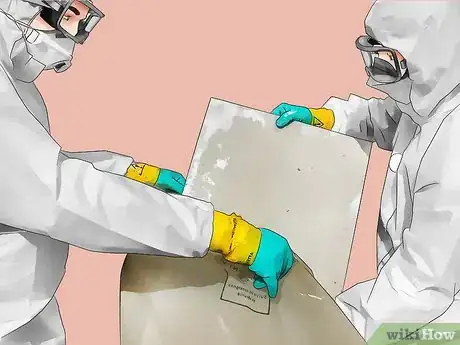
4Put on protective equipment. Wear a respirator approved for handling asbestos, rubber gloves, long-sleeved clothing, and rubber boots with shoe covers when you plan to take a sample of tile that could potentially contain asbestos. Use equipment that you don’t mind throwing away because you’ll need to discard the items after you wear them and collect a sample.[9]
Warning: Do not allow anyone who isn’t wearing protective gear in the area where you’re taking your sample. Asbestos is extremely harmful if it’s ingested or inhaled.
-
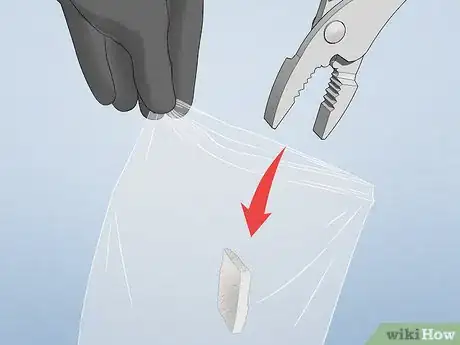
5Remove a piece of the tile and place it in a plastic bag. Use a utility knife or a small chisel to remove a small piece of the tile that you want to be tested. Carefully pick up the piece and place it in a plastic bag. Seal the plastic bag.[10]
- The sample shouldn’t weigh more than 100 grams (0.22 lb).
- Label the plastic bag with the date the sample was taken, the type of tile (if you know it), and where the sample was taken.
-
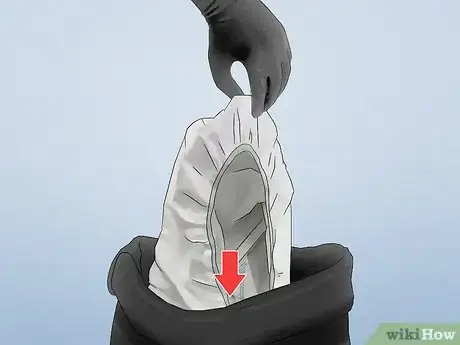
6Dispose of your protective gear. Place your face mask, gloves, and any clothes that you wore when you took your sample into a thick garbage bag. You can throw the bag away in the trash to be collected.[11]
- Do not attempt to wash and keep the clothing you wore. The fibrous asbestos may not be removed by washing.
-
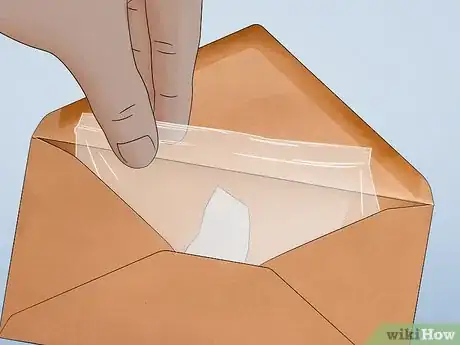
7Mail the sample tile to the testing lab. Follow the packing procedure described on the packaging of the test kit. Place the plastic bag into an envelope and address it to the testing lab. Drop your package off at the post office to be delivered.[12]
- Some testing kits allow you to print out postage to mail the sample to them.
- Make sure you use enough postage to have the sample delivered.
-
8Review the results when you get them. Once the testing lab receives the sample, they should get the results back to you in about a week or so. If you don’t hear anything from them after a week, try contacting them to confirm the status of the testing.[13]
- After you mail your sample, you can contact the testing lab to let them know it’s on the way or to confirm that they received it.
- Some labs give you the option of receiving your results by email, which means you can get them faster than waiting for the mail. Contact them to see if they provide this service.
Hiring an Asbestos Professional
-
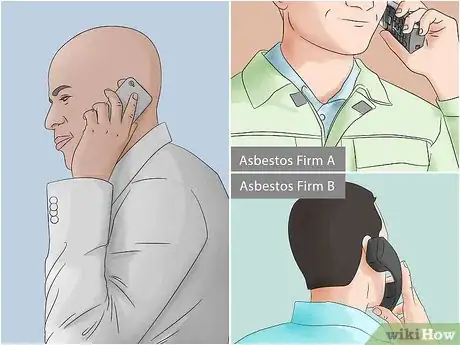
1Contact 2 different asbestos firms to avoid a conflict of interest. If you choose to hire an asbestos professional to inspect and possibly remove asbestos tile from your building, make sure that professional isn’t connected to a firm that also specializes in asbestos removal. You could be told that you need to make costly repairs when you really don’t.[14]
- You could have 1 company test your tiles for asbestos and if asbestos is present, hire another company to remediate your asbestos tile.
- Choose 2 firms that aren’t connected to each other or hire a separate inspector to help you decide if you should pay a firm certified to remove asbestos from your building.
- Look online for asbestos removal firms in your area.
-
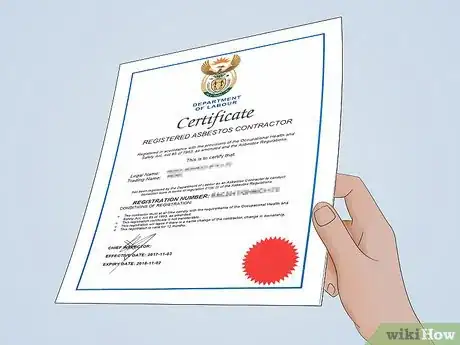
2Request certifications from any asbestos professional you hire. Ask an asbestos firm or professional that you’re considering hiring to provide you with certifications that show that they have completed all of the necessary federal and state training and are qualified to perform the work. If the firm sends an individual to inspect your building, ask them for their credentials as well.[15]
- Local laws and regulations regarding asbestos removal and disposal can vary, so you need to make sure that the professionals that you hire are following the proper procedures.
- You can possibly be held liable or risk exposing yourself to asbestos if your contaminated tiles are removed by someone with poor training.
-
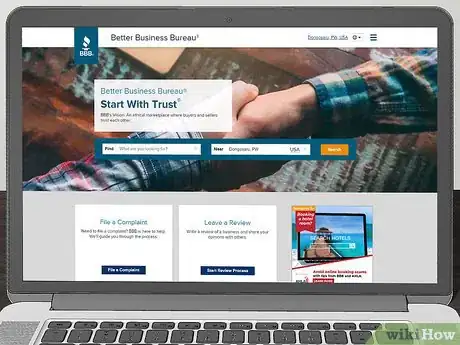
3Check the Better Business Bureau rating of the firms you’re considering. Before you choose a firm or professional that you want to hire, check their rating with the Better Business Bureau. The BBB assigns ratings from A+ as the highest to F as the lowest. A rating of B- or higher generally means that the business is reliable and trustworthy.[16]
- The BBB should have a record of the firm that you can review to help you make your decision.
- If you see any violations or reports of improper practices, don’t hire them!
Tip: Look for any safety violations reported against them or if any legal actions have been filed against them. These are red flags that signal that you shouldn’t hire them.
-
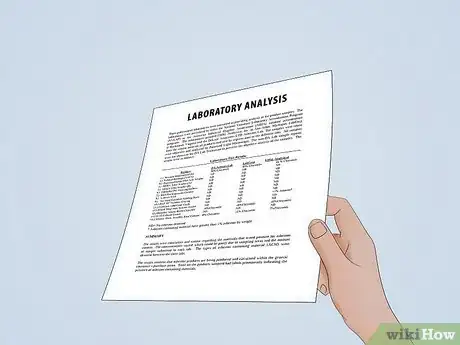
4Make sure the inspection includes examination and sample collection. An asbestos inspection can take anywhere from 1-3 hours. While the professional inspects your building for asbestos, make sure that they visually examine the entire area for contamination and that they collect samples for analysis.[17]
- The asbestos professional should have the samples tested in a lab to confirm the presence of asbestos. Testing can take up to a week to complete. Ask to receive a copy of the test results when they’re completed.
- Inspections can cost between $400 and $800 and lab analysis can range from $25 to $75 to complete.
-
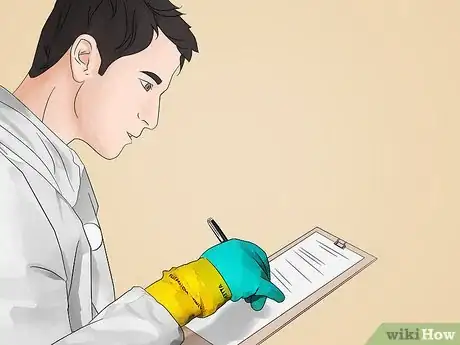
5Get a written evaluation from the firm when they’re finished. When the asbestos professional is finished either inspecting your tile or removing asbestos-contaminated tile, ask them for a written evaluation of the work they performed. You need to have official documentation from them that all of the proper rules and procedures have been followed.[18]
- You could face potential liability or even risk exposure to asbestos if you can’t confirm the work that the asbestos professionals completed.
Warnings
- Always wear protective equipment when you’re handling tiles that may be contaminated with asbestos.⧼thumbs_response⧽
References
- ↑ https://www.cancer.gov/about-cancer/causes-prevention/risk/substances/asbestos/asbestos-fact-sheet
- ↑ https://www.bobvila.com/articles/asbestos-floor-tiles/
- ↑ https://www.bobvila.com/articles/asbestos-floor-tiles/
- ↑ https://www.epa.gov/asbestos/protect-your-family-exposures-asbestos
- ↑ https://www.bobvila.com/articles/asbestos-floor-tiles/
- ↑ https://www.bobvila.com/articles/asbestos-floor-tiles/
- ↑ https://www.bobvila.com/articles/asbestos-floor-tiles/
- ↑ https://www.bobvila.com/articles/how-to-test-for-asbestos/
- ↑ https://www.bobvila.com/articles/how-to-test-for-asbestos/
- ↑ https://www.bobvila.com/articles/how-to-test-for-asbestos/
- ↑ https://www.bobvila.com/articles/asbestos-floor-tiles/
- ↑ https://www.bobvila.com/articles/how-to-test-for-asbestos/
- ↑ https://www.bobvila.com/articles/how-to-test-for-asbestos/
- ↑ https://www.epa.gov/asbestos/protect-your-family-exposures-asbestos#professionals
- ↑ https://www.bobvila.com/articles/asbestos-floor-tiles/
- ↑ https://www.epa.gov/asbestos/protect-your-family-exposures-asbestos#professionals
- ↑ https://www.epa.gov/asbestos/protect-your-family-exposures-asbestos#professionals
- ↑ https://www.epa.gov/asbestos/protect-your-family-exposures-asbestos#professionals
