X
wikiHow is a “wiki,” similar to Wikipedia, which means that many of our articles are co-written by multiple authors. To create this article, volunteer authors worked to edit and improve it over time.
This article has been viewed 154,173 times.
Learn more...
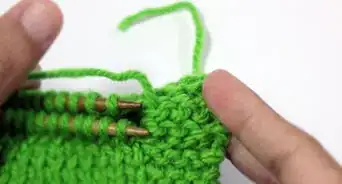
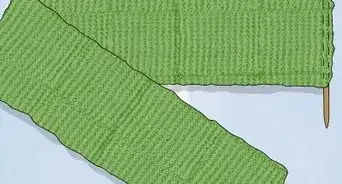
Knitting decreases are just what they sound like. The decrease the number of stitches on the needle. There are several methods for decreasing and this article will give a brief overview of them all.
Steps
-
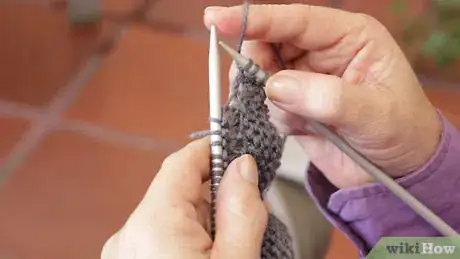
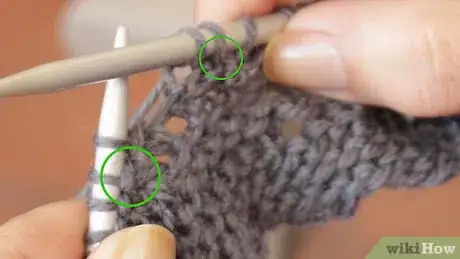
1Decide which decrease to use. If you're knitting without a pattern or if the pattern is very vague, you might be left up to your own devices to choose a decrease. Consider whether you want a hole in the knitting or a seamless change. The following steps will help you to learn about some of the the different decreases.
-
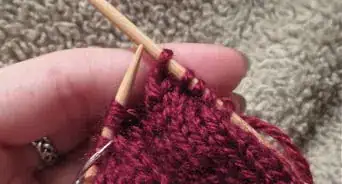
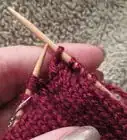
2K2tog or knit two together: This is one of the simplest decreases. To do this, decrease slide your needle under the second down stitch as if you were going to knit into it and pick up the first stitch as well. Then knit both of them. You're basically treating two stitches like they are one. This is a very tight, right-slanting decrease.Advertisement
-
3P2tog or purl two together: This is the same as k2tog, except you will pick up two stitches as if you are purling one and purl them to create a left slanting decrease.
-
4KRPR or knit return pass return: Knit one stitch and then slip it back onto the left needle. Use the right needle to slip the second stitch on the left needle over this stitch and off. Slip the first left needle stitch back onto the right needle to finish a right slanting decrease.
-
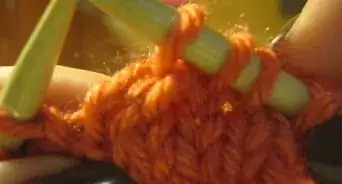
5SSK or slip slip knit: This uses a similar technique to k2tog. Slip the first two stitches (knitwise) off your left needle and onto your right. Insert the left needle back into both stitches and knit them from the back. This is another tight, right slanting decrease.
- There is also SSK improved, where you slip the first stitch knitwise and the second stitch purlwise so the decrease lays flatter.
-
6SSP or slip slip purl: Slip two stitches knitwise and then slip them back onto the left needle. Come up with the back through the two stitches and purl them together for a right slanting decrease.
-
7SKP, sl1, k1, or psso: Slip one stitch purlwise, purl one stitch and then slip the second stitch on your right needle over the first stitch to make a right slanting decrease.
-
8YO or yarnover decreases: Slip the yarn over as if you are going to do a YO. Slip two stitches knitwise, and then knit them together like a normal YO as you slip them back onto the left needle.
-
9Pay attention to whether your are decreasing on a purl stitch or a knit stitch. This gives you a clue as to which decrease to use because you should use a decrease that creates the correct stitch to blend into the pattern or overall stitch on your knitting piece.
Advertisement
Community Q&A
-
QuestionHow can I decrease 4 stitches?
 SarahBCommunity AnswerDecrease two stitches at the beginning of each row and two at the end by knitting the two stitches together.
 -
QuestionDo you decrease the next stitch every time you knit?
 LibraryMouseCommunity AnswerNot unless your pattern calls for it.
 -
QuestionWhen saying "decrease at each end of the needle," is that the same as beginning and end of a row?
 LibraryMouseCommunity AnswerYes.
Advertisement
Things You'll Need
- Knitting needles
- Yarn/wool/cotton, etc.
References
- Videos provided by WOOLANDTHEGANG
- http://www.knittinghelp.com/videos/decreases KnittingHelp.com's list of decreases and videos – research source
About This Article
Advertisement
