X
wikiHow is a “wiki,” similar to Wikipedia, which means that many of our articles are co-written by multiple authors. To create this article, 15 people, some anonymous, worked to edit and improve it over time.
This article has been viewed 50,456 times.
Learn more...
DD-WRT is free, open-source firmware designed that adds enhanced or unsupported features to basic routers. We'll walk you through updating your router's firmware to DD-WRT and show you how to use your router's new and improved interface.
Steps
Part 1
Part 1 of 4:
Getting Started
-
1Log into your router’s admin page.
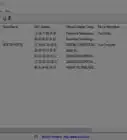
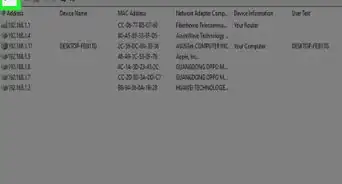
- By default, your router’s IP address will be 192.168.0.1, but if that is not the case, then go to your command prompt, select ‘Run as administrator’ and type ‘ipconfig/all’. The IP address placed next to ‘Default Gateway’ is the IP address of your router.
-
2After accessing your router’s settings, go to the administration section and choose Firmware Upgrade.Advertisement
-
3Choose ‘Select File’ and find your DD-WRT firmware.
-
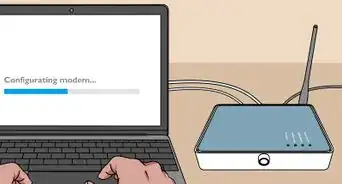
4Upload the firmware and wait for your router to complete the updating process. Make sure that you do not unplug your router and you have a backup power supply in case your location is plagued by power outages. The last thing you want is a bricked router.


Advertisement
Part 2
Part 2 of 4:
Using the DD WRT
-
1After the DD-WRT firmware has been successfully installed on your router, reconnect your router through a wired or wireless medium.
-
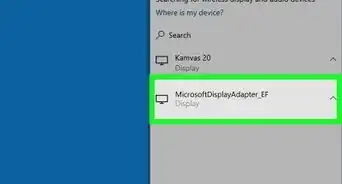
2Enter your router’s IP address. This address will be the same as when you first entered it.
-
3Change the username. DD-WRT may request you to input a username and password, which by default is username:root password: admin. Changing to a new username and password is highly recommended.


Advertisement
Part 3
Part 3 of 4:
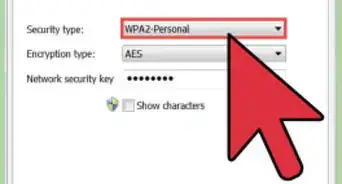
Boosting Your Wireless Signal
-
1Click on the wireless option present in the admin page.
-
2Find the Wireless Channel you want to select and click on save.
-
3Click on Apply Settings to make the changes.
-
4Wait for the router to reboot and you will be good to go.
-
5Even though the DD-WRT firmware can boost the wireless signal of your router by making your router transmit the signals more powerfully than its default capabilities, be sure not to overexert the router, as you will end up burning its components.
- Click on the Advanced Wireless Settings option. You will be able to view a Tx Power setting.
- If you don’t see the value at in between 65-70mW, then you can make the changes yourself, click on save then apply changes.
- The special term used to describe the level of bandwidth is called QoS (Quality of service). QoS are a set of algorithms that hinders users from ravenously hogging your internet bandwidth.


Advertisement
Part 4
Part 4 of 4:
Enabling QoS
-
1To enable QoS, head down to the NAT / QoS tab.
-
2From there, you will be able to view the options present in QoS.
-
3Enable the QoS setting by selecting the ‘enable radio button’.


Advertisement
Port Forwarding
- To explain port forwarding, think of it this way. The local network that you are connected on is separated from the rest of the world wide web and that specific local network only displays one IP address to the world, which happens to be your WAN (wide area network) IP.
- Port forwarding does a unique trick; it takes a port on the WAN IP address (which is visible to the rest of the world) and forwards it to a port on one of your local machines, which is a LAN IP address.
- As a result, you and other users can access a specific service on your local network when you are connected to one another.
Things You'll Need
- When performing any firmware upgrade of your router, always connect the router to your computer using an Ethernet cable connected on to the LAN port of the router and the other end of the cable in to the RJ45 Ethernet port of your computer.
- You will require a supported router. Check this link to see if your router supports the DD-WRT. If your router’s product name does not pop up, then avoid installing the firmware at all costs.
- Most routers might not require that much effort or time to install the DD-WRT firmware.
- You choose to read and follow this tutorial at your own risk. Installing the DD-WRT firmware may end up bricking your router permanently, which will not be entertained under any warranty conditions. We take no responsibility in whatever happens to your equipment during any part of the updating process.
- Follow the instructions properly, and to the letter and you will have no trouble getting through with it.


-Step-8-Version-2.webp)


-Step-30.webp)

-Connection-Step-12-Version-5.webp)
About This Article
Advertisement