This article was co-authored by wikiHow Staff. Our trained team of editors and researchers validate articles for accuracy and comprehensiveness. wikiHow's Content Management Team carefully monitors the work from our editorial staff to ensure that each article is backed by trusted research and meets our high quality standards.
There are 16 references cited in this article, which can be found at the bottom of the page.
wikiHow marks an article as reader-approved once it receives enough positive feedback. In this case, 95% of readers who voted found the article helpful, earning it our reader-approved status.
This article has been viewed 63,228 times.
Learn more...
Red potatoes are slightly smaller and have less starch than brown Russet potatoes. They are a great source of vitamin C and potassium, and they can grow in both warm and cold climates under the correct conditions. Start by purchasing seed potatoes from a local nursery, and plant them when their sprouts reach 1⁄2–1 in (1.3–2.5 cm). Plant your potatoes either in your garden or in a container. Water them regularly, cover them with dirt as they grow, and your potatoes will be ready to harvest in about 100 days.
Steps
Sprouting Your Seed Potatoes
-
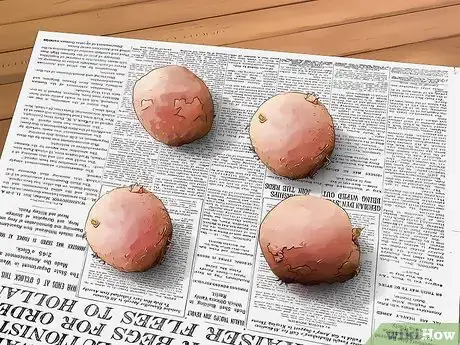
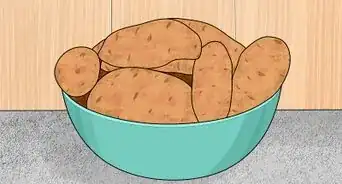
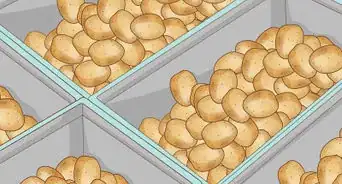
1Purchase sprouted seed potatoes from a farmers market or nursery. Use at least 4 seed potatoes to get started. Seed potatoes grow root sprouts, which you use to grow potatoes. Potatoes don’t grow from traditional “seeds.” Use seed potatoes with 1-4 sprouts per potato for best results.[1]
- For best results, use small to medium seed potatoes.
-
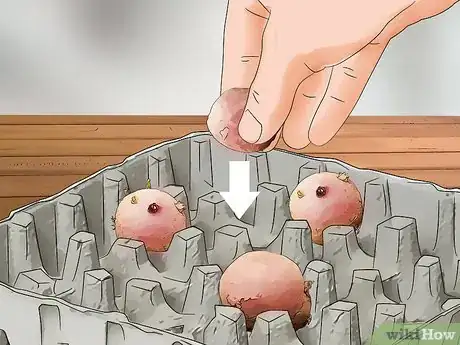
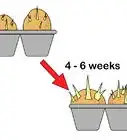
2Put the potatoes in an egg carton with the sprouts pointing upwards. Place each of your seed potatoes inside an individual cell of the carton. Keep the sprouts pointed upwards so they can continue to grow.
- You can spread out the potatoes across the egg carton rather than placing them immediately next to each other.
Advertisement -
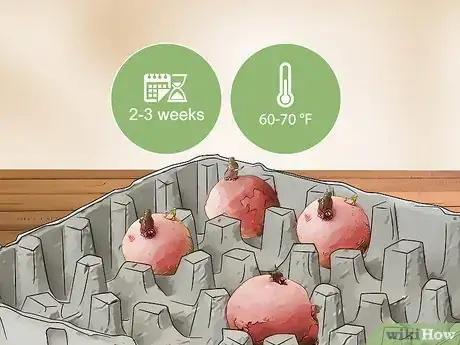
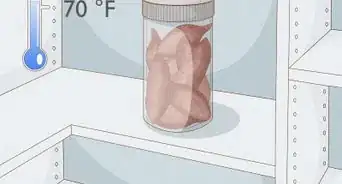
3Leave your seed potatoes in a warm location for 2-3 weeks. Place your seed potatoes on a kitchen table near a sunny window, and keep an eye out for sturdy, green shoots. When kept in bright light around 60–70 °F (16–21 °C), potatoes often grow quickly and healthy.[2]
- You can place your potatoes on any flat surface in a sunny space.
-
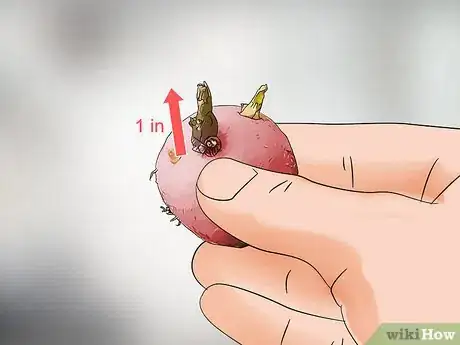
4Plant your potatoes when the sprouts are 1⁄2–1 in (1.3–2.5 cm) long. When your seed potato sprouts reach around 1⁄2–1 in (1.3–2.5 cm), they are ready for your garden. To grow as many potatoes as possible, use a whole seed potato. To grow larger potatoes, use a knife to chop your potatoes so each chunk has 1-2 sprouts.
- Whole seed potatoes grow smaller potatoes overall, but you’ll have a lot of them. Use potatoes with 4-5 sprouts.
- Chopped up seed potatoes grow large-sized potatoes but fewer quantities.
Preparing Your Growing Area
-
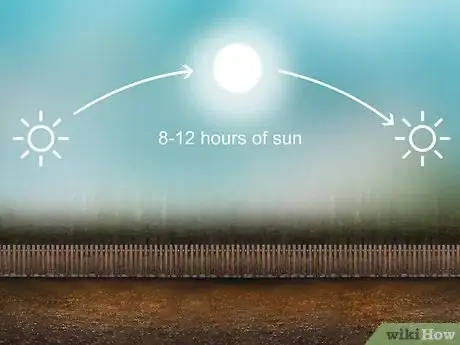
1Pick a spot in your garden that receives full sunlight for most of the day. Potato plants love sun, so choose a spot in your garden that gets 8-12 hours of sunlight. You can prepare a garden bed and dig trenches for your potatoes, or you can use a container to grow them. Either way, make sure you have a sunny spot![3]
-
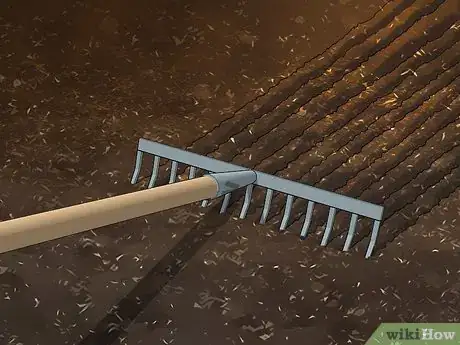
2Till your soil with fresh compost to provide a nutrient-rich base. Pour an even layer about 1–2 in (2.5–5.1 cm) thick of compost over your garden bed, and use a metal-pronged rake to till your soil. Move your rake in small, back-and-forth motions to mix up the compost with the original soil.[4]
- The amount of compost will vary depending on how large your garden is.
- This way, the base of your soil is full of rich nutrients, so your potatoes can grow quickly and healthy.
-
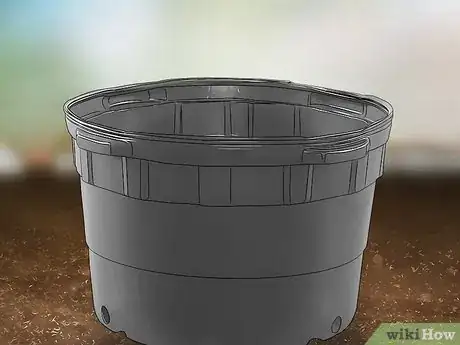
3Use 20 US gal (76 L) bins to grow potatoes in containers. If you want to use containers to grow potatoes rather than your garden bed, get several plastic bins from a home supply store. Base the number of bins off of the total number of potatoes you want to grow.[5]
- For best results, use 2 seed potatoes per container.
- This is a popular option, since you can easily fill your bin and position it in the sunshine.
-
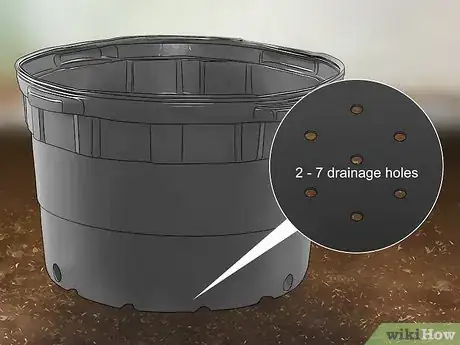
4Make 2-7 drainage holes around the bins so your plants properly drain. Potatoes require well-drained soil to grow as healthy as possible. If the soil does not properly drain, the plants can grow mold or start to rot. Use a drill to create 2-7 drainage holes at the bottom and along the sides to ensure the bin drains properly.[6]
-
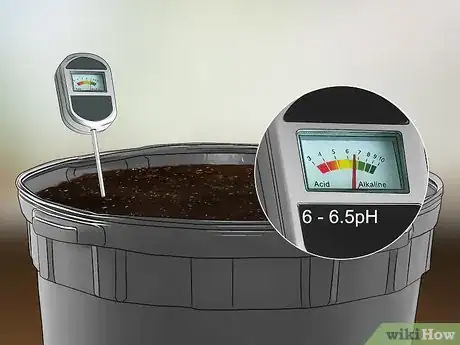
5Ensure your soil pH level is between 6.0 and 6.5. Red potatoes grow best with a soil pH level between 6.0-6.5. To test your soil's pH level, buy an at-home soil test from a home supply store and follow the included directions. Typically, you take a small soil sample and combine the included mixing agents. This changes the color of the sample, and you can use that sample to test the level of your pH.[7]
- If your soil is too acidic, mix in finely ground limestone.
- If your soil is too alkaline, treat it with gypsum or ground sulfur.
Planting Red Potatoes
-
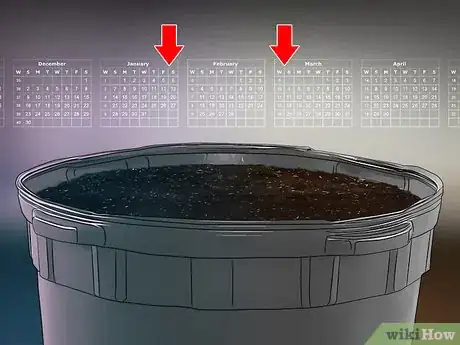
1Plant your red potatoes 1 month before your frost date for best results. Potatoes successfully grow throughout the year, but for best results, plant them around late January to early March. After about 8 weeks, your potatoes will grow to full size.[8]
- To find your frost date, search online using your zip code. You can use the Farmers’ Almanac, for example.
-
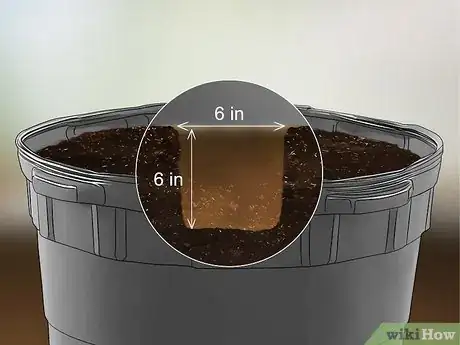
2Dig a row 6 in (15 cm) deep and 6 in (15 cm) wide to plant in your garden. Use your hands, a shovel, or a garden spade to create your trench. This way, your potatoes will have ample room to root into the soil.[9]
- If you want to make multiple rows, leave about 12 in (30 cm) in between them.
-
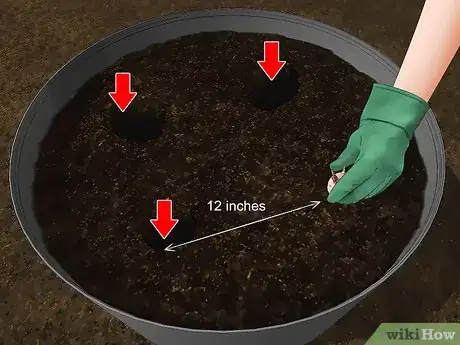
3Place your potatoes 12 in (30 cm) apart with the sprouts facing upwards. Put your potatoes into the row, leaving about 1 ft (0.30 m) in between them. Keep them centered inside the row. In order for the sprouts to grow towards the surface, they need to face upwards.[10]
- This way, the shoots can grow towards the sunlight.
-
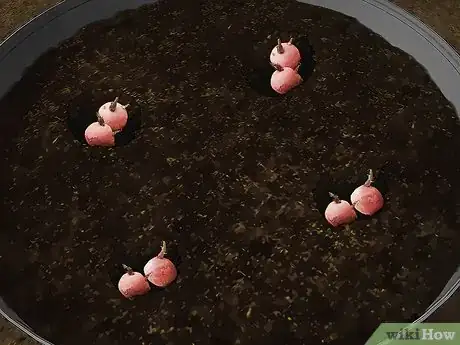
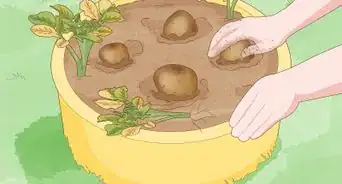
4Put 2 potatoes in each bin if you are growing them in containers. To make sure your potatoes have enough room to root down and grow healthy, limit each container to about 2 potatoes. If you are using chunks of cut potatoes, you can use 3-4 small sections. Before you plant the potatoes, fill up the bottom of your containers with 4–6 in (10–15 cm) of well-drained potting soil.[11]
-
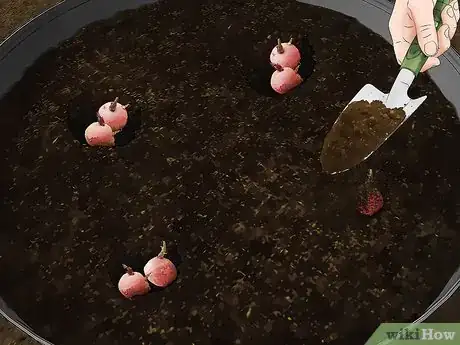
5Cover the potatoes with 4–6 in (10–15 cm) compost or soil. Potatoes prefer to be planted a few inches deep. Use a garden spade to scoop your soil, and sprinkle it over top of the potatoes. Use well-draining, organic potting soil or compost for best results.[12]
- Both compost and potting soil can be used when growing red potatoes. Make sure you use organic types to give your potatoes as much nutrients as possible.
- It is important to use well-draining soil so your potatoes do not get soggy or rotten.
-
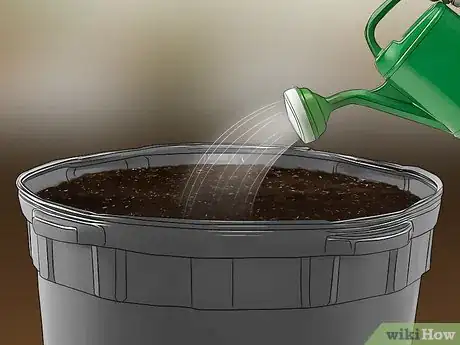
6Water the potatoes thoroughly right after you plant them. Use your garden hose or a watering can to saturate the soil above your potatoes. Water your potatoes for 30 seconds or so to give them a deep, thorough watering. You want your soil to be moist, but not soaked.[13]
- To test your soil’s moisture level, insert 1 finger into the top of your soil.
- If your soil is excessively wet, your potatoes may grow mold or catch diseases.
Caring for Your Potatoes
-
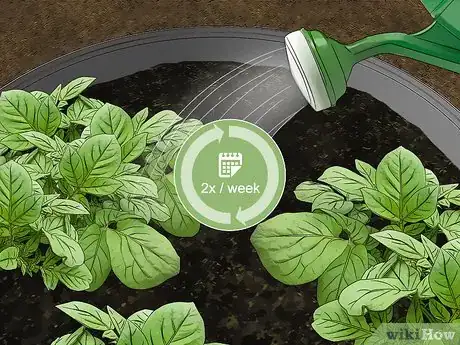
1Water the potatoes deeply 1-2 times a week to keep the ground moist. Potato plants should be wet, but not soaked. Check the moisture level of your plants before you water them. Typically, potato plants get watered up to 2 times a week.[14]
- You can use a watering can or garden hose.
- To check the moisture level, insert your finger 1–2 in (2.5–5.1 cm) into the dirt. If the dirt is dry, you can water your potatoes.
-
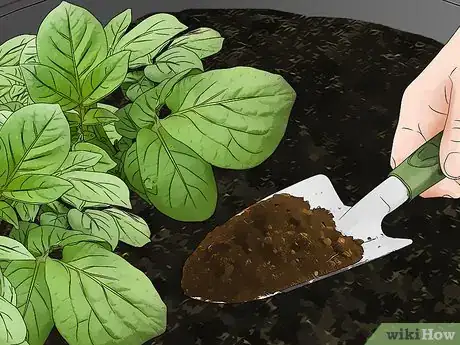
2Cover the base of your plants with 4 in (10 cm) of soil as they grow. When you notice potato sprouts poking above the soil level, replenish your soil or compost. Potatoes grow best when completely underground.[15]
- Potatoes begin to sprout above the soil in 5-7 days.
-
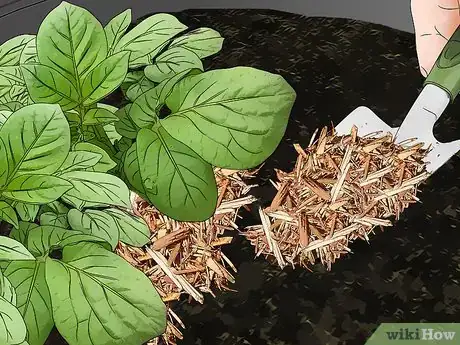
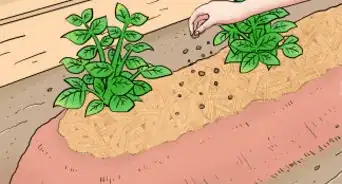
3Cover the potatoes with a 3–4 in (7.6–10.2 cm) layer of mulch. In addition to replenishing the soil, you should cover your potato plants with mulch to help maintain moisture. Do this after you add more soil to your plants. Pour your mulch over your garden bed, and use a rake to spread it across.[16]
- This locks in moisture so your potatoes can grow to optimal size very quickly.
- If growing potatoes in containers, you can use a garden spade instead of a rake.
-
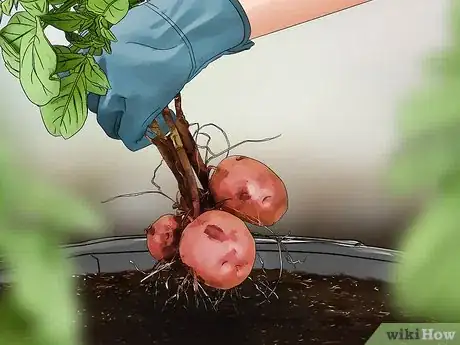
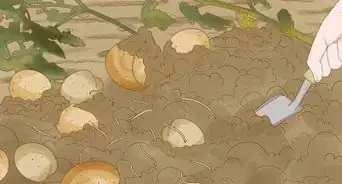
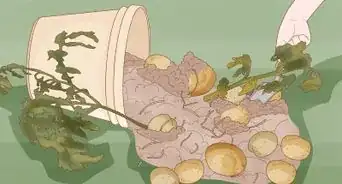
4Harvest your red potatoes 7-8 weeks after planting. Red potatoes grow to full size in about 100 days. The potato shoots grow flowers when they are fully grown, and then the flowers fade and wilt when their growth cycle is complete. At this point, you can use a shovel or a garden spade to dig up your potatoes. Use a knife to cut off the roots.[17]
- Be sure to wash your potatoes thoroughly!
Things You’ll Need
- Seed potatoes
- Compost
- Shovel
- Garden rake
- Garden spade
- Mulch
- Container
- Garden bed
- Water
References
- ↑ https://extension.uga.edu/publications/detail.html?number=C1011&title=Home%20Garden%20Potatoes
- ↑ https://extension.uga.edu/publications/detail.html?number=C1011&title=Home%20Garden%20Potatoes
- ↑ https://youtu.be/TkQTr6FykpY?t=4m37s
- ↑ https://youtu.be/TkQTr6FykpY?t=1m21s
- ↑ https://youtu.be/5rk64ULKAso?t=1m13s
- ↑ https://youtu.be/5rk64ULKAso?t=1m13s
- ↑ https://www.almanac.com/content/soil-ph-levels
- ↑ https://youtu.be/5rk64ULKAso?t=30s
- ↑ https://youtu.be/TkQTr6FykpY?t=2m2s
- ↑ https://youtu.be/TkQTr6FykpY?t=2m23s
- ↑ https://youtu.be/5rk64ULKAso?t=3m33s
- ↑ https://youtu.be/TkQTr6FykpY?t=2m59s
- ↑ https://youtu.be/TkQTr6FykpY?t=4m1s
- ↑ https://youtu.be/hCZDDMcNZvg?t=3m29s
- ↑ https://youtu.be/5rk64ULKAso?t=4m4s
- ↑ https://youtu.be/5rk64ULKAso?t=3m59s
- ↑ https://youtu.be/TkQTr6FykpY?t=5m10s
- ↑ https://youtu.be/TkQTr6FykpY?t=3m31s
