This article was co-authored by Lauren Kurtz. Lauren Kurtz is a Naturalist and Horticultural Specialist. Lauren has worked for Aurora, Colorado managing the Water-Wise Garden at Aurora Municipal Center for the Water Conservation Department. She earned a BA in Environmental and Sustainability Studies from Western Michigan University in 2014.
This article has been viewed 92,151 times.
Potatoes are yummy, easy-to-grow crops that you can use in all sorts of recipes! Be sure to use a clean barrel with drainage holes at the bottom. Cover your plants with soil and compost as they grow to keep them buried, and your potatoes will be ready for harvest in about 4 months. Their growth cycle ends when their sprouted flower wilts. To easily grow your potatoes, grab a barrel, add in some soil, and plant your potatoes!
Steps
Prepping Your Barrel
-
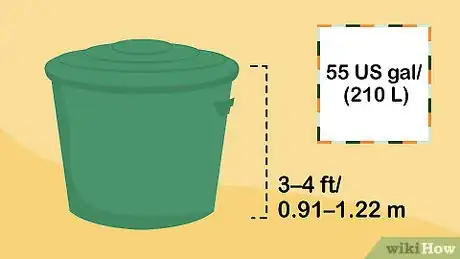
1Use a large, 55 US gal (210 L) barrel to grow your potatoes. You can purchase barrels at most home supply or garden stores. Potatoes require ample room for their roots to grow, so in order to harvest many potatoes, go with a large barrel about 3–4 ft (0.91–1.22 m) feet tall.[1]
- If you already have a barrel at your home, you can repurpose it to use for your potatoes.
- You can also purchase barrels specifically for potato growing at most home supply stores.
- Alternatively, you can use a half-size, 26 US gal (98 L) barrel.
-
2Select a wooden barrel to grow your potatoes for the best results. Potatoes grow the healthiest in wooden containers. In addition, you can repurpose or buy a whiskey barrel to grow your potatoes in.[2]
- You can buy them at most home supply stores, or contact a local whiskey distillery to inquire about using their old barrels.
- Whiskey barrels add a decorative, rustic touch to your potato plants.
Advertisement -
3Avoid using black barrels and those that previously housed chemicals. Black barrels will absorb more sunlight because of their dark color, and this can overheat your potatoes as they grow. Potatoes are a cold-weather crop, primarily. Additionally, if your barrel previously held harsh or toxic chemicals, it may make your potatoes toxic and unsafe to eat. It may also damage your potatoes, even if you thoroughly wash the barrel.
-
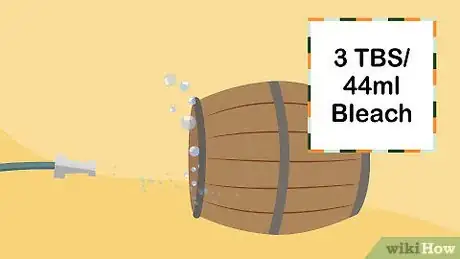
4Wash your barrel with bleach and water to prevent any contamination. Pour about 3 tablespoons (44 mL) of bleach into your barrel, and fill up the barrel with your hose. Dip a washcloth into the water, and wipe down all sides of the barrel. Make sure you get the top and sides of the barrel. Then, rinse away remaining bleach with your hose.[3]
- It is important your barrel is completely clean to avoid contaminating your potatoes with fungi or harsh chemicals.
-
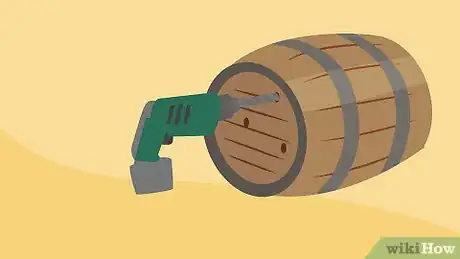
5Poke holes 6 in (15 cm) apart in the bottom of your barrel. If your barrel does not already have holes, turn it upside down and sit it on the ground. Use a drill, and place your drill bit at the bottom of your barrel. Pull your trigger gently to create holes in the bottom. Then, make additional holes evenly spaced across the bottom of your barrel.[4]
- Additionally, if you are using a plastic barrel, you can use a sharp blade or screwdriver to stab holes into the bottom. Do this only if you do not have a drill.
-
6Set your barrel on top of 1-3 cinder blocks to help with drainage. When growing potatoes, it is important that the soil stays well-drained at all times. To help with this, set a few cinder blocks on the ground, and place your barrel on top of them. Propping up your barrel on cinder blocks helps drain excess moisture.[5]
- You can use more or fewer cinder blocks, depending on the size of your barrel.
Pre-Sprouting Your Potatoes
-
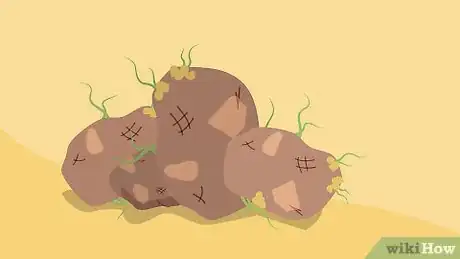
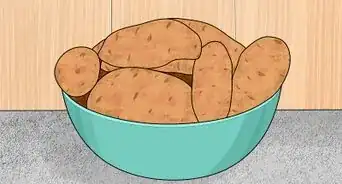
1Purchase at least 4 seed potatoes from a nursery early in the year. Seed potatoes are crops that grow root sprouts. These sprouts poke out of the spud and grow shoots. Seed potatoes can grow several of these sprouts per potato. Use small to medium-sized seed potatoes for best results.[6]
- You can select seed potatoes in a variety of types, such as Yukon, Ida Rose, and French Fingerling, for example.
- Make sure to use seed potatoes, not potato seeds. Potato seeds will produce plants with different characteristics than the parent plant so you may not get the desired results.[7]
-
2Place your potatoes in an egg carton so their sprouts point upwards. Sit your potatoes in the individual cells of an egg carton. You should only have a few potatoes, so you can spread them out across the carton. Position your potatoes in the cells so the sprouts point towards the ceiling. You want the sprouts to continue to grow.[8]
- Alternatively, you can use a shallow box with an open-top instead of egg cartons.
-
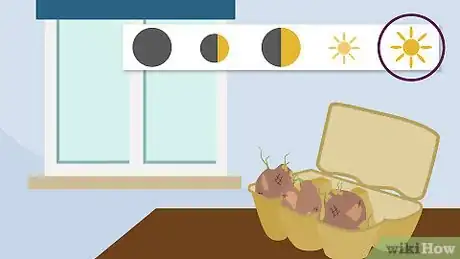
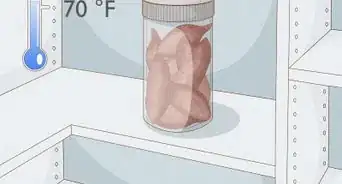
3Put your egg cartons on a flat surface in a warm area for 2-3 weeks. A kitchen table near a window works well, but you can use any sunny space with a flat surface. Leave your potatoes in the sun until you see sturdy, green shoots. Your potatoes will grow healthy and quickly if they are kept in moderate lighting at about 60–70 °F (16–21 °C).
- If you want to slow down the growth of your potatoes, place them in a colder spot away from the sun.
-
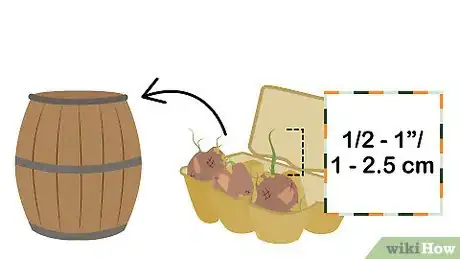
4Plant your potatoes when the sprouts are 1⁄2–1 in (1.3–2.5 cm) long. Your seed potatoes are ready to go in the dirt when they grow about 1 in (2.5 cm) tall. You will see the shoots growing upwards from the potato sprouts. If you want to grow more potatoes, use a whole seed potato with at least 4-5 sprouts. If you want to grow large-sized potatoes, cut your seed potatoes into chunks with at least 1-2 sprouts on each. Each potato will have a different number of sprouts.[9]
- Full seed potatoes will grow smaller potatoes, though you will have a greater potato yield.
- Chunks of seed potatoes will grow large potatoes, but you will have a smaller yield.
Planting the Potatoes
-
1Plant your potatoes in the spring to utilize the best growing times. You can grow potatoes in barrels throughout the year, but for best results, plant them about 1 month before your frost date. Your potatoes will grow to full size in about 4 months, and you can start them early in the spring season.[10]
- Your frost date is the average date of when to expect your last frost for the season.
- To find your frost date, search online using your zip code. You can use sites like the Farmers’ Almanac, for example.
-
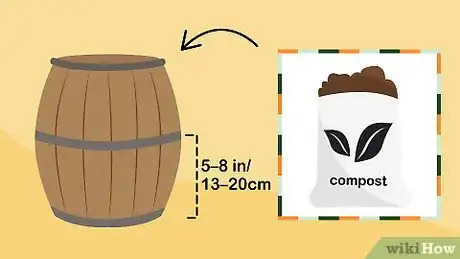
2Fill your barrel 5–8 in (13–20 cm) high with a mix of soil and compost. Grab a bucket, and pour some potting soil and compost into it. Use a garden tool to stir up your mix, and pour it into your barrel. Add soil until you have roughly 6 in (15 cm) in the bottom of your barrel.[11]
- Use about the same amount of potting soil and compost.
- You can also use fertilizer in place of compost.
- Your mixture does not have to be completely perfect. Using both potting soil and compost helps your potatoes grow healthy and strong.
-
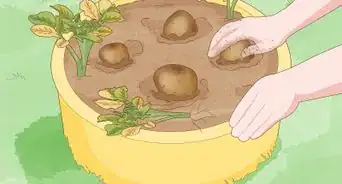
3Place your seed potatoes about 6 in (15 cm) apart from each other. Once you have a base layer of soil in your barrel, place your seed potatoes on top. Leave a few inches in between each potato so they have enough room to grow healthy roots. You should use about 4 potatoes per large barrel.[12]
- If you want to increase your potato yield, use another barrel to grow more potatoes.
-
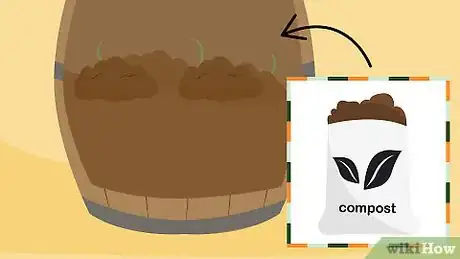
4Cover your potatoes with about 3–4 in (7.6–10.2 cm) of soil. When you have all your potatoes in your barrel, pour in a bit more soil-compost mixture. You want each potato to be completely covered with soil.[13]
- This can be a rough estimate. A little more dirt won’t hurt!
-
5Water the potatoes to moisten your soil and repeat once a week. Using your garden hose, add water to your barrel. After a few minutes, you will see water dripping from the bottom. You want your water to be moist, but not soaked. Regularly water your potatoes about 1 time a week to keep your soil moist.[14]
- Excess water can lead to mold and disease growing with your potatoes. To test how damp your soil is, insert 1 finger into the top of your soil and check for moisture.
- The soil in the bottom of the barrel will hold more moisture than the rest of the soil in the barrel.
Growing and Harvesting Your Potatoes
-
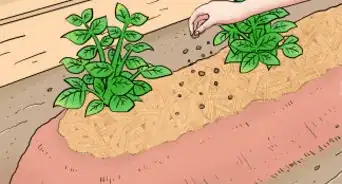
1Add 4 in (10 cm) of soil when your sprouts are 6–9 in (15–23 cm) tall. As your potatoes grow, you want to continue replenishing their soil. Look for potato sprouts or flowers to poke above the soil level, and refill your potting soil and compost mixture when 6 in (15 cm) or more is visible.[15]
- This is important because your potatoes grow best went completely underground.
-
2Mix in compost or liquid fertilizer every 2-4 weeks to add more nutrients. Your potatoes should grow healthy with your potting soil and compost mixture, though you can also provide additional nutrients by using more compost or liquid fertilizer. Toss in about 1 in (2.5 cm) of organic compost material, or purchase liquid fertilizer and follow the instructions on the packaging.[16]
- While this is not required, it will provide rich nutrients to help your potatoes grow and you may end up with a better harvest.
- Adding compost to your potatoes will help to provide moisture and nutrients.
-
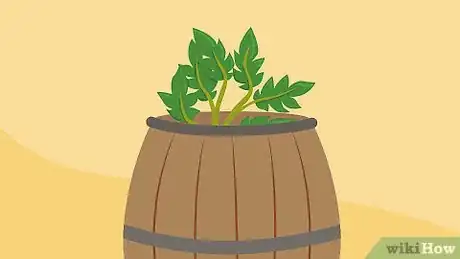
3Continue to add soil until your potatoes grow to the top of the barrel. As your potatoes grow, pour more soil and compound mixture over top of them. Your potatoes will be full-size and ready to harvest when your barrel is nearly full to the brim with soil and the potato plant has wilted.[17]
- You can also add fertilizer until the soil level is at the top.
-
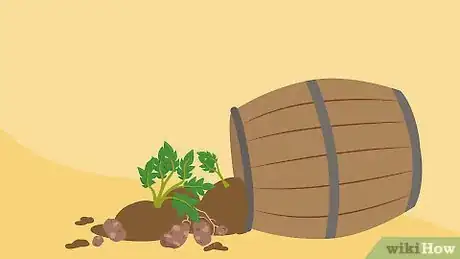
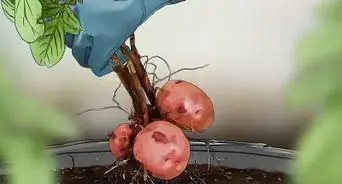
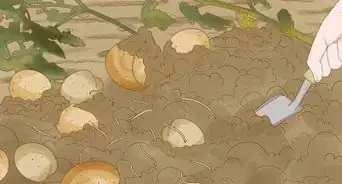
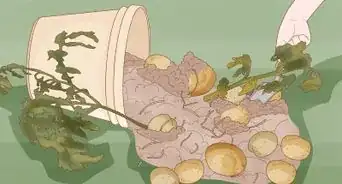
4Tip your barrel over after your potatoes flower and wilt. When your potatoes are fully grown, their shoots will sprout flowers. When their growth cycle is complete, the flowers will turn yellow and brown as they wilt. Once your flowers are wilted on top of your soil, your potatoes are ready for harvest! Simply push or kick your barrel over, dig out the potatoes with your hands, and cut off the roots.[18]
- This will likely be at the end of August or in September if you started your potatoes in early spring.
- Be sure to wash your potatoes thoroughly!
Community Q&A
-
QuestionCan I grow seed potatoes in August?
 Community AnswerIf you live in the southern hemisphere, you might be able to plant in August, as long as the date on which you plant is about two weeks before your last freeze date.
Things You'll Need
- Clean barrel
- Drill
- Compost (or fertilizer)
- Soil
- Sprouted seed potatoes
- Watering hose
References
- ↑ https://www.maximumyield.com/its-as-easy-as-growing-potatoes-in-a-barrel/2/2882
- ↑ https://www.motherearthnews.com/organic-gardening/potatoes-in-a-barrel-zmaz80mazraw
- ↑ https://pioneerthinking.com/how-to-grow-potatoes-in-a-barrel
- ↑ https://www.motherearthnews.com/organic-gardening/potatoes-in-a-barrel-zmaz80mazraw
- ↑ https://www.maximumyield.com/its-as-easy-as-growing-potatoes-in-a-barrel/2/2882
- ↑ https://www.motherearthnews.com/diy/garden-yard/no-space-potato-barrel-ze0z11zkon
- ↑ https://www.gardeningknowhow.com/edible/vegetables/potato/true-potato-seed-growing.htm
- ↑ https://preparednessmama.com/pre-sprouting-potatoes/
- ↑ https://preparednessmama.com/pre-sprouting-potatoes/
- ↑ https://www.motherearthnews.com/diy/garden-yard/no-space-potato-barrel-ze0z11zkon
- ↑ https://www.maximumyield.com/its-as-easy-as-growing-potatoes-in-a-barrel/2/2882
- ↑ https://www.maximumyield.com/its-as-easy-as-growing-potatoes-in-a-barrel/2/2882
- ↑ https://www.maximumyield.com/its-as-easy-as-growing-potatoes-in-a-barrel/2/2882
- ↑ https://www.maximumyield.com/its-as-easy-as-growing-potatoes-in-a-barrel/2/2882
- ↑ https://pioneerthinking.com/how-to-grow-potatoes-in-a-barrel
- ↑ https://pioneerthinking.com/how-to-grow-potatoes-in-a-barrel
- ↑ https://www.motherearthnews.com/organic-gardening/potatoes-in-a-barrel-zmaz80mazraw
- ↑ https://pioneerthinking.com/how-to-grow-potatoes-in-a-barrel
About This Article
To grow potatoes in barrels, choose large barrels that hold about 55 gallons (210 L) and are at least 3-4 feet (0.91-1.22 m) tall. Try to get a wooden barrel, such as an old whiskey barrel. Potatoes grow best in wood barrels, and they will also give your garden an attractive, rustic look. Steer clear of black barrels, since they can overheat in the sun, and avoid anything that was used to store harsh chemicals that could contaminate your plants. Before you plant your potatoes, clean the barrel by pouring in about 3 tablespoons (44 mL) of household bleach and filling the barrel with clean water. Wipe down the sides and bottom with a washcloth, then empty the barrel and rinse it thoroughly. Drill a few holes in the bottom, spaced out about 6 inches (15 cm) apart, to provide good drainage for the soil. Prop your barrel up on 1-3 cinderblocks to improve drainage even more. When you’re ready to start planting, select at least 4 seed potatoes from your local nursery. Seed potatoes are potatoes that have begun to grow sprouts and roots. Put the potatoes in an egg carton with the sprouts facing upward so they can continue to grow, then set the carton in a warm, well-lit spot—such as on a table near a sunny window—for 2 to 3 weeks. Try to maintain a temperature of about 60–70 °F (16–21 °C) in the room where you keep the potatoes. Once the sprouts are about ½ to 1 inches (1.3-2.5 cm) long, it’s time to plant the potatoes in the barrel. For the best results, do this in the spring, about 1 month before the last frost date. Fill the barrel with a layer of 50:50 potting soil and compost mix about 5 to 8 inches (13-20 cm) deep. Place the potatoes on top of the mixture with the sprouts facing up, spaced out about 6 inches (15 cm) apart. You should be able to fit about 4 potatoes in 1 large barrel. Cover the potatoes with 3-4 inches (7.6-10.2 cm) of soil. They should be completely covered, so don’t worry if you can’t see the sprouts. Water your potatoes just enough so that the soil is damp, but not soaking wet. Do this once a week as the potatoes continue to grow. When the sprouts get to be 6-9 inches (15-23 cm) tall, add another 4 inches (10 cm) of soil. Mix a little organic compost or liquid fertilizer into the soil once every 2-4 weeks to give your potatoes some extra nourishment. Keep topping off the potatoes with more soil as they continue to grow, until the foliage has reached the top of the barrel and the barrel is nearly full of soil. Once the plants have flowered and begun to wilt, your potatoes are ripe and ready to harvest. Tip the barrel over and dig out the potatoes, then cut off the roots. Wash your harvest thoroughly and enjoy.
