This article was co-authored by Olivia Choong. Olivia Choong is a Plant and Gardening Specialist and the Owner of The Tender Gardener. With more than six years of experience, she specializes in gardening, permaculture, and self-sufficient and low-impact living practices. Her work has been featured in media outlets such as The Straits Times and Channel NewsAsia (CNA). Olivia holds a Bachelor of Mass Communications in PR and Journalism from Murdoch University.
There are 11 references cited in this article, which can be found at the bottom of the page.
wikiHow marks an article as reader-approved once it receives enough positive feedback. This article received 12 testimonials and 93% of readers who voted found it helpful, earning it our reader-approved status.
This article has been viewed 1,343,361 times.
Potatoes are a staple of several ethnic diets. The process of growing potatoes is simple.– Just move down to Step 1 to get started.
Steps
Picking the Right Potato
-
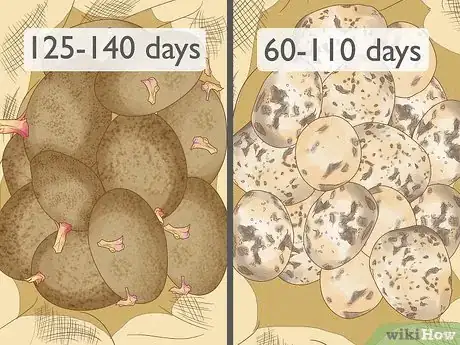
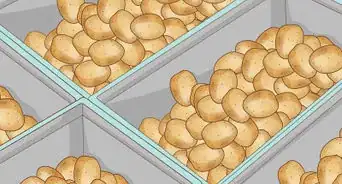
1Pick potatoes according to their growth period. Potatoes are classified according to the length of time they take to mature, which can be influenced by weather.[1]
- Early seed potatoes mature in 60-110 days. Planted towards the end of March, they are typically ready for lifting from late June or early July. A few varieties of new potatoes include Pentland Javelin, Arran Pilot, and Dunluce.[2]
- Maincrop seed potatoes mature in 125–140 days and if planted in late April can be harvested by mid-August, and this can continue through to October. These varieties are higher yielding and usually have larger tubers, which can be used fresh or stored for winter use. King Edward, Kerrs Pink, and Harmony are all good examples of this variety.[3]
-
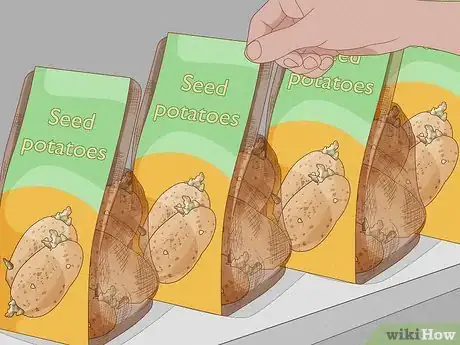
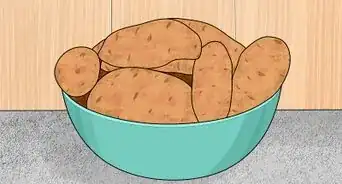
2Obtain the seed potatoes of your choice. You can purchase a seed potatoes through the mail or at your local garden shop, or you can use leftover potatoes you purchased from the supermarket. These however, will not be certified as disease free, which can create a perpetual problem if you plan to raise potatoes in the same place again, as many diseases can be carried in the soil year by year.[4]
- Try to always use certified seeded stock. This is to control and reduce the risk of potato diseases and viruses. You can get certified potato stock from good garden centre, or online quite cheaply. Potatoes come in different growing times for example.
Advertisement -
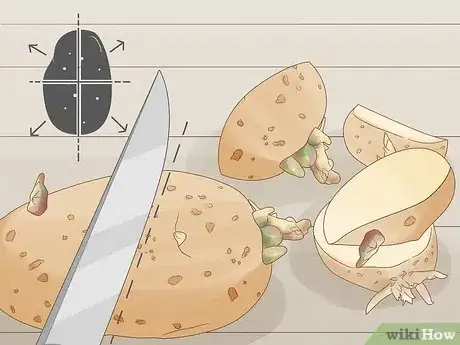
3Prepare the potatoes for planting. With a sharp, non-serrated knife, slice the potatoes roughly into quarters, making sure each piece has no more than three "eyes," which are the small pits or indents on the surface. Place in the sun and let it sit for a day or two, or until you begin to notice the eyes growing sprouts.[5]
- Don't soak your potatoes, as some might suggest. Potatoes have no tough shell to need softened by soaking as some seeds do and they have all the moisture they need for sprouting in the flesh of the potato itself. Soaking creates more risk of rotting than anything it might accomplish! You want the cut sides to "heal"- form a dry "skin" over the area to discourage rotting.
-
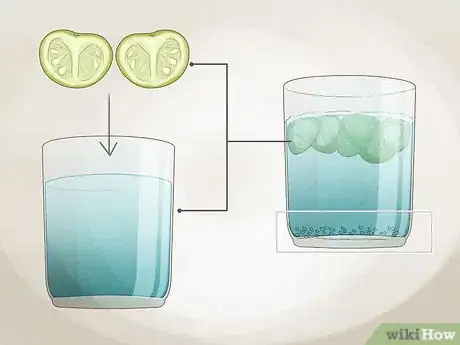
4Consider using the potato fruit to cultivate seeds. Some potato varieties will grow small, highly-toxic green fruits above the ground that each contain up to 300 "true" potato seeds. Chop the fruit finely and put the pieces in a dish of water; after about a day, the seeds will separate and sink to the bottom.
-
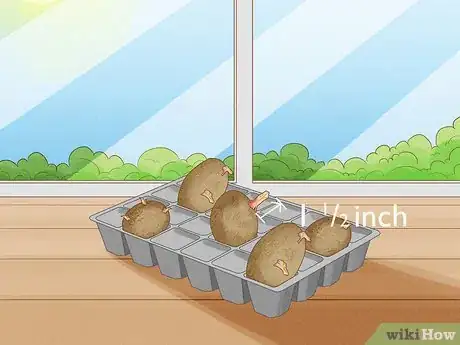
5Spout your potato tubers in a greenhouse or windowsill. You can use empty egg boxes or you can use empty seed trays to place them upright in. Once the shoots start growing about one half-inch, they're ready to plant.
- Only leave 2 - 3 shoots on each potatoes, removing the rest.
Planting Potatoes
-
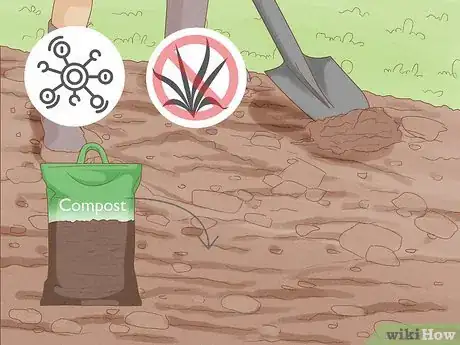
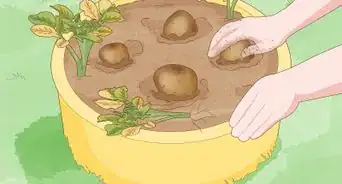
1Prepare the soil. You can plant your potatoes in a patch of land, or you can put them in a planter on your patio. Large pots, a stack of tires and old chimney pots all work well. The most important thing is making sure your soil is as weed-free as possible. Additionally, you might want to till some compost or manure into the soil to make it nutrient-rich.
- Prepare the ground with well rotted compost add a potato fertiliser high in potash.
- Be sure to spade or loosen the soil extremely well. Potatoes will not grow in hard or compact soil.
-
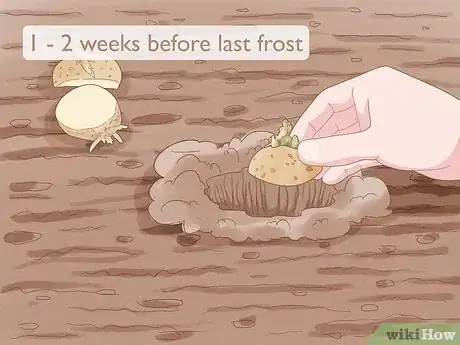
2Pick an appropriate time for planting in your climate. Time your planting so that it falls a week or two before the last frost of the season for your area. The colder nights will kill potential pests, and your potatoes will need more sunshine as the days get longer.[6] For example, in coastal Virginia, potatoes planted on St. Patrick's day in March are harvested in July.
-
3Pick an appropriate spot in the garden. Pick a loose and sunny part of your garden, because potatoes need high heat and lots of sunlight to grow properly.[7] Never plant potatoes in the shaded areas of your garden.
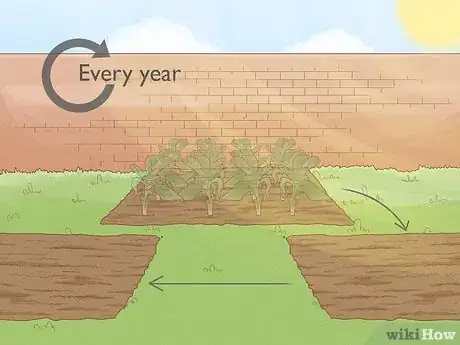
- Be sure to plant potatoes in a different part of your garden each year, so that soil can "rest" a season and replenish the nitrogen. Either that or replenish the soil with plenty of liquid fertilizer (05-10-10) during growing season and after your potatoes are harvested.
- Potatoes can also be panted in potato bags or large pots. Carefully plunge a single chitted (sprouting) tuber into the compost with the shoots pointing upwards, to a depth of 12cm (5") from the soil surface. Gently cover the tubers with compost. All they require is water and a bright, frost free position to grow in.
-
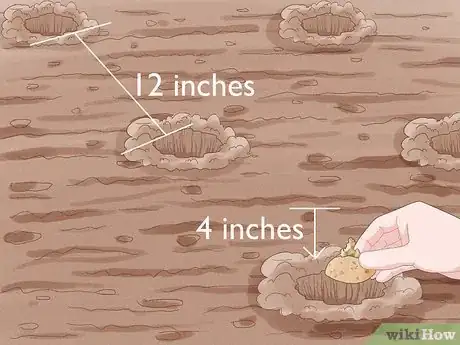
4Put your seed potatoes about four inches deep. Potatoes should be planted in rows about 12 inches apart and at a depth of about 4 inches. Build up the soil along the rows, forming a mound. Potatoes should be far enough apart that they shouldn't run into each other underground as they grow.[8]
- Another way to plant potatoes is to cut them into chunks so that each chunk has at least 1 or better 2 sprouts shooting up. Carefully dust the potato chunks with agricultural sulfur taking care not to break off the sprouts if at all possible as this slows down growth. Plant the potato chunks with the cut side of your chunk facing down into the soil and the sprout or "eyes" pointing up and about 3-4" below the soil level in your mounds.
- As the leaves start to push themselves above the soil, keep earthing up the soil around the plants to prevent any of the potatoes showing. Otherwise, these will turn green and be inedible, as well as poisonous.
- Once the plants are well established and are in flower can give them a liquid feed. Once the plants start to die back that is normally the time to start lifting and harvesting.
-
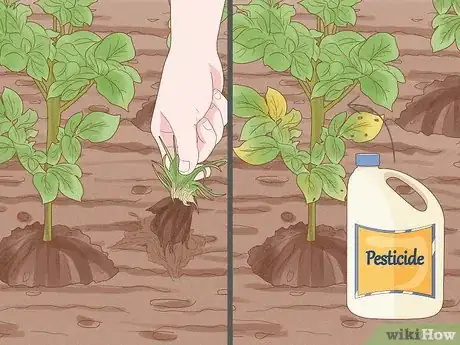
5Care for the plant. Nurturing your potato as it grows will ensure a healthy, edible product come harvest.[9]
- Pull any weeds around your potato plant.
- If you notice holes or yellowing in your potato plant's leaves, you might have pests. If you don't want to use a pesticide on your potatoes, ask the employees at your local garden shop for tips on how to get rid of pests naturally.
-
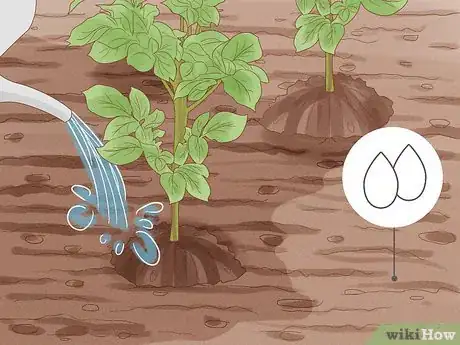
6Water the potatoes sparingly. Potatoes like the soil to be not only loose but very well drained so only water them when they are getting dry, do not keep them moist once the tubers have formed. Be sure to plant them in soil that has been "hilled" or in mounds so the potato is at the top of the mound and water will run off easier. If you plant on level ground they will not thrive.[10]
- Once a week should be fine during summertime, as long as it is a thorough watering, but do it more often if necessary. If the leaves of the plant look like they're wilting, then your potatoes need more water. Be careful not to over water, though, or you'll end up with black potatoes.
-
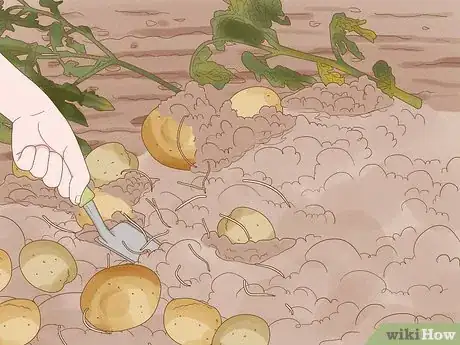
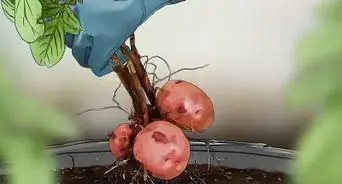
7Harvest your potatoes. When it is near the first frost, harvest and eat. You can harvest potatoes in stages - "young" or "early" potatoes should be ready about 7-8 weeks after planting (when the flowers first appear). Take a few without pulling up the stems, and leave others to continue growing into full-sized potatoes. You will know when your potatoes are ready to harvest when the vine leaves turn yellow and wither.[11]
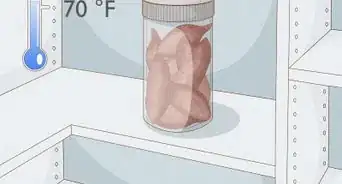
- Store your harvested potatoes in a well-ventilated container (like a basket, crate, paper bag, or net) in a cool, dark, and dry place. Don't put the potatoes in the fridge—this turns the starch to sugars, which alters the flavor and potentially forms acrylamide, a cancer risk chemical.[12]
Community Q&A
-
QuestionHow far apart should the hills be?
 Community AnswerAround 12 inches apart, depending slightly on what variety you're planting (bigger tubers like Russet will tend to intertwine and choke off potential yield if less than a foot between, whereas fingerling potatoes won't require as much room.) It is a good practice to leave ample space no matter what genus you're investing in.
 -
QuestionIs it bad to just cut the potatoes in half?
 Sander1Community AnswerNo, that's OK. There is only one requirement: Make sure every single part of the potato you plant has at least one eye bud (this is where they start to germinate).
 -
QuestionWhat do I do if my plants are too tall and fell over?
 Community AnswerGet a support stick, which is available at gardening shops, and tie the stem to the stick for support. Twine is very durable.
Warnings
- Stony ground leads to oddly shaped potatoes, so carefully remove all stones from your patch if you want uniform produce.⧼thumbs_response⧽
- Do not eat green potatoes or green parts of potatoes - these are poisonous in large quantities.[13]⧼thumbs_response⧽
References
- ↑ https://www.almanac.com/plant/potatoes
- ↑ https://www.growveg.com/guides/how-to-grow-super-early-potatoes/
- ↑ https://www.rhs.org.uk/advice/grow-your-own/vegetables/potatoes
- ↑ https://www.growveg.com/guides/how-to-choose-the-best-potatoes-to-grow-in-your-garden/
- ↑ http://blog.seedsavers.org/blog/tips-for-growing-potatoes
- ↑ https://harvesttotable.com/how_to_grow_potatoes/
- ↑ https://www.growveg.com/guides/a-simple-way-to-get-high-yields-of-potatoes/
- ↑ https://www.almanac.com/plant/potatoes
- ↑ https://garden.org/learn/articles/view/571/
About This Article
To plant potatoes, wait until 1-2 weeks before the last expected frost. Then, plant some seed potatoes in a sunny spot with loosened soil, like a patch of land outside or in a large pot. Bury the seed potatoes about 4 inches beneath the surface of the soil. Once your seed potatoes are planted, water them once a week or whenever the soil is dry. Avoid overwatering your potatoes or you could damage them. After 7-8 weeks, your potatoes should be ready to harvest! For more tips, including how to choose the right potato for your garden, read on!
