This article was co-authored by Lauren Kurtz. Lauren Kurtz is a Naturalist and Horticultural Specialist. Lauren has worked for Aurora, Colorado managing the Water-Wise Garden at Aurora Municipal Center for the Water Conservation Department. She earned a BA in Environmental and Sustainability Studies from Western Michigan University in 2014.
There are 8 references cited in this article, which can be found at the bottom of the page.
wikiHow marks an article as reader-approved once it receives enough positive feedback. In this case, 100% of readers who voted found the article helpful, earning it our reader-approved status.
This article has been viewed 94,244 times.
Cymbidium orchids have been cultivated for thousands of years in China, and are now a popular plant for home gardeners.[1] While some of the many cymbidium species can grow more than five feet (1.5 meters) tall, all but the most temperate climates require the orchid to be kept indoors at least part of the year, or even moved in and out daily. Dwarf cymbidium varieties exist that are small enough to grow on a windowsill, and may make this process easier.
Steps
Caring for Cymbidium Orchids (Blooming Season)
-
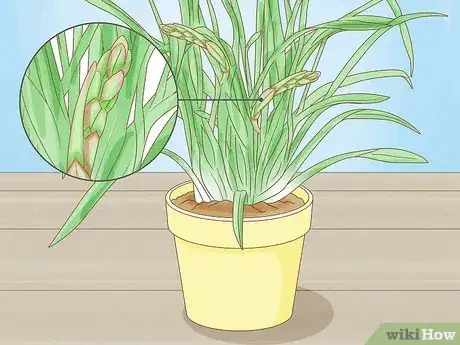
1Follow the advice in this section while the flower stem is present. In the Northern Hemisphere, cymbidium orchids typically grow "flower spikes" starting in February, bloom for three to eight weeks, then lose the last of the flower stem in August.[2] In the Southern Hemisphere, this period lasts from August through January instead.
-
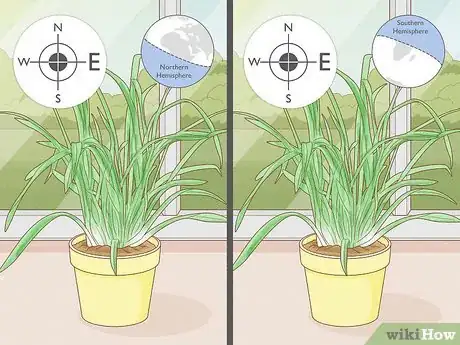
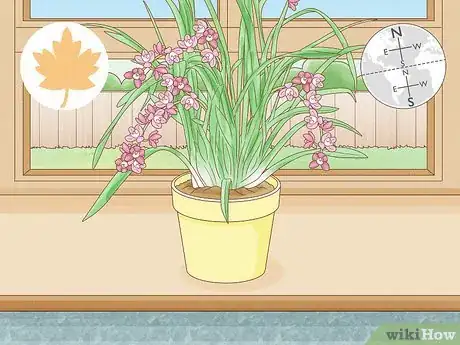
2Keep the orchid in bright, indirect sunlight. Orchids thrive on many hours of sunlight a day, but can burn if exposed to direct afternoon sun. An east- or south-facing window is a good choice in the Northern Hemisphere, or an east- or north-facing window in the Southern Hemisphere. If at least four hours of sunlight is not regularly available, consider using full spectrum grow lights to encourage growth.
- Healthy leaves are light green or yellow-green. If they are bright yellow or spotted, the plant receives too much sun. If the leaves are dark green, it receives too little sun.[3]
Advertisement -
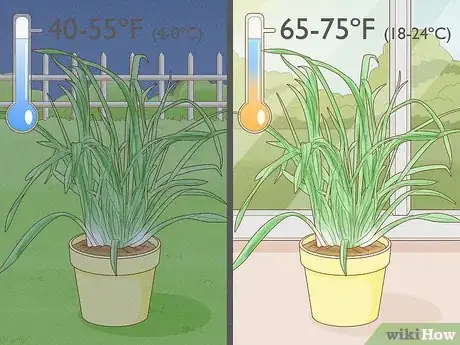
3Expose the plant to night/day temperature changes. Keep the plant in temperate conditions, but expose it to night temperatures cooler by at least 10ºF (or by 5.5ºC) if possible. In ideal conditions, the budding plant should experience night temperatures of 40–55ºF (4–10ºC) and day temperatures of 65–75ºF (18–24ºC).[4] Once the plant has bloomed, it can withstand significant summer heat, but should be kept above 35ºF (1.7ºC) at all times.[5]
- Some cymbidium orchids are hardier than others. While some sources claim a USDA hardiness zone range as wide as 5–10, most cymbidium orchids will be much easier to grow in zones 9 and 10, where winter temperatures are mild enough to keep the plant outdoors at night.
-
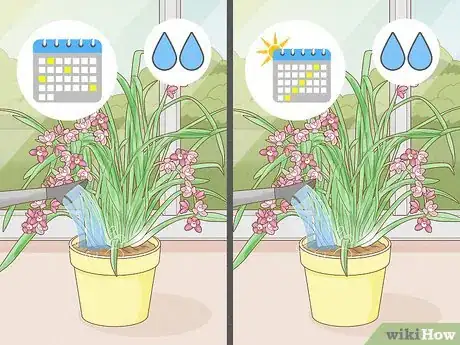
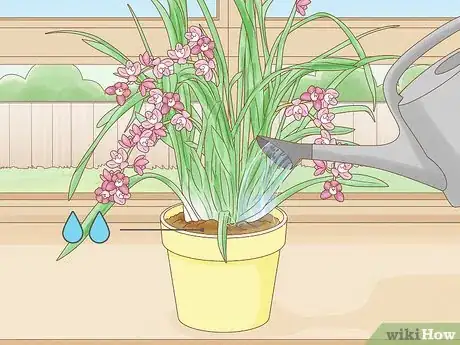
4Water regularly. Keep the soil moist, but not soggy, by watering about once a week for most of the flowering period. During summer weather, watering once every 3–5 days may be required.[6] Each watering session, pour water until it runs through the flowerpot. If the water does not drain through immediately, you may need to repot your orchid plant to prevent rot.
- Rainwater or reverse osmosis water are great options, especially if your tap water is hard. However, do not use water "softened" by other processes, as it may contain salts that can damage the plant.
- Water early in the day if possible, so the water on the leaves evaporates before nightfall. Water left on the plant during cool night temperatures may increase the chance of infection.
-
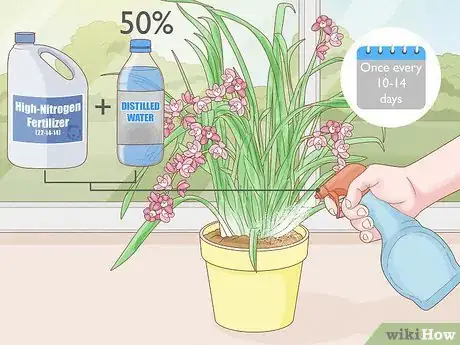
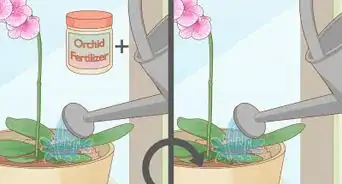
5Apply a high-nitrogen fertilizer. Although you may use an ordinary balanced fertilizer, more nitrogen may encourage the plant to produce bigger, longer-lasting flowers. Dilute a high-nitrogen fertilizer, such as a 22-14-14 or a 30-10-10 mix, to 50% strength with water. Apply according to the fertilizer's instructions once every 10–14 days, or use a slow-release fertilizer that only needs to be applied once or twice during the season.[7] [8]
-
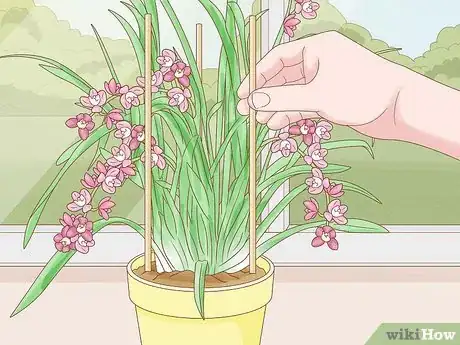
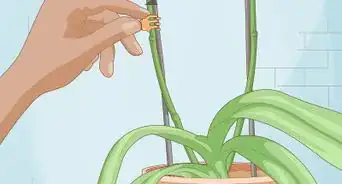
6Support the growing stems with stakes. Once the stems supporting the flower spikes grow to a few inches (several centimeters) long, loosely tie each one to a small stake to prevent breakage and guide the buds upward. You may use twine, twist-ties, or gardening clips, and any type of stake or skewer.[9]
- Do not reuse stakes from other plants, as this may transfer infections.
-
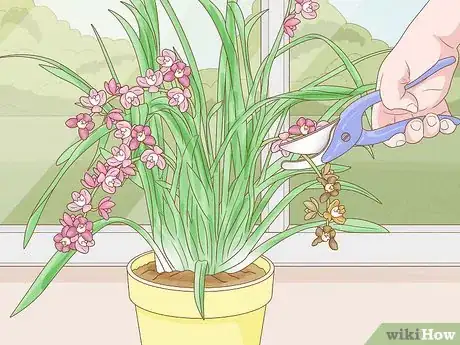
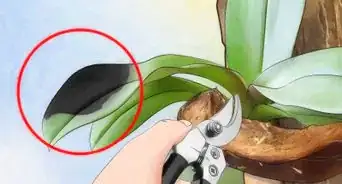
7Prune only when the flower stem turns brown. Cymbidium flowers often fall in spring, but they can last into the summer. Once all the flowers are gone, and the stem is completely brown, cut the stem off at the base. For the rest of the growing season, the plant should focus on growing its leaves.
- Once cooler autumn weather begins, continue on to the section on dormant season care.
Caring for Cymbidium Orchids (Dormant Season)
-
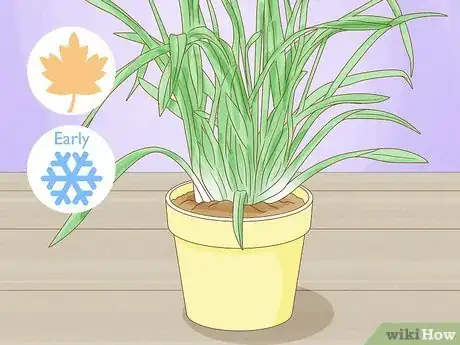
1Follow this advice during autumn and early winter. This section covers cymbidium care during the season when no flower stem is visible. This typically lasts from August through January in the Northern Hemisphere, or from January through July in the Southern Hemisphere.
-
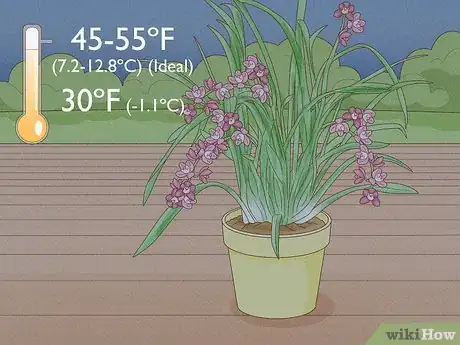
2Keep the orchids in cooler weather, especially during the night. While cool night temperatures are recommended for orchids year round, they are vital during the autumn, when the plant is developing new flower spikes internally. Cold night temperature triggers this development. Around 45–55ºF (7.2–12.8ºC) is ideal, but at this stage the plant can withstand a few hours of exposure to temperatures as low as 30ºF (-1.1ºC).[10] Daytime temperatures may be somewhat warmer, but hot temperatures could disrupt its development.
-
3Reduce the amount of light. In the autumn, move the plant to a location where it will receive less sunlight, but not to complete shade. This will also help the plant develop flower spikes for next year's blooms. Try a north-facing window in the Northern Hemisphere, or a south-facing window in the Southern.
-
4Reduce the amount of water. During this period, the plant is not visibly growing, and does not need as much water. To prevent root rot, which is a common problem for orchids, only water just enough to stop the soil drying out, or even let the soil barely dry out between watering sessions.[11]
-
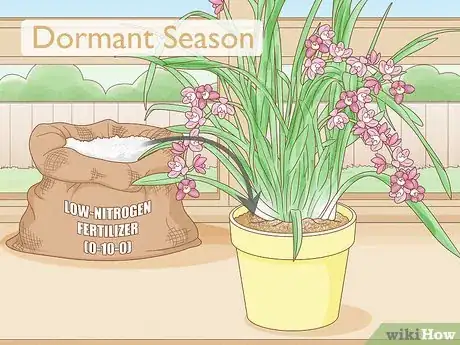
5Use a low-nitrogen fertilizer. While some gardeners use a balanced fertilizer all year round, many find that their orchids respond better to different fertilizers at different times. During the dormant season, try using a low-nitrogen fertilizer such as a 0-10-10 or 6-6-30 mix, which will encourage the development of roots and flowers in preparation for a strong growing season. Dilute the fertilizer to 50% strength and apply according to the packaging instructions, no more than once a month.[12] [13]
Repotting a Cymbidium Orchid
-
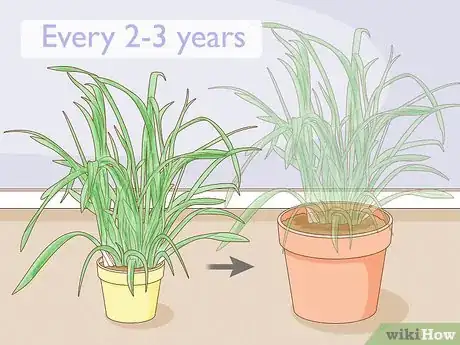
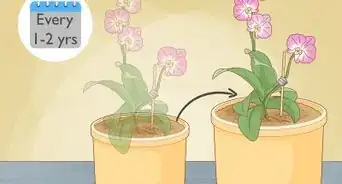
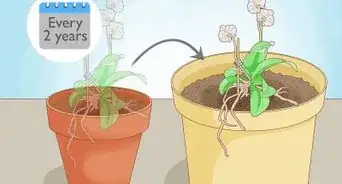
1Repot your cymbidium orchid every two or three years. Orchids prefer a crowded pot, so you do not need to transplant an orchid just because it has expanded to fit its pot. However, if the orchid is sending shoots dangling over the edge of the pot, it may be time to repot.[14] If water pools at the surface rather than running quickly through the pot, the potting mix may have deteriorated and needs replacement. Repotting is usually only necessary once every two or three years.
-
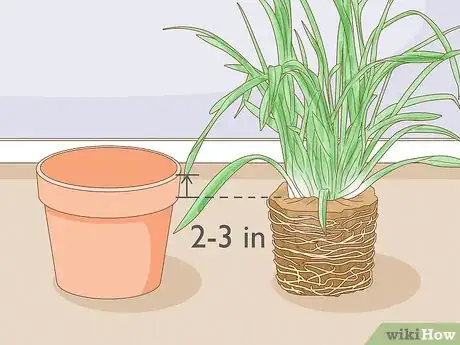
2Select a pot barely large enough for the plant. Orchids thrive in small containers, with the edge of the container about two to three inches (5.0–7.5 cm) from the roots of the orchid.[15] For young, small orchid plants, use a pot with only one inch (2.5 cm) of space.
- If you plan to divide the orchid plant, as described below, you will need two or more smaller pots, one for each piece.
- Terra cotta pots are preferable to plastic pots, because their more porous material reduces the risk of water pooling around the orchid's roots.[16]
-
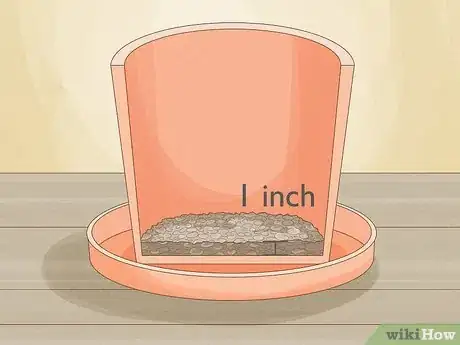
3Add a layer of gravel to the new pot (optional). If you plan to keep your new flowerpot on a saucer, a one inch (2.5 cm) layer of gravel at the base of the pot is recommended. This will prevent excess water from pooling around the roots of the orchid and causing rot.[17] This may also help prevent sand or other components of the potting mix from working its way out of the drainage hole.
-
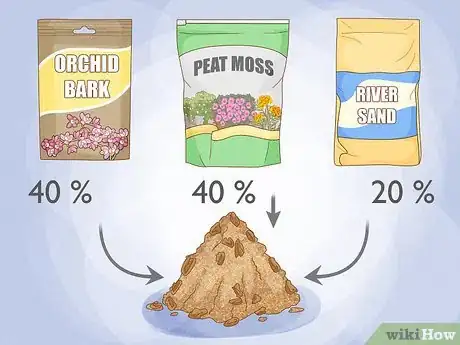
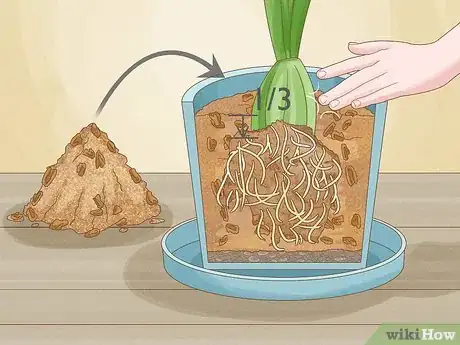
4Prepare a fast-draining potting mix, to add later. You may purchase cymbidium orchid potting mix from a specialized flower nursery, or mix your own. A fast-draining mix such as 40% orchid bark, 40% coarse peat moss, and 20% river sand is recommended.[18] Medium orchid bark is best suited for smaller cymbidium orchids, while coarse orchid bark is preferable for plants in pots larger than 6 inches (15 cm) in diameter.[19]
- Many gardeners have their own preferred mixes, and you may wish to ask a local expert for advice. In a humid area, additives may not be necessary to retain moisture.
-
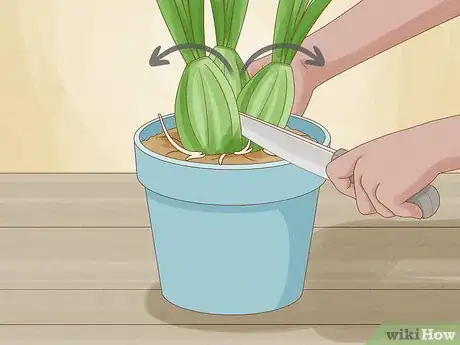
5Consider dividing a large orchid. As they grow, orchids produce additional bulb-like organs at the base of the plant, called pseudobulbs.[20] If these have formed a large cluster, you may split your orchid into pieces and plant them separately. Each piece should include plenty of roots and at least four hard bulbs with leaves attached. If leafless bulbs called "backbulbs" are present, do not remove them, as they store extra energy for the plant. You may be able to divide small orchids by hand, but mature cymbidium orchids typically require cutting with a knife.
- In order to reduce the risk of infection, sterilize your knife or shears before dividing the orchid, wear disposable gloves, and work on a layer of clean newspaper. Change gloves and newspaper, and clean the knife again, before handling another plant.[21]
- You may plant smaller pieces as well, but these may take two or three years to bloom for the first time.
-
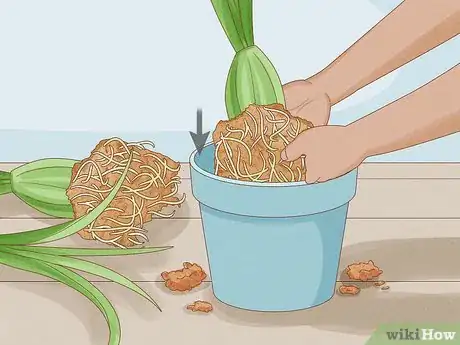
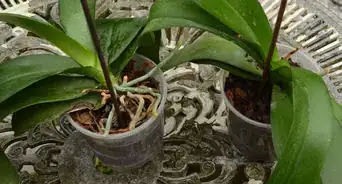
6Transfer the orchid to the new pot. Use a long sterilized knife if necessary to separate rootbound orchid plants from the edge of the old pot. It often takes a considerable amount of force to pull out an orchid, since they grow tight against the container's walls. Once the plant is loose, transfer it gently to the new pot.
- If you are planting a divided piece of an orchid plant, carefully spread out the roots so they are evenly spread throughout the pot, but avoid breaking them.
-
7
-
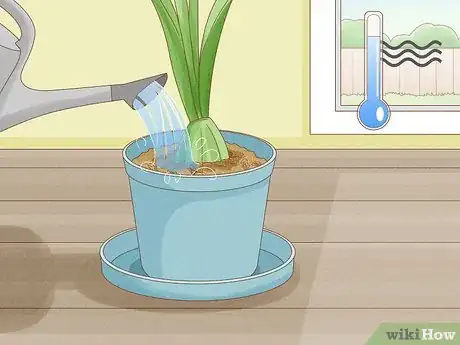
8Take precautions after potting. Keep the newly potted plant in a shadier area for the next few days, while it adjusts to the new pot. Water the plant as usual. If growing divided orchids, keep them slightly drier and cooler than usual for a few weeks, to encourage the growth of new roots.[24]
Expert Q&A
-
QuestionHow do I grow my cymbidium orchids when it has a dead center?
 Lauren KurtzLauren Kurtz is a Naturalist and Horticultural Specialist. Lauren has worked for Aurora, Colorado managing the Water-Wise Garden at Aurora Municipal Center for the Water Conservation Department. She earned a BA in Environmental and Sustainability Studies from Western Michigan University in 2014.
Professional Gardener Repot your cymbidium orchid and remove the dead center. Replant only the healthy pseudobulbs.
 -
QuestionHow do I get my cymbidium orchid to flower when it hasn't flowered in years?
 Lauren KurtzLauren Kurtz is a Naturalist and Horticultural Specialist. Lauren has worked for Aurora, Colorado managing the Water-Wise Garden at Aurora Municipal Center for the Water Conservation Department. She earned a BA in Environmental and Sustainability Studies from Western Michigan University in 2014.
Professional Gardener Consider repotting your orchid into a larger pot with a new planting medium. Regularly fertilize it with an appropriate food.
 -
QuestionWhen do I remove all the leaf growth?
 Community AnswerDo not remove young leaves unless heavily damaged by bugs or molds.
Warnings
- Consider isolating newly acquired plants for the first two weeks, keeping them away from other plants until you are sure they have no insects or diseases.⧼thumbs_response⧽
Things You’ll Need
- Orchid planting mix (described in instructions)
- Small terra cotta flowerpot (just big enough for the plant)
- High-nitrogen fertilizer
- Low-nitrogen fertilizer
- Misting bottle (in dry climates)
References
- ↑ https://www.aos.org/Default.aspx?id=458
- ↑ http://www.proplants.com/guide/cymbidium-orchids-plant-care-guide
- ↑ https://garden.org/learn/articles/view/1846/Cymbidium-Orchids/
- ↑ http://www.orchidsgardencentre.com/cymbidium.html
- ↑ http://www.proplants.com/guide/cymbidium-orchids-plant-care-guide
- ↑ http://www.orchidsgardencentre.com/cymbidium.html
- ↑ http://www.proplants.com/guide/cymbidium-orchids-plant-care-guide
- ↑ https://garden.org/learn/articles/view/1846/Cymbidium-Orchids/
- ↑ http://www.orchidsmadeeasy.com/how-to-grow-orchids/
- ↑ https://garden.org/learn/articles/view/1846/Cymbidium-Orchids/
- ↑ http://www.proplants.com/guide/cymbidium-orchids-plant-care-guide
- ↑ https://garden.org/learn/articles/view/1846/Cymbidium-Orchids/
- ↑ http://www.proplants.com/guide/cymbidium-orchids-plant-care-guide
- ↑ http://www.proplants.com/guide/cymbidium-orchids-plant-care-guide
- ↑ https://garden.org/learn/articles/view/1846/Cymbidium-Orchids/
- ↑ http://www.proplants.com/guide/cymbidium-orchids-plant-care-guide
- ↑ https://garden.org/learn/articles/view/1846/Cymbidium-Orchids/
- ↑ https://garden.org/learn/articles/view/1846/Cymbidium-Orchids/
- ↑ http://www.orquideas.com/growing/potting/cymbpot.html
- ↑ http://www.orquideas.com/growing/potting/cymbpot.html
- ↑ http://www.orquideas.com/growing/potting/cymbpot.html
- ↑ http://www.orquideas.com/growing/potting/cymbpot.html
- ↑ http://www.repotme.com/orchid-repotting/Orchid-Repotting-FAQ.html#divide
- ↑ http://www.orquideas.com/growing/potting/cymbpot.html
- Northern, Rebecca, Orchids as Houseplants-New York, N.Y. Dover Publications 1976
