This article was co-authored by wikiHow Staff. Our trained team of editors and researchers validate articles for accuracy and comprehensiveness. wikiHow's Content Management Team carefully monitors the work from our editorial staff to ensure that each article is backed by trusted research and meets our high quality standards.
There are 9 references cited in this article, which can be found at the bottom of the page.
This article has been viewed 16,082 times.
Learn more...
Closures on wigs can end up with all sorts of problems, such as lifting off your head or thinning out too much. If you're having one of these issues, never fear, there are some simple solutions you can use to fix them! You may even have what you need on hand already!
Steps
Fixing a Lifting or Sliding Closure
-
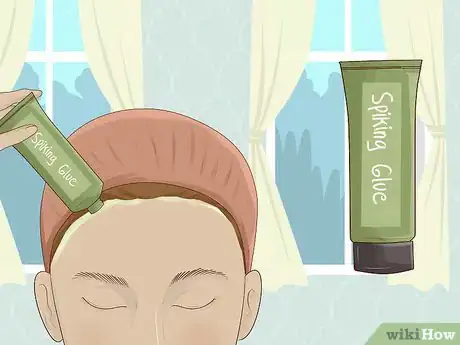
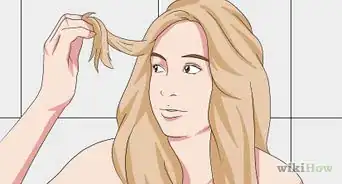
1Dab a bit of spiking glue under the edge of the closure while it's on your head. Lift up the closure at the front, where it meets your hairline. Get a dime-sized amount of spiking glue on your finger and rub it into the scalp just under the front part of the wig. Cover about 1 inch (2.5 cm) on either side of your part with glue.[1]
- Spiking glue is used to spike hair, but it's also helpful with wigs. You can find it at most drugstores or online.
- The spiking glue will help keep the closure from lifting.
-
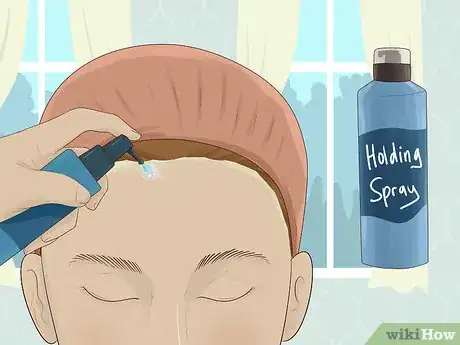
2Add another layer of spiking glue after it dries for a few seconds. Once it feels tacky (instead of just sticky), do another layer of the glue. You can also spray a bit of holding spray under the edge of the closure. Just add a 1-second spritz or so. Let it dry enough to just feel tacky.[2]
- Holding spray is a type of hairspray that allows hair to move around. You can find it at most drugstores or online.
Advertisement -
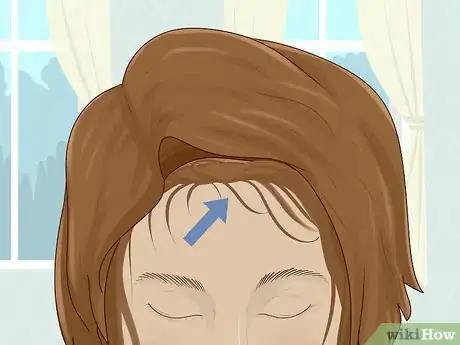
3Apply pressure to the front of the closure. Hold the wig in place with your hand by pressing down on the front part near the hairline. It's important to keep it in place for a few minutes so it will stick.[3]
- If you don't want to hold it in place with your hand, tie a silk scarf over the area to keep it in place.
-
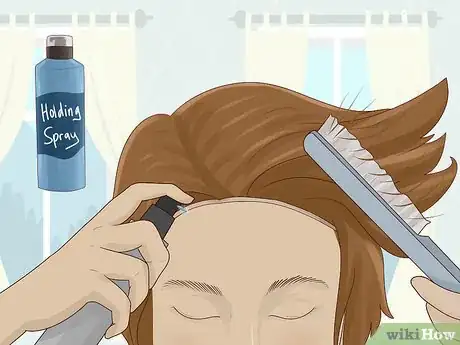
4Spritz on a bit of holding spray where the wig meets your hairline. Take the scarf off if you put one on. Spray on a bit of the product right at the part, catching the front of the closure and your edges. Also, if you have hair hanging down in front of any part of the wig on your forehead, lift it up and spray a bit along the closure there, too.[4]
- Make sure to pick a product that dries clear.
- The holding spray will keep your closure from moving back and forth on your head.
-
5Go to your stylist if you can't get it to stay. It may not be installed or glued on perfectly, and your stylist can help repair it. Plus, they can recommend the best glue types for holding it in place if you're not sure what to use.[5]
Filling in a Balding Closure
-
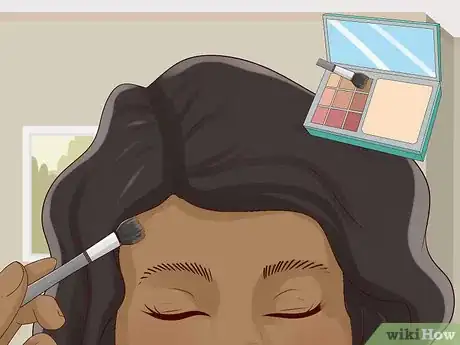
1Try brushing eye shadow into your part for a quick fix. Pick a color or mixture of colors that match your hair color. Dab a small flat brush into the eye shadow, then brush it along the part with the wig on your head. Brush it into the scalp and then move the brush with the grain of the hair, brushing out away from the part on either side.[6]
- Keep filling it in until the whiteness of the bald spot is gone. Work it into the roots nearby by swirling the brush around. That way, it blends in with the wig. Comb the part into place when you're done.
- If you can take the wig off, you may need to apply some underneath the bald spot, too.
-
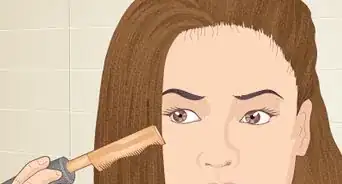
2Comb in temporary hair dye for a more permanent fix. Find a can of temporary spray hair dye that matches the hair color of the wig. Spray it onto a spoolie (clean mascara brush) over a piece of newspaper. Comb the color into your part, starting at the middle and working your way out. Comb out both sides of the part.[7]
- The dye should help color in the balding spot.
- You can also try this with colored hair pomade.
-
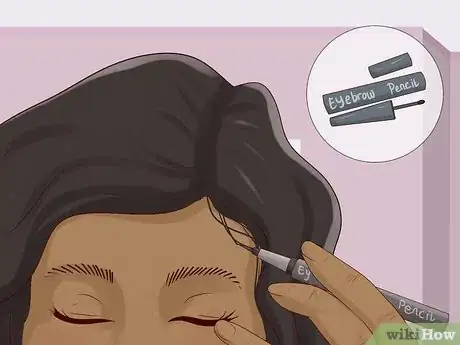
3Color in the closure with an eyebrow pencil in the same color as the dye or eye shadow. Draw along the edge of the part, moving out towards the hair as you do. Try to fill in most of the balding spots with the eyebrow pencil, but leave a line along the middle for the part.[8]
- Part of the issue with a thinning wig is the closure shows through. If you color it in, the wig won't look as thin.
-
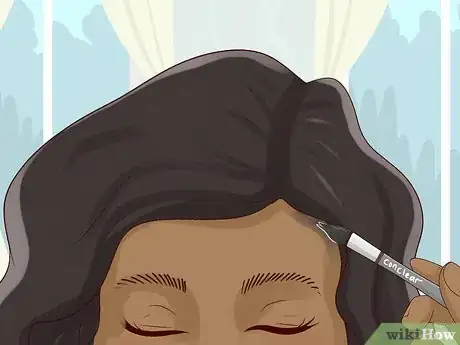
4Add a line of concealer along the part at the end to make it look more natural. After adding in your hair color, the part will look that color. To make it look like your actual scalp, use a small sponge applicator to draw a line along the part in your natural skin color. That will act like contouring for your wig, creating light and dark areas.[9]
Community Q&A
-
QuestionHow would I make a wig without a closure?
 ALEXANDRIA WARRENCommunity AnswerIt would be easiest to just buy one. There's less room for error and you can get it customized.
Things You'll Need
Fixing a Lifting or Sliding Closure
- Spiking glue
- Holding spray
Filling in a Balding Closure
- Eye shadow, optional
- Temporary hair day or pomade, optional
- Spoolie or eyebrow brush
- Eyebrow pencil
- Sponge applicator
References
- ↑ https://www.youtube.com/watch?v=1qXlJ5T-Q0U&feature=youtu.be&t=39
- ↑ https://www.youtube.com/watch?v=1qXlJ5T-Q0U&feature=youtu.be&t=66
- ↑ https://www.youtube.com/watch?v=1qXlJ5T-Q0U&feature=youtu.be&t=87
- ↑ https://www.youtube.com/watch?v=1qXlJ5T-Q0U&feature=youtu.be&t=87
- ↑ https://blackdoctor.org/514682/7-golden-rules-to-wearing-a-lace-front-wig/
- ↑ https://www.youtube.com/watch?v=YWN9hpul8eU&feature=youtu.be&t=80
- ↑ https://www.youtube.com/watch?v=UZhXiQPRkJ4&feature=youtu.be&t=451
- ↑ https://www.youtube.com/watch?v=UZhXiQPRkJ4&feature=youtu.be&t=576
- ↑ https://www.youtube.com/watch?v=YWN9hpul8eU&feature=youtu.be&t=202
