This article was co-authored by wikiHow staff writer, Travis Boylls. Travis Boylls is a Technology Writer and Editor for wikiHow. Travis has experience writing technology-related articles, providing software customer service, and in graphic design. He specializes in Windows, macOS, Android, iOS, and Linux platforms. He studied graphic design at Pikes Peak Community College.
This article has been viewed 59,114 times.
Learn more...
Enabling MAC address filtering lets only devices with specific MAC addresses to connect to your router. This wikiHow teaches you how to enable MAC address filtering on your router.
Steps
-
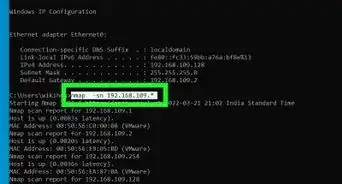
1Go to your router's admin website in a web browser. To open your router's web interface, open a web browser and enter the router's IP address in the address bar. Check the user's manual or manufacturer's web page to find the exact IP address for your router. The most common router IP addresses include "192.168.1.1," "192.268.0.1," and "10.0.0.1."
-
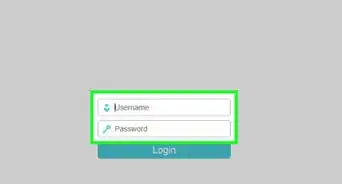
2Log in to the admin website. You will need to enter the admin username and password to log into your router. If you have not set the admin username and password, use the default information. It may be printed on the router itself, in the user's manual, or on the manufacturer's website. Common usernames and passwords include; "admin", "password", "12345", or just leave the field blank.Advertisement
-
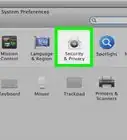
3Locate the MAC Filtering option in the web interface and click it. The web interface for each router make and model has a different layout. The MAC Filtering option may be listed as "MAC Filter", "Network Filter", "Network Access", "Access Control", or something similar. It may be located under the "Wireless", "Security", or the "Advanced" menu. Check the user's manual or manufacturer's support site for your router if you need help navigating the web interface.[1]
-
4Click the option to add a new MAC filter. When you locate the MAC filtering option in the web interface, click the option to add a new MAC address. The button will most likely be an icon that says "Add" or a plus sign (+) or something similar.
-
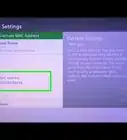
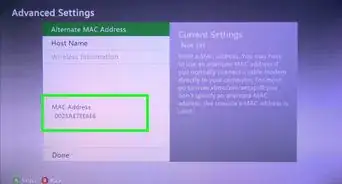
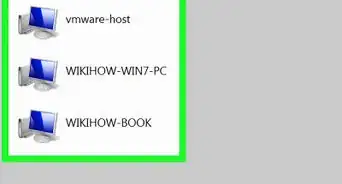
5Type in the MAC Address. Each internet-connected device has a unique MAC address. You can find the MAC address on a computer, iPhone, or other mobile devices. You can usually find the MAC address for a device in the "About" section in the Settings menu.
- A MAC address looks something similar to this: 08:00:27:0E:25:B8. It may be listed as "MAC address", "Wi-Fi Address" or something similar.
-
6Click the option to save or apply your changes. After you enter a MAC address, click the option to save or apply the changes. You can enter more than one MAC address.
-
7Turn on MAC filtering. To turn on MAC filtering, look for an option that says something similar to "Turn on MAC Filtering/Access Control", or "MAC Restrict Mode." There may be a toggle switch or a button near this option that says "On", "Enable" or "Allow". Click it to enable MAC filtering.[2]
- You may need to reboot your router for the changes to take effect.


-Step-26-Version-2.webp)


References
About This Article

1. Open a web browser and enter your router's IP address.
2. Log in to the web interface for your router.
3. Locate the option for "MAC/Network Filter" or "Access Control" under the "Wireless", "Security", or "Advanced" menu and click it.
4. Click the option to add a new MAC address.
5. Type the MAC address you want to enter and click the option to Save or Apply changes.
6. Make sure MAC Filtering/Access Control/Mac Restrict Mode is enabled.