This article was co-authored by wikiHow Staff. Our trained team of editors and researchers validate articles for accuracy and comprehensiveness. wikiHow's Content Management Team carefully monitors the work from our editorial staff to ensure that each article is backed by trusted research and meets our high quality standards.
This article has been viewed 18,703 times.
Learn more...
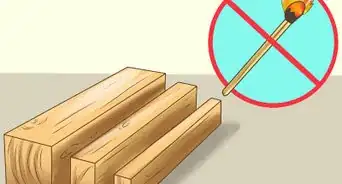
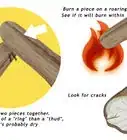
Drying freshly cut wood is essential for good quality lumber and woodworking. It is also called “seasoning” and reduces the moisture content so that the wood is stable enough to use. Drying wood also makes it burn more efficiently, so you can also use these common wood-drying practices for firewood.
Steps
Creating a Place to Dry Your Wood
-
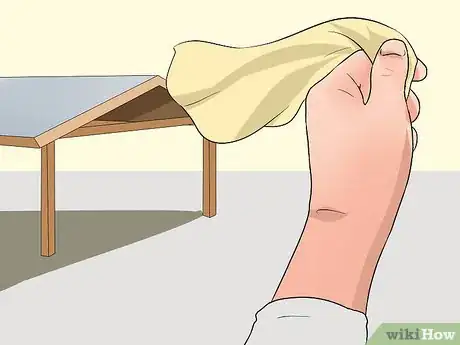
1Choose a place where you will air-dry the wood. You will need a place in the open-air that is large enough to house stacks of lumber. Don't fall into the temptation of stacking your lumber in the sunniest spot on your land. Drying the wood too quickly will be detrimental to the quality and strength of the finished product. You want an open, yet shaded area.[1]
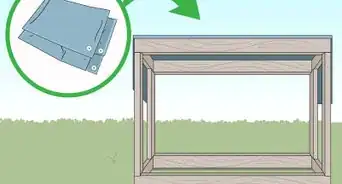
- You can build a cover to create shade if you do not have a shady area.
-
2Assess the prevailing wind direction when you are choosing your spot. Ideally, you want the wind blowing through the sides of the wood rather than the ends. Find a place where the wind usually blows in a direction which would cut through the side of your stack.[2]Advertisement
-
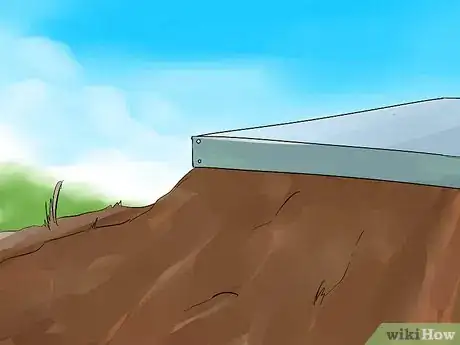
3Avoid moisture by providing drainage and vapor barriers. You want a level surface to be able to stack your wood and have it safely balance, but choosing an area with a slight slope will allow for drainage in bad weather. If the ground is damp in this area, lay a vapor barrier, like a tarp, on the ground.[3]
-
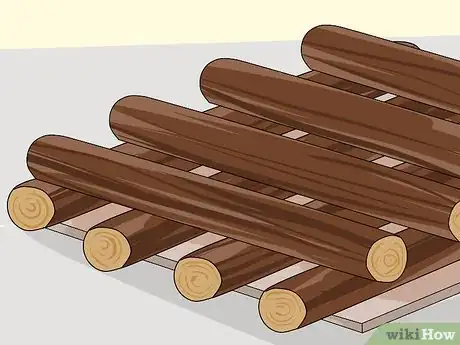
4Create a raised platform. You don't want your wood to sit directly on the earth. Make a buffer between the ground and the wood stack using railroad ties, a concrete pad or a sturdy raised palette. Be sure the base is level.
Prepping the Wood
-
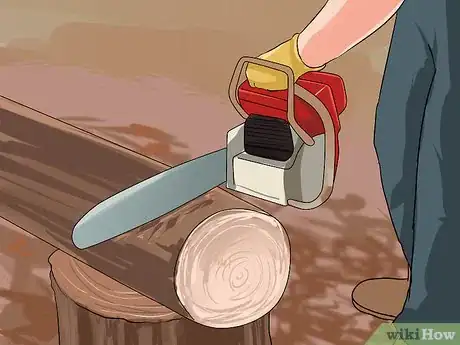
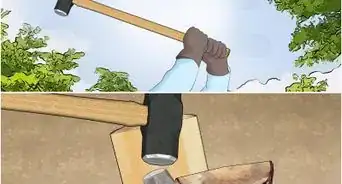
1Process your wood soon after the tree is felled. Once the tree has been cut or blown down, you want to cut the wood into your desired pieces as soon as possible. This will help you avoid damage from the elements.[4]
- Leaving the wood where it fell makes it susceptible to rot, stains, mold and fungus.
-
2Cut your pieces slightly larger than you want the finished product. As wood loses moisture, it shrinks. Your green wood, or newly cut wood, should be large enough to allow for some shrinkage. This is especially important to keep in mind if you are drying planks of wood for carpentry.[5]
- Wood shrinks an average of at least 5% in the drying process.
- It is likely the shape will also distort in the drying process. There is no need to plane the wood until it has reached EMC, equilibrium moisture content, meaning its moisture level is in balance with the surrounding atmosphere.
-
3Seal the ends. Moisture is released 10-12 times faster from the ends of the wood. Seal the ends to moderate moisture loss and balance the rate of drying the entire piece of wood.[6]
- Ends can be sealed using something as simple as latex paint, or an end grain sealer specially created for this purpose. Other options are paraffin wax, polyurethane and shellac.
- Wood drying too quickly from the ends will result in cracks in the ends of the wood, known as end checks.[7]
- You can cut the painted ends from your wood once it is done drying. In that case, leave some extra length on each end to compensate for the cut.
Stacking Wood
-
1Cut enough stickers to lay every 2 feet across your stack of wood. Stickers are long, flat pieces of wood used to create space between each layer of wood in your stack. This allows air to flow between the layers. Stickers should be about 1 inch thick and 2 inches wide, and the length of the width of your stack.[8]
- It is important to keep the width of the stickers uniform to keep your boards straight.
- It does't matter what type of wood you use for stickers, but walnut should be avoided since it can stain your lumber.
-
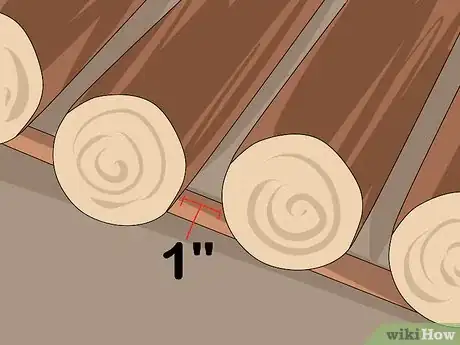
2Create your base layer. Place a layer of lumber on your raised pad or palette. Leave an inch of space between each board. Place a sticker every 2 feet along the width of the first layer.
-
3Finish the stack. Set a new layer of lumber atop the stickers running in the same direction as the first layer of lumber. Place stickers in exactly the same position as you did with the first layer. This will keep your stack balanced and your wood weighted evenly to avoid warping. Repeat until you have stacked all your wood.[9]
-
4Weigh down the top of the stack. The wood on the bottom layers is weighted by the rest of the stack, but you will need to add weight to the top in order to keep the upper layers flat while they dry.
- Place another layer of stickers on top of the final layer of wood.
- Lay a large, flat surface like a piece of plywood on top of the stickers.
- Set several cinder blocks on top of the plywood to apply weight to the stack.
Calculate Drying Time
-
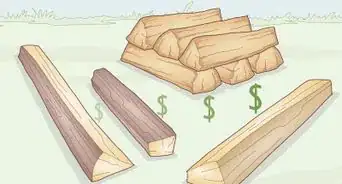
1Purchase a moisture meter. This is the best way to read exactly how much moisture is left in your wood. You can find moisture meters at woodworking supply stores. They run about $100 each.[10]
- You can check the wood every few weeks to assess its progress.
- Once the wood matches the moisture content of the air, it is ready to use.
- Lumber sellers often kiln dry the wood at this point to bring the wood to an even lower moisture content. For small operations, this may not be necessary.
- Aim for a moisture content between 6 and 12 percent MC, or moisture content.
-
2Plan to dry fresh wood for at least one year. The standard guideline for drying wood used in woodworking is allowing one year for each inch of thickness. Measure your wood and decide how many years it will need to be set aside in your air-drying apparatus.
- This is a good guideline for commonly used wood like walnut, cherry and oaks.
- Poplar dries more quickly and can be ready in 6 months.
-
3Bring wood inside in humid regions. Wood will only dry to EMC, meeting the level of moisture in the air surrounding it. People who live in damp or humid regions may need to bring the wood inside to finish drying it to a usable percentage between 6 and twelve percent MC, or moisture content.[11]
- Move the wood into a contained and temperature and humidity controlled space like a shed, garage or heated basement.
Things You'll Need
- Railroad ties
- Concrete pad
- Palette
- Separator sticks
- Metal bands
- Tin sheets
- Paintbrush
- Paraffin wax/latex paint
- Moisture meter
References
- ↑ http://www.woodmagazine.com/materials-guide/lumber/how-to-succeed-at-air-drying-lumber
- ↑ http://www.woodmagazine.com/materials-guide/lumber/how-to-succeed-at-air-drying-lumber
- ↑ http://www.woodmagazine.com/materials-guide/lumber/how-to-succeed-at-air-drying-lumber
- ↑ http://www.wood-database.com/wood-articles/drying-wood-at-home/
- ↑ http://www.wood-database.com/wood-articles/drying-wood-at-home/
- ↑ http://www.wood-database.com/wood-articles/drying-wood-at-home/
- ↑ http://ir.library.oregonstate.edu/xmlui/bitstream/handle/1957/5302/Splits_Cracks_Wood_ocr.pdf
- ↑ http://www.woodmagazine.com/materials-guide/lumber/how-to-succeed-at-air-drying-lumber
- ↑ https://www.youtube.com/watch?v=5sN4W_xGi7s&feature=youtu.be&t=48
About This Article
To dry wood, start by building a raised platform in an open, shaded, outdoor area using pallets or concrete. Then, cut your wood so it's slightly bigger than you want it to be since it will shrink when it dries, and seal the ends with latex paint so the wood doesn't dry too quickly and end up cracking. Next, stack your wood on the platform, and separate the layers with long, flat pieces of wood so air can flow between them. Finally, weigh down the top of the stack with plywood and cinder blocks. For tips on how to dry wood when you live in a humid climate, scroll down!

