This article was co-authored by Bess Ruff, MA. Bess Ruff is a Geography PhD student at Florida State University. She received her MA in Environmental Science and Management from the University of California, Santa Barbara in 2016. She has conducted survey work for marine spatial planning projects in the Caribbean and provided research support as a graduate fellow for the Sustainable Fisheries Group.
This article has been viewed 47,988 times.
Molecules are groups of atoms bonded together. Sometimes, molecules are bonded in a way that unevenly distributes charge and creates 2 poles (1 positive and 1 negative). When this happens, the molecule is considered polar. You can determine the polarity of a molecule by analyzing its bonds, testing how it interacts with other polar substances, or observing its reaction to an electromagnetic field.
Steps
Drawing Lewis Dot Structures
-
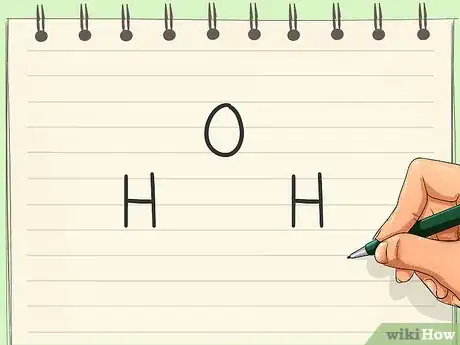
1Write the symbols for all atoms in the molecule. Atomic symbols for atoms can be found on the periodic table. These symbols are used to represent each atom in a Lewis dot structure. Be sure not to mix up the symbols, as this would cause confusion.[1]
- For example, if you are looking at a water molecule, you would write out O, H, and H.
-
2Find the central atom. The central atom is the atom that all (or at least most) of the other atoms are bonded to. Those atoms may or may not be bonded to each other as well. As a rule of thumb, central atoms are usually atoms with low electronegativity.[2]
- The water molecule breaks this general trend since the oxygen atom (the most electronegative atom in the molecule) is the center atom.
- Carbon dioxide is an example of a molecule that follows the trend of center atoms being less electronegative. In this case, carbon is the center atom.
Advertisement -
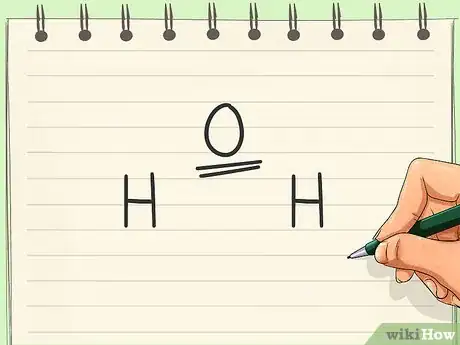
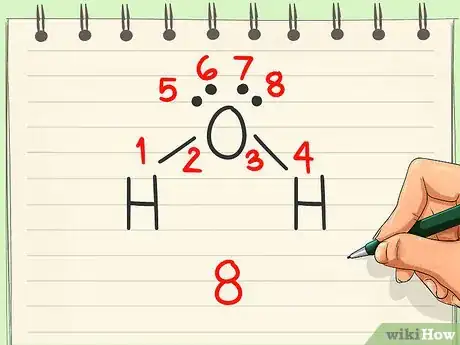
3Add all of the bonds. Use the octet rule to determine the number and type of bonds present. Each atom’svalence shell should contain 8 electrons for the molecule to be stable. Some atoms may be double or triple bonded to achieve this.[3]
- In a water molecule, add a single bond from the oxygen to both hydrogens. The hydrogens are not bonded to each other.
-
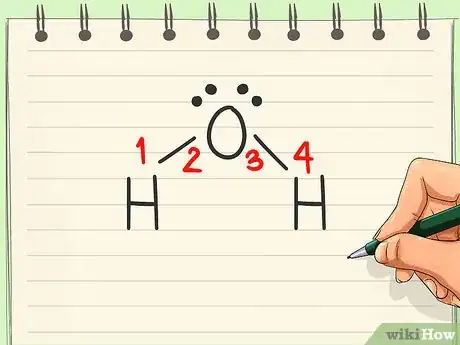
4Include unbound electrons. While most electrons are used in bonding, some atoms have a set of non-bonding electrons. These electrons should also be included in the Lewis structure, as they are very important when determining polarity. Represent all electrons (bonded and unbonded) with dots around their respective atoms.[4]
- Oxygen has 2 lone pair electrons. This means they are not used for bonding, but stay attached to the oxygen.
-
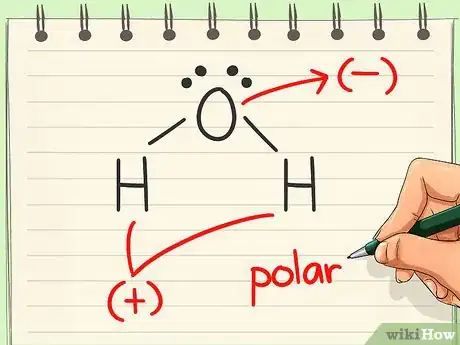
5Look for dipoles. A dipole exists when electrons are unevenly distributed from one side of the molecule to the other. If this is present, then the molecule is polar. If the distribution looks even, the molecule is nonpolar.[5]
- Since electrons are more attracted to oxygen than hydrogen, they tend to congregate on that end of the molecule. That gives the oxygen a negative charge and the hydrogens a positive charge, creating a dipole. Thus, water is polar.
Putting the Substance in Solvents
-
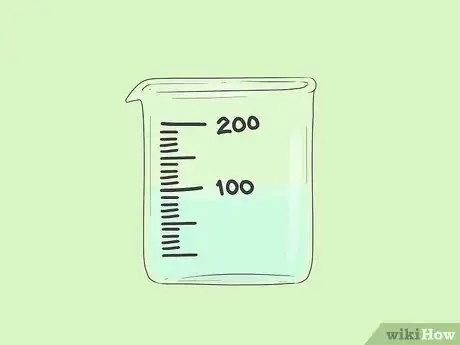
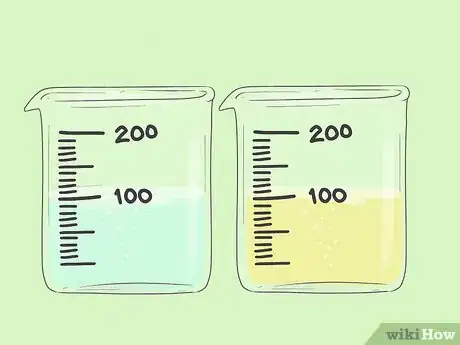
1Fill a beaker with water. Water is a polar solvent. Put 100 mL of water into a clean beaker. Set the beaker aside to come back to later.[6]
-
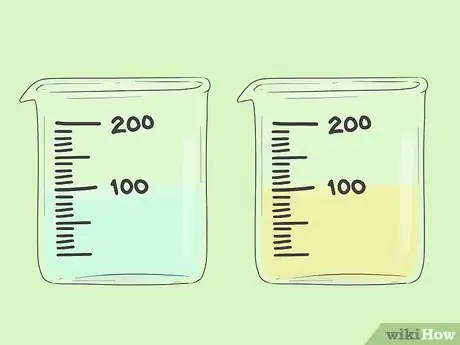
2Add a nonpolar solvent to a new beaker. Nonpolar solvents include things like toluene, gasoline, and oils. Add 100 mL of a chosen nonpolar solvent to another beaker. Let this beaker sit beside the water beaker.[7]
- Many nonpolar solvents fall into the category of volatile organic compounds (VOCs) and are quite dangerous. Be careful when heating them, and always wear a mask and gloves.
- For example, you could put vegetable oil into the second container. It is not volatile, but still acts as a nonpolar solvent.
- Acetone is also relatively safe organic solvent, but you should still keep it away from fire and wear your mask and gloves. Acetone is a volatile compound.
-
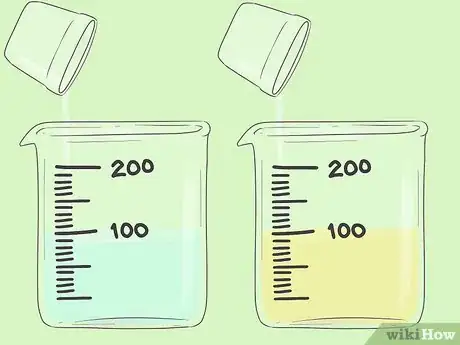
3Place equal amounts of the substance into each beaker. Put the substance in question into the beaker filled with water and the beaker filled with the nonpolar solvent. Be sure to use the same amount in each beaker for consistency. You can start by adding 10-20 mL into each new beaker.[8]
- For example, you could put 20 mL of isopropyl alcohol into each beaker.
-
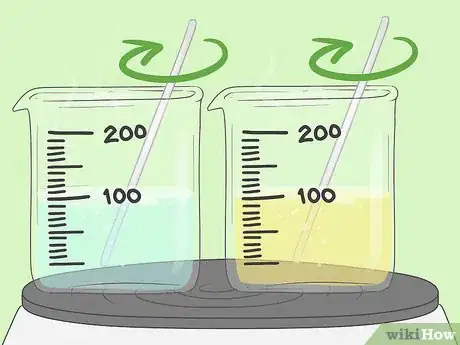
4Stir and/or heat the mixtures. The solvents may need to be heated or stirred to spur interaction. If this is the case, be sure that you stir and heat the solvents to the same degree. That said, heating organic solvents, such as toluene, is very dangerous and you should exercise caution.[9]
- There is no need to heat when testing isopropyl alcohol. Stirring is sufficient.
- If heating, use a hot plate and heat slowly. Do not heat organic solvents with a flame.
-
5Allow both beakers to cool. Once the substance seems to have interacted with one or both of the solvents, let them each cool. This will give the substance a chance to separate from the solvent if it is not compatible. It also makes the samples easier for you to handle.[10]
-
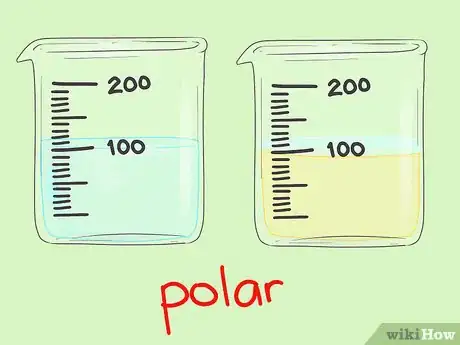
6Observe the outcomes. Look for any solids or liquids separating from the solvent. This indicates that the substance is not compatible with that solvent. Since polar molecules are compatible with polar solvents and nonpolar molecules are compatible with nonpolar solvents, you can deduce that any substance that dissolves in water is polar. Any substance that does not dissolve in water, but dissolves in gasoline, toluene, acetone, or another nonpolar solvent is nonpolar.[11]
- Once both beakers settle, you will notice that the isopropyl alcohol dissolved completely in the water. However, there will be 2 distinct layers where the alcohol separated from the vegetable oil in the second beaker. This shows that isopropyl alcohol is polar.
Acting on the Molecules with Electromagnetism
-
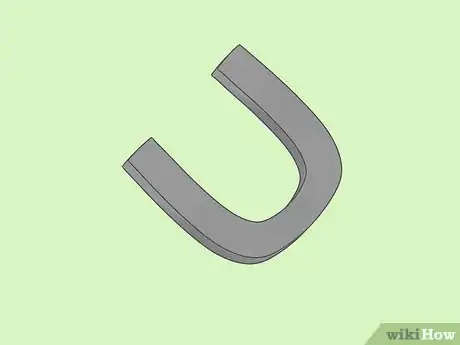
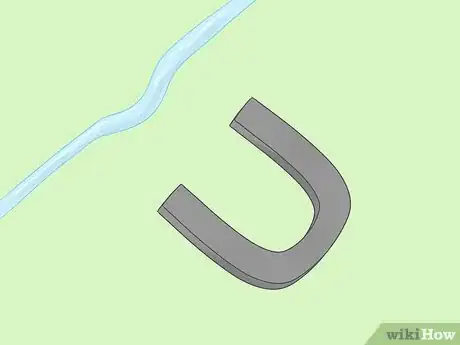
1Bring the substance close to a magnet. If you bring a substance close to a magnet or magnetically charged object, you may be able to tell if it is polar or nonpolar. Place the substance on a bench and bring the magnet close. Avoid touching the substance with the magnet.
-
2Look for any interaction. If there is any attraction or repulsion from the magnet, your substance is polar. However, that does not mean that the substance is nonpolar if the magnet does not interact. Some polar molecules are not polarized enough to interact with a weak magnet.
- For example, if you have a running stream of water, a magnet will cause the stream to bend away from the magnet. This shows a clear interaction.
-
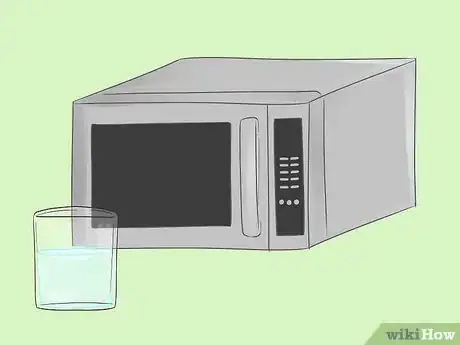
3Heat the substance in question in a microwave. Microwaves work by using high-frequency electromagnetic radiation to cause polar molecules to spin. The spinning creates friction, which creates heat. To test the polarity of your substance, place it in the microwave.[12]
- Never put metals, flammables, or explosives into a microwave.
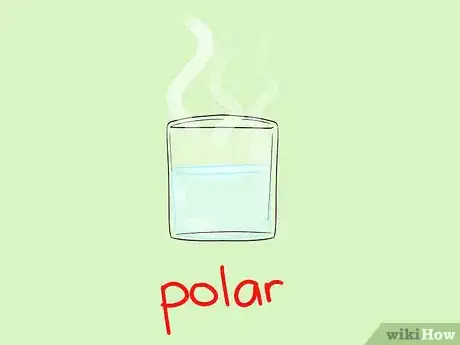
- If you put water in the microwave, you will notice that it gets hot. It is polar.
- If you try putting baby oil in the microwave, you will notice that the microwave doesn’t seem to heat it very well. It is nonpolar.
-
4Observe the substance. Look for signs of deformation or melting. Check to see whether the substance is hot. If the microwave affected the substance, it is polar.[13]
- When the microwave comes on, the substance will be subjected to radiation. If it is a polar substance, the radiation will make the molecules spin (though this will not be visible). If the substance is nonpolar, the microwaves will have little effect.
References
- ↑ http://preparatorychemistry.com/Bishop_molecular_polarity.htm
- ↑ https://www2.chem.wisc.edu/deptfiles/genchem/netorial/rottosen/tutorial/modules/intermolecular_forces/01review/review5.htm
- ↑ https://chem.libretexts.org/Bookshelves/Physical_and_Theoretical_Chemistry_Textbook_Maps/Supplemental_Modules_(Physical_and_Theoretical_Chemistry)/Physical_Properties_of_Matter/Atomic_and_Molecular_Properties/Lewis_Structures
- ↑ http://chemed.chem.purdue.edu/genchem/topicreview/bp/ch8/lewis.html
- ↑ http://preparatorychemistry.com/Bishop_molecular_polarity.htm
- ↑ http://www.middleschoolchemistry.com/lessonplans/chapter5/lesson4
- ↑ http://www.middleschoolchemistry.com/lessonplans/chapter5/lesson4
- ↑ http://www.middleschoolchemistry.com/lessonplans/chapter5/lesson4
- ↑ http://www.middleschoolchemistry.com/lessonplans/chapter5/lesson4
