This article was co-authored by wikiHow staff writer, Nicole Levine, MFA. Nicole Levine is a Technology Writer and Editor for wikiHow. She has more than 20 years of experience creating technical documentation and leading support teams at major web hosting and software companies. Nicole also holds an MFA in Creative Writing from Portland State University and teaches composition, fiction-writing, and zine-making at various institutions.
This article has been viewed 12,157 times.
Learn more...
Do you want to stop using your Ring doorbell, camera, or security system forever? If you no longer need to access a Ring device, you can permanently delete your Ring account in seconds. If you'd rather keep your Ring account but cancel your Ring Protect plan, it's easy to do so through Ring.com or the Amazon app. You can also delete users you've added so they can no longer manage your Ring devices. This wikiHow guide will show you how to delete a Ring account, unsubscribe from Ring Protect, and delete shared users on any computer, Android, iPhone, or iPad.
Things You Should Know
- To delete your Ring account, sign in to your dashboard, go to "Account" > "Manage Your Data," then select "Delete Data."
- You can cancel your Ring Protect subscription through Ring.com or Amazon, depending on how you subscribed.
- To delete a shared user from Ring, select the user from the "Shared Users" tab and choose "Delete."
Steps
Delete Your Ring Account
-
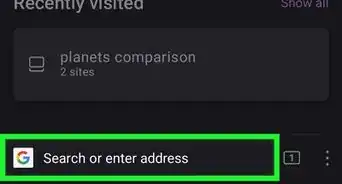
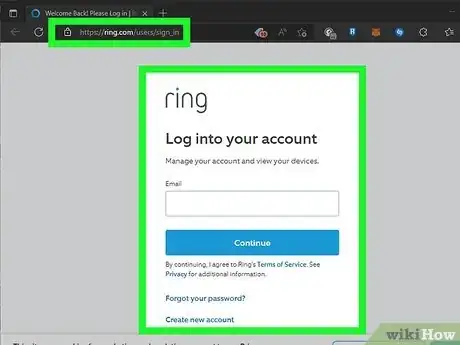
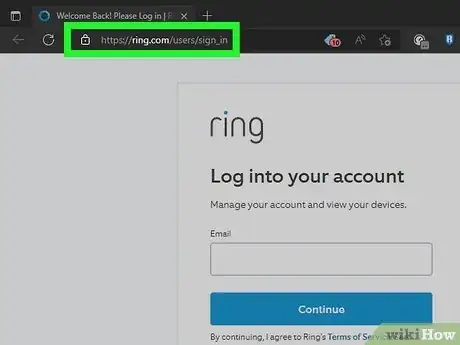
1Sign in to Ring at https://ring.com/users/sign_in. You can use your Ring username and password to log in to your account in any web browser on your PC, Mac, Android, iPhone, or iPad.
- If you received an email about a Ring account that you didn't sign up for, you likely won't have login information.[1]
In this case, you can click Forgot Password and enter your email address to reset your password.
- Once you receive the email with a password reset link, follow the on-screen instructions to reset the password.
- If you pay for a Ring subscription, you will need to cancel it through Ring.com or Amazon first, depending on how you subscribed.
- If you received an email about a Ring account that you didn't sign up for, you likely won't have login information.[1]
In this case, you can click Forgot Password and enter your email address to reset your password.
-
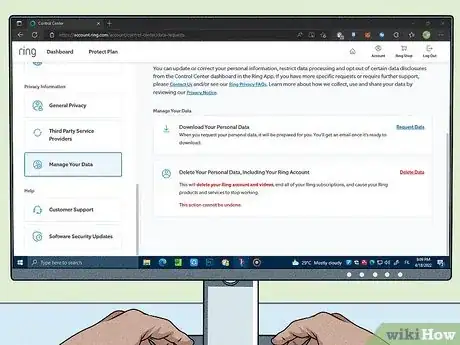
2Go to the Data Requests page. You can get there by pointing your browser to https://account.ring.com/account/data-requests while signed in.
- You can also access this area by clicking Account at the top-right and choosing Manage Your Data in the left panel.
Advertisement -
3Click Delete Data. You'll see this in the right panel next to "Delete Your Personal Data, Including Your Ring Account."
-
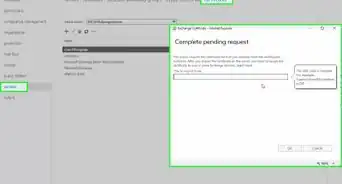
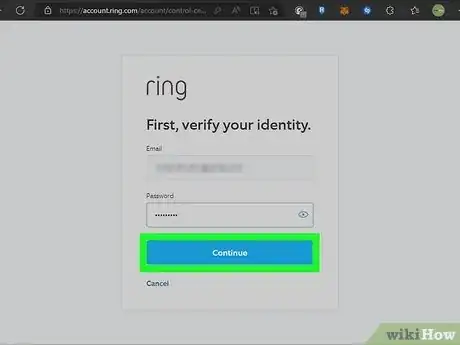
4Enter your password and click Continue. Once you confirm your password, you'll see a confirmation asking if you want to permanently delete your account.
- If you set up two-factor authentication, you'll be prompted to verify the code you received via email, SMS, or in your authentication app.
-
5Click Confirm Deletion to delete your account. This deletes all of your Ring data and closes your account permanently.
- If you plan to sell, dispose of, or give away your Ring Doorbell or camera, be sure to restore it to its original factory settings first.
- Shopping for new smart home devices? Check out our coupon site for discounts on Walmart products.
Cancel Ring Protect at Ring.com
-
1Sign in to your Ring account at https://ring.com/users/sign_in. If you don't want to pay for a Ring Protect membership, you can cancel your subscription through the Ring website using any web browser on your computer, Android, iPhone, or iPad.
- Use this method if you subscribed to Ring Protect through Ring. If you signed up through Amazon, use this method instead.
-
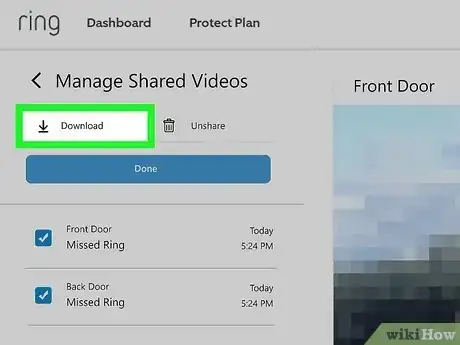
2Download any videos you want to keep. When you cancel Ring Protect, all of your recorded videos will be deleted from the Ring servers.[2] Before you cancel, make sure you download the videos you want to save.
- Mobile app: Tap the menu and select History. Select a video, tap the three dots, and then tap the download icon (the down-arrow). You can only download one video at a time on the mobile app.[3]
- Computer: Click History and choose Manage. Select up to 50 videos to download at once, then click the download icon (the down-arrow).
-
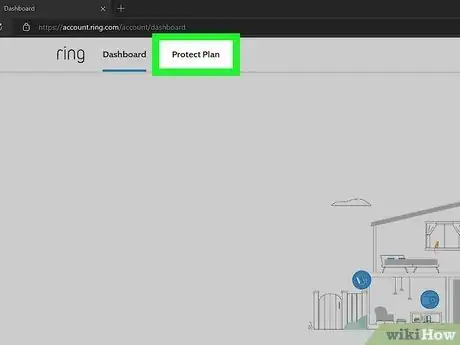
3Click Protect Plan. You'll see this at the top of the Ring page.
-
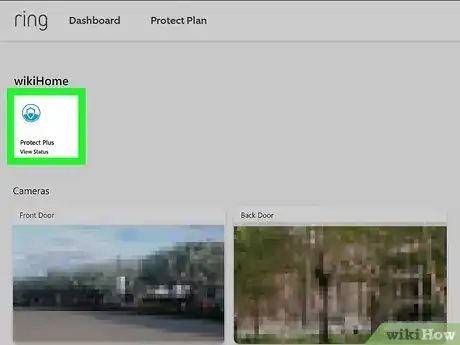
4Select your plan. If you have multiple Ring plans, they'll all show up here.
-
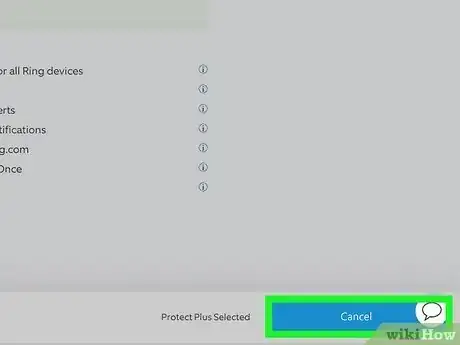
5Click Cancel and select a reason. Once you select a reason, you'll be asked to choose a cancellation date.
-
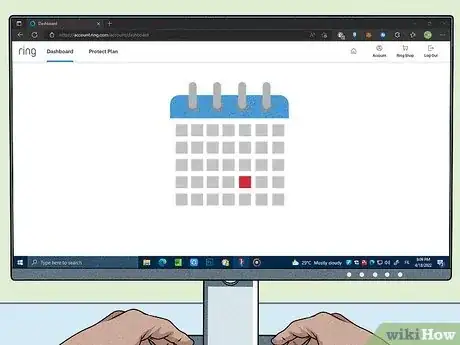
6Choose when to cancel your account. If you cancel your Ring Protect subscription immediately, you will receive a prorated refund for any unused time for both annual and monthly plans. Alternatively, you can choose a date in the future, such as the day before your next bill is due.
-
7Follow the on-screen instructions to confirm. Once Ring Protect is canceled, you will no longer be billed.
- If a refund is due, it may take up to 10 business days to appear in your account.
- If you don't want to use your Ring devices anymore, you can delete your Ring account.
Cancel Ring Protect at Amazon
-
1Download any Ring videos you want to keep. If you subscribed to Ring Protect through Amazon, you'll need to cancel through the Amazon website or app. Because canceling Ring Protect deletes all of your recorded videos, make sure you've downloaded any videos you want to keep before you cancel.
- Ring Mobile app: In the Ring app, tap the menu and select History. Select a video, tap the three dots, and then tap the download icon (the down-arrow). You can only download one video at a time on the mobile app.
- Computer: Sign in to https://ring.com/users/sign_in. Then, click History and choose Manage. Select up to 50 videos to download at once, then click the download icon (the down-arrow).
-
2Sign in to your Amazon account. If you subscribed to Ring Protect through Amazon, you'll need to cancel your subscription through the Amazon website or mobile app.
- If you cancel Ring Protect while you're still in your free trial period, you can continue using Ring Protect for free until the trial period ends. You will not be charged as long as you cancel before the end of the trial.[4]
-
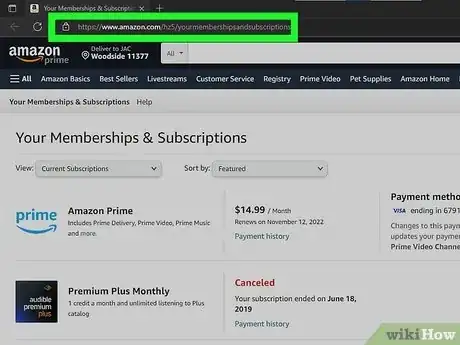
3Go to your subscription list. The process is a little different depending on whether you're using the Amazon mobile app or visiting Amazon in your computer's web browser.
- Mobile app: Tap the profile icon at the bottom of the app, tap Your Account, and then tap Memberships & subscriptions.
- Computer: Point your web browser to https://www.amazon.com/hz5/yourmembershipsandsubscriptions. Alternatively, hover your cursor over your name at the top-right and select Memberships & Subscriptions.
-
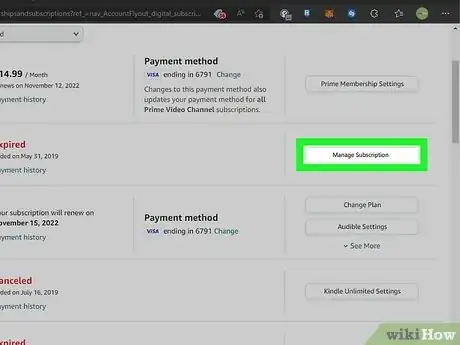
4Select Manage Subscription on your Ring Protect plan. This displays the option to cancel the subscription.
-
5Select End Subscription. Additional instructions will appear.
-
6Follow the on-screen instructions to confirm. Once you've canceled your subscription, you will no longer be billed for Ring Protect.
- You will receive a prorated refund for any unused time for canceling an annual or monthly subscription.
- If you don't want to use your Ring devices anymore, you can delete your Ring account.
-
1Sign in to Ring. If you want to delete another user from your Ring account without deleting your own account, you can do so in the Ring mobile app. You can also remove shared users on your computer by signing in to https://ring.com/users/sign_in.
- Once you delete a shared user, they won't be able to manage your Ring doorbells or security devices.
-
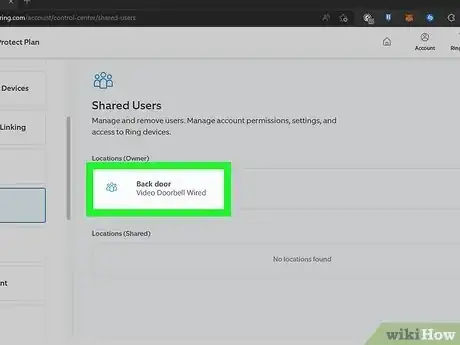
2Select a Ring device. If you have multiple Ring locations connected to your account, make sure the correct Ring device is selected.
- In the mobile app, tap the three-line menu, tap the current address at the top, then choose the address and device you want to manage, then tap device you want to manage.[5]
- On a computer, click the correct address on the dashboard.
-
3Open the Shared Users area. The steps to do this are a little different depending on your platform:
- On a phone or tablet, tap the three-line menu on the Dashboard and select Shared Users.
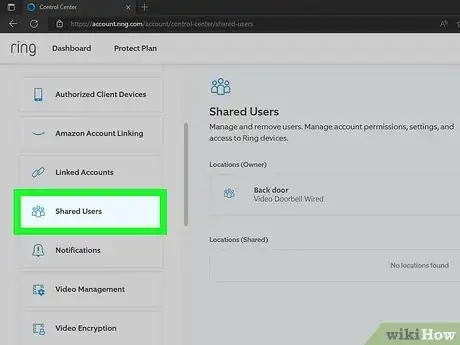
- On a computer, click the Account icon at the top-right and select Control Center. Click Shared Users in the left panel.
-
4Click or tap the user you want to remove. This displays the user's current roles and permissions.
-
5Click or tap Delete. A confirmation message will appear.
-
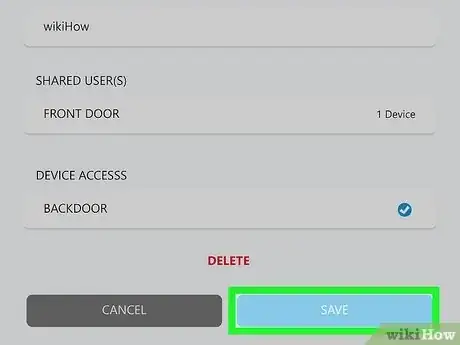
6Click or tap Save to confirm. The selected user can no longer access or manage your Ring device.
- If you have multiple Ring devices, such as a doorbell and a security system, you will need to remove the user from each device separately.
References
- ↑ https://support.ring.com/hc/en-us/articles/360024281672-Cancelling-a-Ring-Account-You-Did-Not-Sign-Up-For
- ↑ https://support.ring.com/hc/en-us/articles/360022109431-Cancel-a-Ring-Protect-Subscription-Plan
- ↑ https://support.ring.com/hc/en-us/articles/115001834066-Sharing-and-Downloading-Your-Ring-Videos
- ↑ https://support.ring.com/hc/en-us/articles/360041077491-Purchasing-a-Ring-Protect-Plan-through-Amazon-com
- ↑ https://support.ring.com/hc/en-us/articles/115005235186-Controlling-Ring-Devices-With-Users-and-Roles









-Step-7.webp)
