This article was co-authored by wikiHow Staff. Our trained team of editors and researchers validate articles for accuracy and comprehensiveness. wikiHow's Content Management Team carefully monitors the work from our editorial staff to ensure that each article is backed by trusted research and meets our high quality standards.
This article has been viewed 33,824 times.
Learn more...
If you want a quick and easy way to spruce up your drinkware, plastic cups are the way to go. Any plastic cup you find can be customized. Create a special design with spray paint or transfer pictures through contact paper. To create large batches of cups, get in touch with a professional printing business. Your customized cups can then be given as special gifts or used to sip a beverage in style.
Steps
Making Spray Paint Designs
-
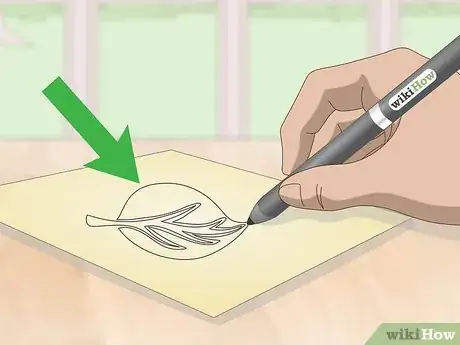
1Use a pen to outline a design on contact paper. Spread a piece of contact paper over a flat surface, placing the adhesive side down. Sketch the design using a dark pen or pencil. You can use the contact paper to create an adhesive stencil, but keep your design simple. Designs with lots of small details often do not transfer well.[1]
- You can use lettering in your design.
- Instead of drawing a design, you can trace a pre-printed image onto the contact paper.
- Visit an art supply store to find contact paper as well as adhesive stencils you can use if you would don’t want to create your own design.
-
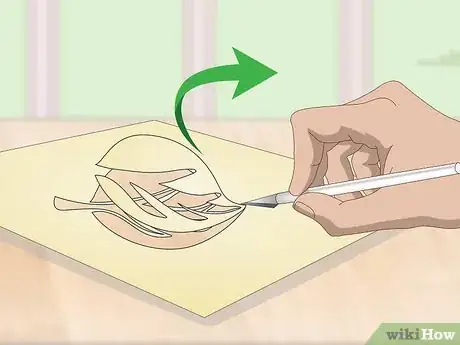
2Cut the design with an X-Acto knife. Use a sharp knife to cut through the paper, working along the lines you traced earlier. Any parts you remove will get colored in later. This is because the plastic will be exposed in these areas, so the paint will reach it. Leave the contact paper intact over any spots you do not want painted.[2]
- To prepare your design, cut along the outermost outline to separate it from the paper. Then, sparingly cut out any larger details that can give your design definition.
- Avoid cutting the entire design out of the paper. Leave it attached at 1 end, since this makes painting a lot easier later.
- For example, if you want a cat on your cup, you should cut around the outside border. Then, cut around the outline for the nose, mouth, and whiskers so these are painted later.
Advertisement -
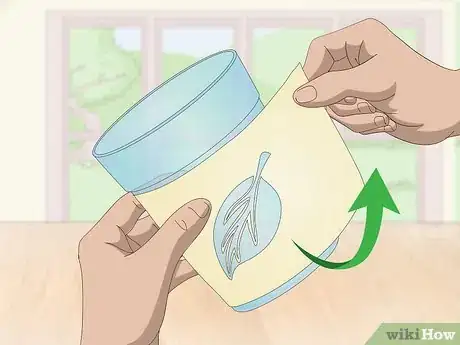
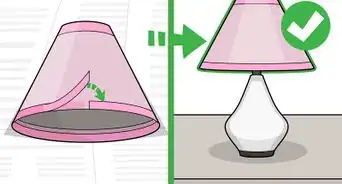
3Attach the contact paper to the cup. Peel the backing off the contact paper to expose the clear adhesive. Wrap it around the cup, trying to get your design as flat as possible against the plastic. The excess paper around your design is useful for shielding the rest of the cup from paint.[3]
- You may need to trim the paper and stretch it a little to get it to fit on the cup.
-
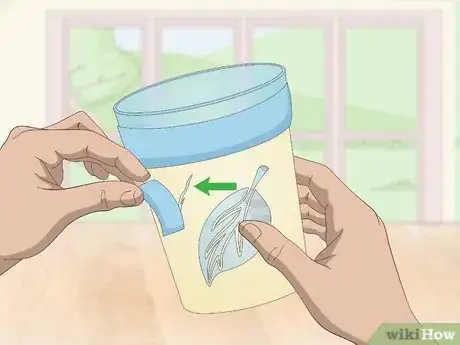
4Cover any parts you don’t want to paint with tape. Check over your design to find spots where the plastic is exposed. The sticker can crack when stretched, or you may have trimmed it too much. To fix this, layer over these spots with painter's tape or masking tape.
- You can find decent tape at any general store or art supply store. You don’t need specialized tape to complete your project.
-
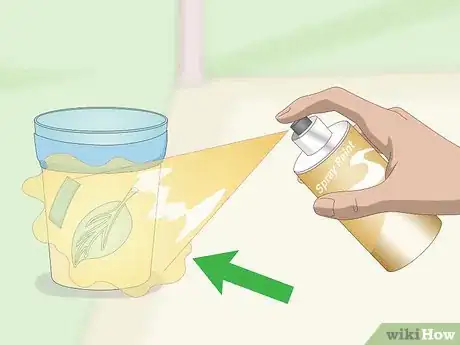
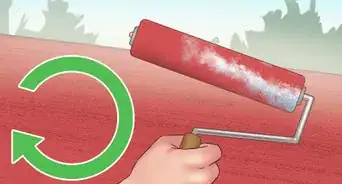
5Spray the design with plastic-friendly spray paint. Take your cup outside so you can paint in a well-ventilated environment. Place the cup on a stable surface, such as a patch of grass, with the design facing up. Start at 1 end of the sticker, then slowly move the nozzle back and forth to coat it with an even layer of paint.[4]
- Visit a general or home improvement store to find spray paints labeled as multipurpose or for use on plastics.
- You usually do not need to apply primer first or a clear coat later. However, you can do this to make sure the paint sticks to the plastic.
-
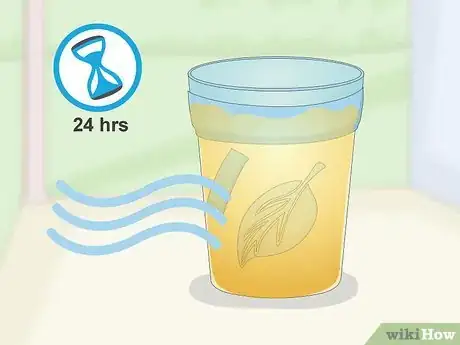
6Let the paint dry for up to 24 hours. The paint actually dries to the touch after about 30 minutes. There is no need to rush perfection, though. Leave the cup out in open air for as long as possible. After 24 hours, it will be fully dry, leaving you with no worries about smearing the design.[5]
-
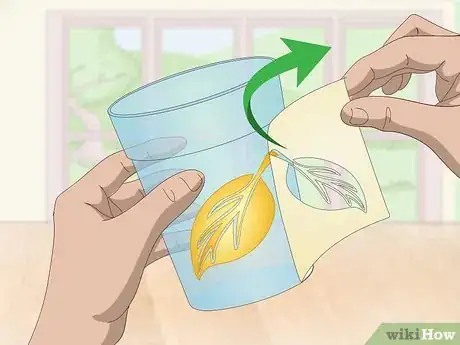
7Peel the contact paper off the cup. You should be able to peel the adhesive off by hand. Work along the seams, starting on the side opposite of the spray paint if possible. Gradually peel back the sticker to reveal your amazing new cup.
- If you have trouble removing the sticker, try dipping your fingers in water and rubbing the edges of the paper.
Transferring Printed Designs
-
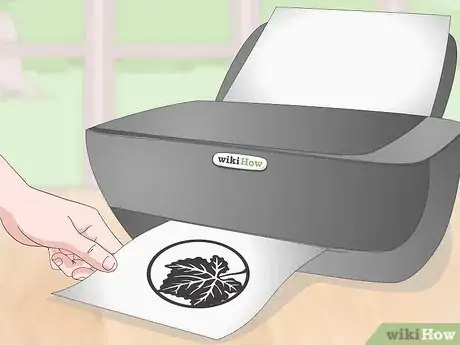
1Print out a design in black and white on paper. Use a computer to create your design, then print it out on standard printer paper. You can make your design using words or images, but images with higher contrast transfer better. To achieve this, print your design in black and white.[6]
- Any image can be used, but clear images that don’t have a lot of small details transfer better.
- The image should be small enough to fit on the cup. Resize it as needed before printing it.
- You can use a program like Photoshop or GIMP to design images or transfer photos.
-
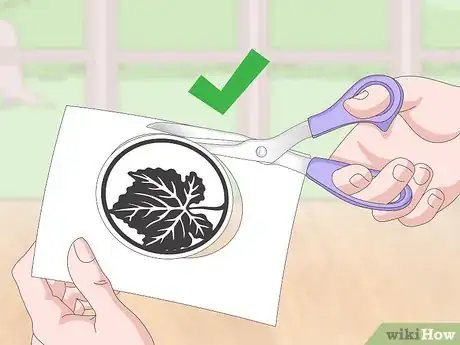
2Cut out the image while leaving a small border. Trim the paper down to size. If you printed multiple images on the same sheet of paper, separate them now. Cut around each image, but leave a white border about 1 in (2.5 cm) wide on each side.[7]
-
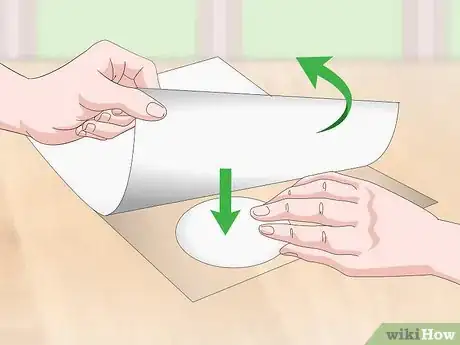
3Place the design face-down on contact paper. Take a sheet of clear contact paper and peel the backing off of it. This will expose the adhesive backing, so be careful around the images you trimmed earlier. Place the contact paper on a flat surface, leaving the adhesive side up, then set the image on top of it.[8]
- You can place your design anywhere on the paper. If it doesn’t go on straight, that’s okay.
-
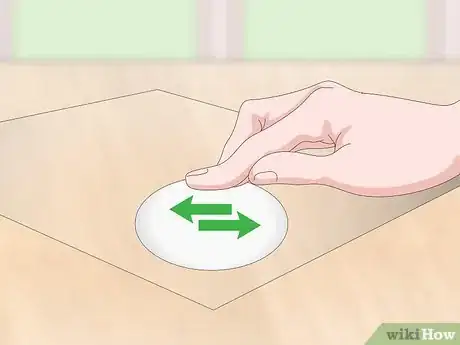
4Rub the design to transfer it to the contact paper. You don’t need any special tools to complete the transfer. Simply press down on the design with your finger, then rub it. Go over the image a few times to ensure the areas with the most ink transfer properly.[9]
-
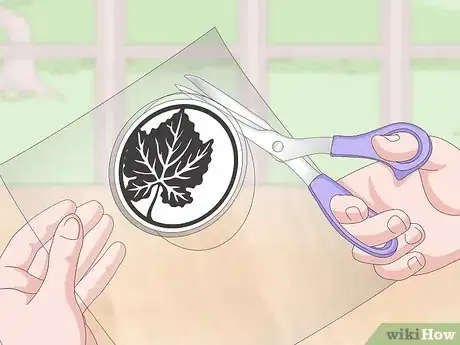
5Trim the contact paper to size. Pick up the contact paper, flip it over, and trim it down with a sharp pair of scissors. This time, you want to remove any white paper still around the design. When you are done, you should be left with what you want to transfer to your cup.[10]
- The design will remain stuck to the contact paper. Don’t remove it yet.
- Your design needs to be small enough to fit on the cup. If you printed a big design, you may need to trim it a little to wrap it over the cup’s surface.
-
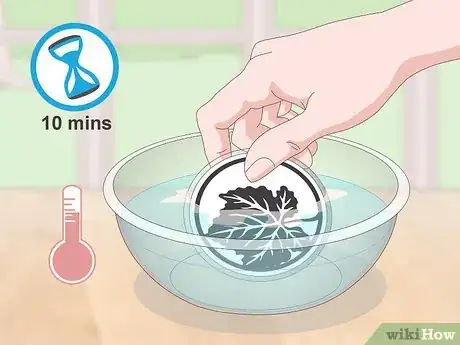
6Submerge the paper in a bowl of warm water for 10 minutes. Use a bowl that is big enough to contain the entire piece of paper. Fill it with warm, not boiling, water. Flatten the paper against the bottom of the bowl, then let it soak undisturbed.[11]
- If you printed multiple designs, you can place them all on top of each other in the same bowl.
-
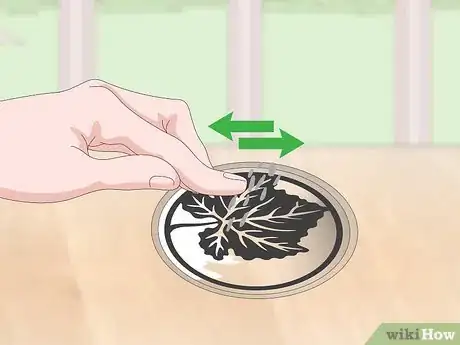
7Rub the paper with your fingers to separate it from the contact paper. After soaking, your design should be transferred to the contact paper. Remove the paper from the water, then gently rub the back end with your fingers. The back is the adhesive you stuck the design to earlier.[12]
- Be very gentle when rubbing the paper. Too much force can smudge the ink.
- The paper may begin falling off before you get it out of the water. As long as you can see your design on the contact paper, this is fine.
-
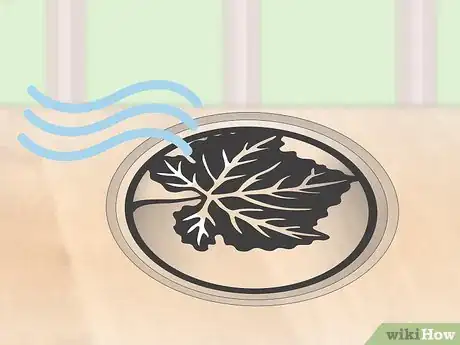
8Dry the contact paper with the adhesive side up. Find a safe spot, such as a countertop. Set the contact paper on it, checking that the correct side is on top. Let the paper dry fully before you attempt to remove it.[13]
- The adhesive won’t feel sticky right now, but that will change as it dries.
-
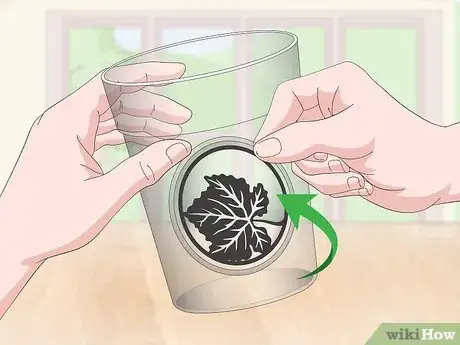
9Place the design on a plastic cup. Now get your cup to transfer the image to it. Carefully pick up the contact paper, keeping the adhesive side up. Align it against the cup’s side, then push it flat. Then you can enjoy a cold drink with the cup sporting your special design.[14]
- If the adhesive doesn’t stick, make sure it is completely dried.
Ordering Personalized Cups
-
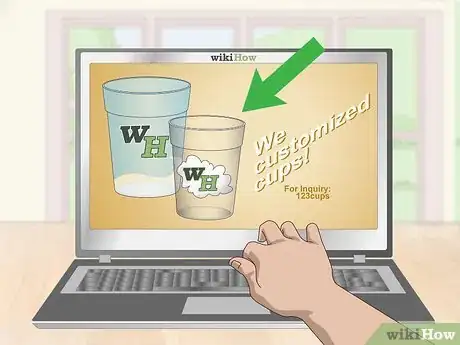
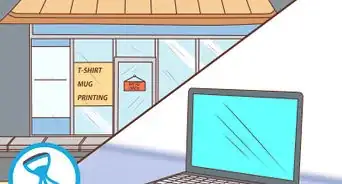
1Find a place that prints customized cups. Visit local print shops or search online for “customized plastic cups.” You will be able to find a wide range of companies that can help you make your own cups. Pretty much any company that prints promotional materials like shirts or pens can also create customized cups.[15]
- Take some time to compare the pricing and cup designs before choosing a printing company.
-
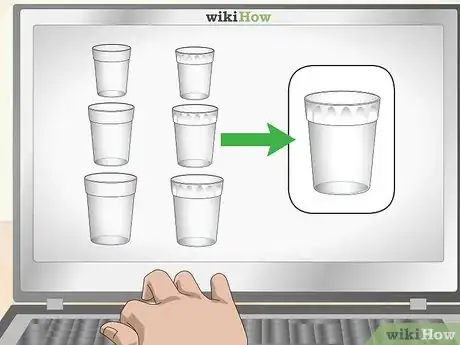
2Choose a cup type and size. The first customization aspect you will notice is the range of cups most companies offer. You can select from the cheapest disposable cups all the way up to the more expensive plastic tumblers. Consider how big you want the cup to be as well as how much you are willing to spend.[16]
- For example, most printers have standard “stadium-style” cups as well as sturdier acrylic tumblers that have a lid and straw.
- Some places offer different finishes in addition to sizes, such as “frosted” plastic.
-
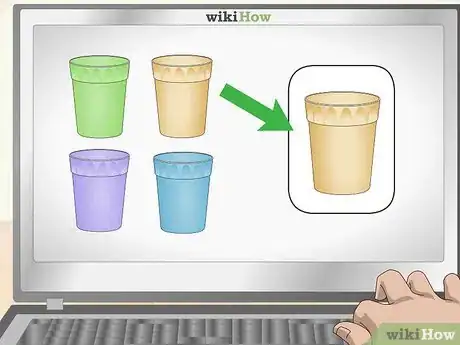
3Select a background color for the cups. Choose what color of plastic you want for the cup. You can order pretty much any color available, so consider what colors you plan on using in your design. Try to pick a contrasting background color that helps your design stand out.[17]
- For instance, a black cup works well if you plan on using a white or colorful design.
-
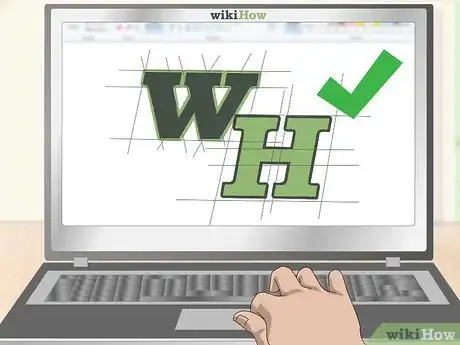
4Create your cup’s design. Decide if you want text, an image, or both printed on the cup. You can use the online design tool many companies offer to make your own design or select something pre-made. Change the font color, font size, and other aspects until you are satisfied with your design.[18]
- Cup designs generally have to simple with a few contrasting colors in order to be printed on plastic.
- You can upload an image or send it to the company for printing.
-
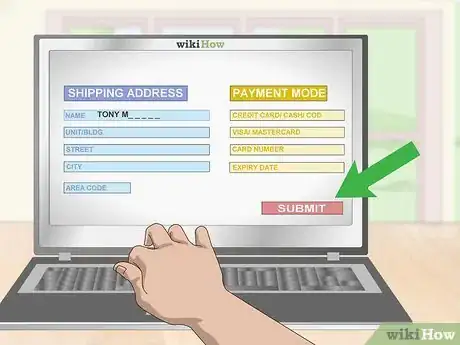
5Submit your shipping and payment information to place your order. Review your design and submit it to the printers when you’re finished. Select how many cups you want and check the pricing before you are done. Confirm your order by submitting your shipping and payment information.[19]
- You may need to place a minimum order, usually about 12 cups, before the order can be made. The company will have it displayed on the order page or tell you this in person.
Warnings
- Always take precautions when painting. Work in a well-ventilated area.⧼thumbs_response⧽
Things You’ll Need
Making Spray Paint Designs
- Plastic cup
- Contact paper
- X-Acto knife
- Plastic-friendly spray paint
Transferring Printed Designs
- Plastic cup
- Computer
- Printer
- Printer paper
- Clear contact paper
- Scissors
- Bowl
- Water
Ordering Personalized Cups
- Computer or phone
References
- ↑ https://www.youtube.com/watch?v=9iq9kxmbNls&feature=youtu.be&t=70
- ↑ https://www.youtube.com/watch?v=9iq9kxmbNls&feature=youtu.be&t=75
- ↑ https://www.youtube.com/watch?v=9iq9kxmbNls&feature=youtu.be&t=83
- ↑ https://www.bobvila.com/articles/how-to-paint-plastic/c
- ↑ https://www.bobvila.com/articles/how-to-paint-plastic/c
- ↑ https://camillestyles.com/living/diy/diy-dressed-up-solo-cup/
- ↑ https://camillestyles.com/living/diy/diy-dressed-up-solo-cup/
- ↑ https://camillestyles.com/living/diy/diy-dressed-up-solo-cup/
- ↑ https://camillestyles.com/living/diy/diy-dressed-up-solo-cup/
- ↑ https://camillestyles.com/living/diy/diy-dressed-up-solo-cup/
- ↑ https://camillestyles.com/living/diy/diy-dressed-up-solo-cup/
- ↑ https://camillestyles.com/living/diy/diy-dressed-up-solo-cup/
- ↑ https://camillestyles.com/living/diy/diy-dressed-up-solo-cup/
- ↑ https://camillestyles.com/living/diy/diy-dressed-up-solo-cup/
- ↑ https://bizfluent.com/how-11414452-put-logo-cups-tshirts-sell.html
- ↑ https://bizfluent.com/how-11414452-put-logo-cups-tshirts-sell.html
- ↑ https://bizfluent.com/how-11414452-put-logo-cups-tshirts-sell.html
- ↑ https://bizfluent.com/how-11414452-put-logo-cups-tshirts-sell.html
- ↑ https://bizfluent.com/how-11414452-put-logo-cups-tshirts-sell.html
