X
wikiHow is a “wiki,” similar to Wikipedia, which means that many of our articles are co-written by multiple authors. To create this article, volunteer authors worked to edit and improve it over time.
This article has been viewed 61,474 times.
Learn more...
Cropping your photographs is something that can be done to greatly improve your shot, or totally ruin it. Whether it's to emphasize the subject of a picture or just remove an unwanted element of a picture, there are a couple simple ways to crop your way out of disaster. Here are a few things that you want to keep in mind when you crop your images.
Steps
Method 1
Method 1 of 2:
Crop an Image
-
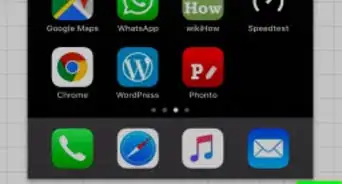
1Find a program that will let you crop an image. It's impossible to just crop an image while on the internet; in order to successfully crop an image, you'll need to save the image onto your disk, open it using a picture-formatting or word processing program, and manipulate it there. The following are programs that you can use to crop an image:
- Preview
- Adobe Photoshop
- Adobe Illustrator
- Microsoft Word
- Many more
-
2Crop using a shortcut. You can crop the long way — going into a menu and finding the crop tool — or by pressing a couple buttons on your keyboard. Note: the keyboard shortcuts for these following software programs are all different; there is no uniform crop command.
- Shortcut for Preview: "command + k"
- Shortcut for Adobe Photoshop: "c"
- Shortcut for Adobe Illustrator: "Alt + c + o"
Advertisement -
3Crop the long way. It's not the most ideal way of cropping, but it will get you where you need to be. If a shortcut for the program you're using doesn't work, try cropping using the following methods:
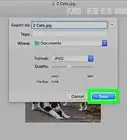
- Preview: Click and drag the portion you want cropped, then navigate to Tools → Crop.
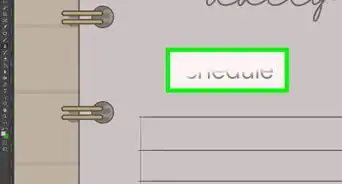
- Adobe Photoshop: Select the crop tool, click and drag the portion you want cropped, and press Enter/Return on the keyboard or Commit.
- Adobe Illustrator: Click and drag the portion you want cropped, then navigate to Object → Clipping Mask → Make.
- Microsoft Word: Select the picture you want cropped, click on the Crop tool in the Picture toolbar, and drag over the area you want cropped.


Advertisement
Method 2
Method 2 of 2:
Make Cropping into an Art
-
1Try to "crop" your photo as much as possible during the shot. If you are taking a shot of your friend, make it of your friend, not of your friend at the end of the hallway. Then you won't have to cut a lot out of the picture when you come back and edit the photo after it's been uploaded.
-
2Remember the Rule of Thirds when you compose your shot. This is not quite the same as the 'golden mean' which is more applicable to painting and not photography.[1]
- Basically, the rule of thirds is "Mentally divide your viewfinder or LCD screen into thirds, using two vertical and two horizontal lines to create nine smaller rectangles and four points where the lines intersect."[1]
- Try to frame pictures so that the focal point of your subject is right in between or close by one of the four intersection points caused by the lines. Our eyes naturally gravitate to these four intersection points, not to the center of the photograph.
-
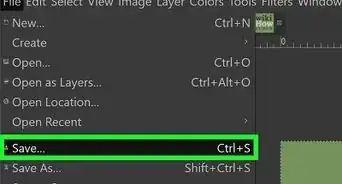
3Save the initial image so that you can crop it in more than one way. Always work on a copy, so that you can always go back to your image and do something else to it, if you happen to have new/more inspiration.
-
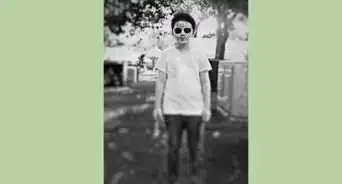
4Get rid of the dead space. Go back to the friend in the hallway: the hallway is a lot of dead space. Crop the picture so that the person takes up a good majority of the frame, leaving a little background space to establish context.
-
5Know when not to crop. Sometimes, you need to leave some of the photo there so that the picture is in context.
-
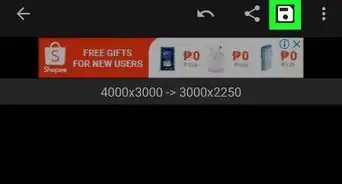
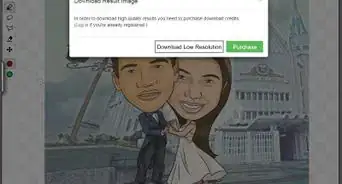
6Consider what you are going to do with the image. Are you going to print it out or have it on the web. You will definitely want more pixels to work with if you are printing it out, whereas a picture that is put out on the web will generally require fewer pixels.
-
7Always ask yourself what the image is about. Crop the image accordingly. Like writing, it can be helpful to remove all the clutter and extraneous information. Crop that out so that what's left is a pure expression of what the image wants to be.


Advertisement


About This Article
Advertisement