X
wikiHow is a “wiki,” similar to Wikipedia, which means that many of our articles are co-written by multiple authors. To create this article, volunteer authors worked to edit and improve it over time.
This article has been viewed 48,845 times.
Learn more...
Good news for Facebook users, the new "Album Share" feature is introduced. Now a single album could be shared up to 50 users. They all could see, and upload the album. There are 3 types of visibility options: Contributors Only, Friends of Contributors and Public. Read the article for detail.
Steps
-
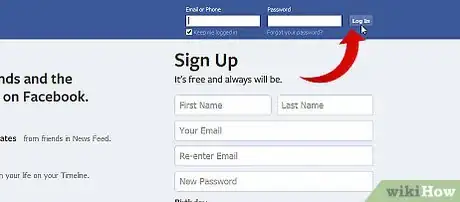
1Log in to your Facebook account.
-
2Go to Photos.Advertisement
-
3Choose one of the albums you created.
-
4Go to the top left corner and click the "Make Shared Album" button.
-
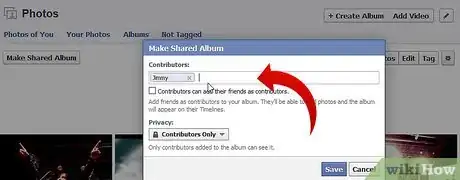
5Add the names of who could see, upload and edit photos of the album to the Contributors list.
-
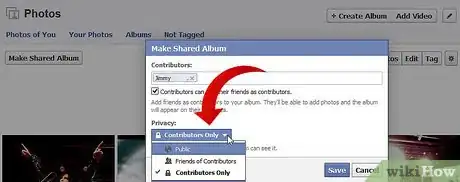
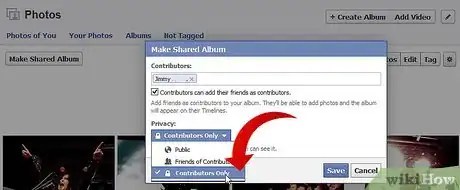
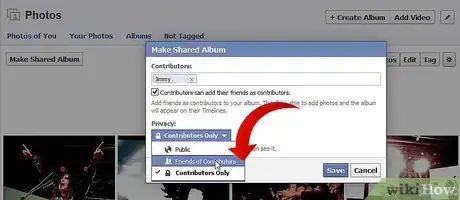
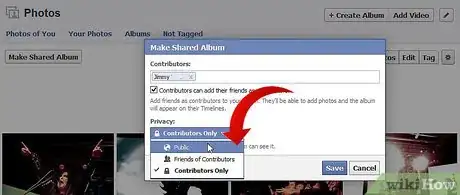
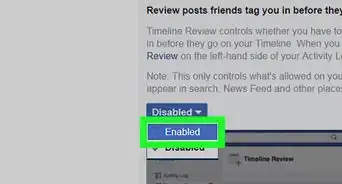
6Go to the privacy section. There are three options: Public,Friends of Contributors and contributors only.
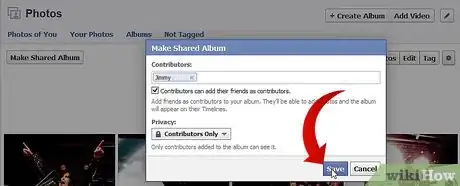
- Contributors only: People tagged and added contributors could view the album.
- Friends of Contributors: Contributors, people tagged and the friends of people tagged could view the photos of album.
- Public: Anyone may be able to see the photos.
-
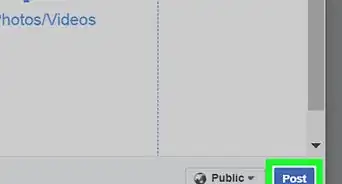
7Click on "Save."
Advertisement
Community Q&A
-
QuestionWhat should I do if someone I mentioned in the album did not get a notification?
 Community AnswerTry to message them and see if they got the notification, maybe they accidentally blocked you. Otherwise, just tell them the name of the album and have them go on to your profile and find it that way.
 -
QuestionWhat should I do if my shared album isn't showing up on Facebook?
 Community AnswerYou might want to be patient -- sometimes Facebook can take awhile to finish uploading photos. If your album still isn't showing up, you should try uploading it again as there may have been an error in the process originally. Finally, check to make sure your privacy settings have been correctly set; otherwise your album may not show up publicly.
Advertisement
About This Article
Advertisement
