This article was written by Ryan Conway and by wikiHow staff writer, Travis Boylls. Ryan Conway is a Marketing Expert and the Founder of Digital Tradesman, a digital marketing agency that helps builders, contractors, and tradesmen grow their business online. With over a decade of experience, he specializes in marketing, web design, and search engine optimization. Ryan holds a BS in Business Administration and Entrepreneurial Studies from Hartford University. He also studied Graphic and Web Design at the Boston University Center for Digital Imaging Arts. Ryan participated in Seth Godin’s altMBA in the winter of 2016.
This article has been viewed 259,920 times.
Do you want to design a logo? A logo is a visual design used to identify a business, organization, or brand. They are used on signs, pamphlets, advertisements, websites, business cards, and almost everything associated with the brand. This wikiHow article teaches you how to design a logo in Adobe Illustrator. The benefit of using Adobe Illustrator to design a logo is that Adobe Illustrator is a vector graphics editor. Images designed in Adobe Illustrator can be stretched to any size without any pixelization or distortion. Illustrator also has access to the Pantone library which is used in professional printing.
Things You Should Know
- Adobe Illustrator is one of the industry standard applications for graphic designers.
- Vector graphics are great for logo design because vector graphics can be blown up to any size and do not distort or get pixelated.
- Vector graphics can be used in a variety of platforms, including print, business cards, stationary, and t-shirts, as well as digital platforms such as social media profile pictures, film, and video.
Steps
Planning Your Logo Design
-
1Think about your brand identity. A logo should not be treated as a simple afterthought. The logo you design is going to be used to identify your brand or organization for years to come. A logo is worth putting time and energy into designing. Before you start designing a logo, take some time to think about your brand identity. If you are designing a logo for someone else, study the brand or have an interview with the brand owner. Here are some questions you should ask before designing a logo:
- What is the philosophy behind your brand?
- What makes you different from the competition?
- Are there any symbols or images that are representative of your brand?
- Are there any colors or color combinations that fit your brand identity?
-
2Draw lots of rough ideas. Once you have an idea of your brand identity, start sketching your ideas. You can do this on paper, or in Illustrator. Avoid adding color at this stage. Don't go with the first idea that pops into your head. Professional graphic designers will often draw hundreds of rough ideas.
- If you just want to create a vector version of an existing logo, you can trace over an existing raster image of a logo using Illustrator's Live Trace feature or manually using the Illustrator tools.
Advertisement -
3Get some feedback for your designs. After you've designed a number of rough logos, narrow it down to a few of your favorites. Show them to other graphic designers. If you are designing for someone else, show it to the client and see if they have anything they want to change or add.
Getting Started In Illustrator
-
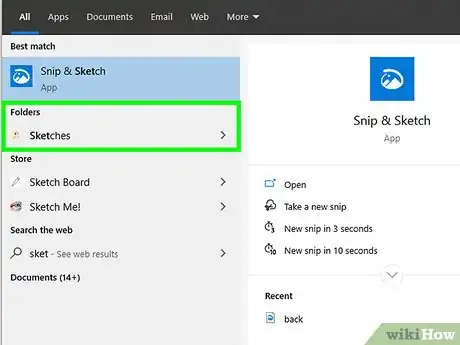
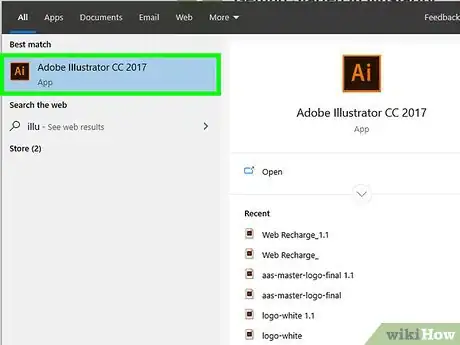
1Open Illustrator. Illustrator has a yellow icon that says "Ai". Click the icon on your PC or Mac to open Adobe Illustrator.
- You need a subscription to Adobe Illustrator or Adobe Creative Cloud to download and install Adobe Illustrator. You can start a free 7-day trial of Adobe Illustrator at https://www.adobe.com/products/illustrator/free-trial-download.html
- If you don't have a subscription to Adobe Illustrator, you can use Inkscape which is a free and open-source alternative to Adobe Illustrator. It has many of the same features that Adobe Illustrator has.
-
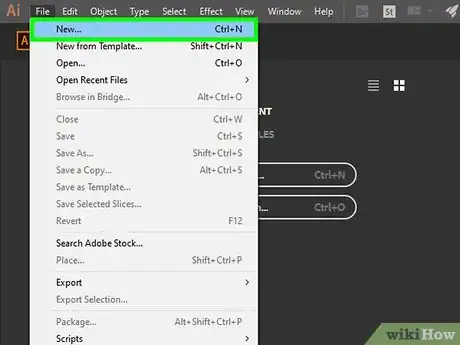
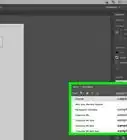
2Create a new file. Use the following steps to create a new file in Adobe Illustrator.
- Click File in the menu bar at the top.
- Click New.
- Type a name for the file next to "Name".
- Click Ok.
-
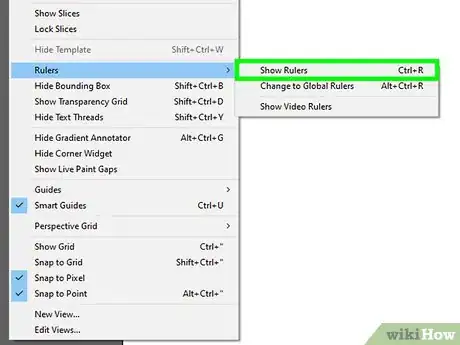
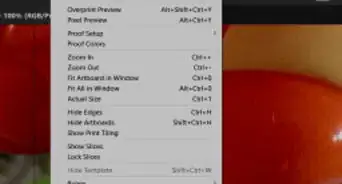
3Turn on Rulers. Having rulers on will allow you to add guides to your artboard. You can drag a guide onto the artboard by clicking and dragging the ruler on the left or top. Use the following steps to turn on rulers.
- Click View in the menu bar at the top.
- Hover over Rulers.
- Click Show Rulers.
-
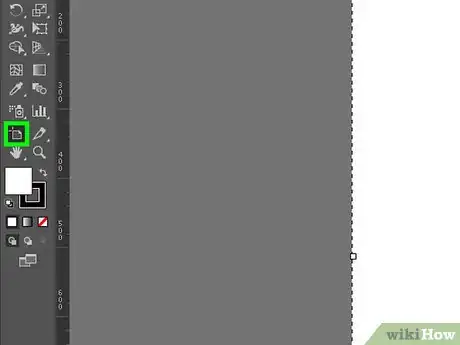
4Adjust the artboard to fit your logo idea. The Artboard Tool has an icon that resembles a square with crop marks in the corners. It's in the toolbar to the left. Click this icon and then click and drag the edges of the white artboard in the center of the screen to adjust the size of the artboard.
- Most logos are designed on a vertical rectangle-shaped artboard or an even square-shaped artboard. A rectangle-shaped logo will look good on banners, signs, and a social media cover page, but a square-shaped logo will fit into more platforms, such as the corner of a business card or social media profile icons.
-
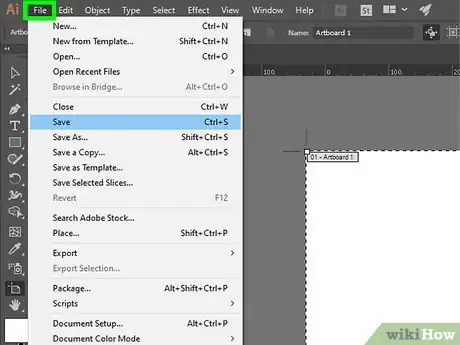
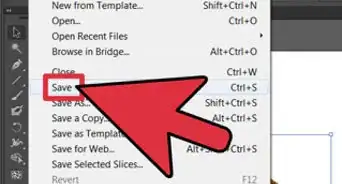
5Click File. It's in the menu bar at the top of the page.
-
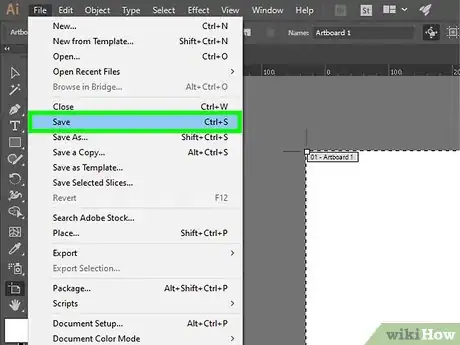
6Click Save. It's in the File menu. This saves your file. You should save often while working.
Adding Text to a Logo
-
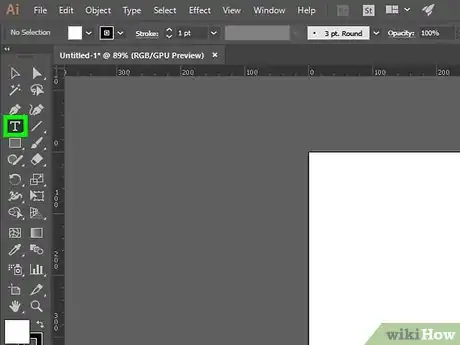
1Select the text tool. The text tool is the icon that resembles a "T" in the toolbar to the left. Click this icon.
-
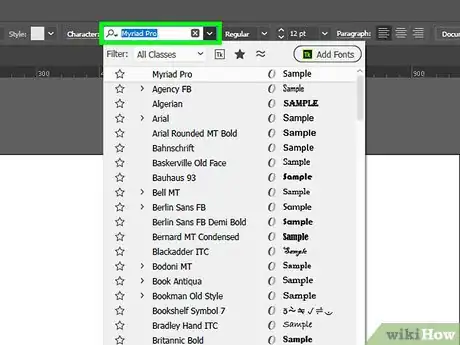
2Select a font. Use the drop-down menu next to "Character" at the top of the screen to select a font. Use the second drop-down menu next to "Character" to select the format (i.e. regular, bold, italic, etc).
- A traditional font such as Times New Roman or Garamond can add a formal look to a logo.
- A sans-serif font such as Helvetica can add a more modern look to a font.
- Avoid using overly decorative fonts that are difficult to read. Also, avoid mixing fonts in your logo design.
- If you download free fonts online, be aware of the licensing agreement for those fonts. Many free fonts are free to use for personal use but are not authorized for commercial use.
-
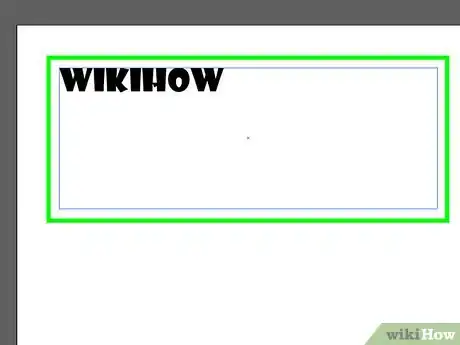
3Add your text. With the text tool selected, click anywhere on the artboard to add a text cursor. Then type your text. Consider adding a separate text object for each word. Especially if you plan on using different colors or sizes for different words in your logo design.
- Don't add color to your logo just yet. Color printing might not always be an option. Designing a simple black-and-white logo to start with will ensure that your logo looks good in its simplest form.
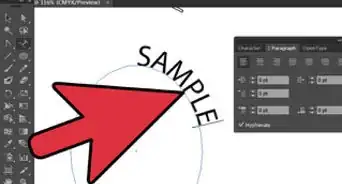
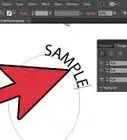
- You can also use the Text on a Path Tool to add text in a circle or curvy shape.
-
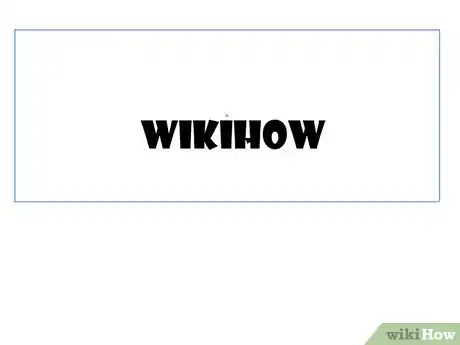
4Adjust the size and spacing of the text. Double-click the text to highlight it. Then click Character at the top of the screen to display the character adjustment menu. Use the following options to adjust your text in the Character menu.
- Font Size: The drop-down menu with a small "T" next to a large "T" adjusts the font size. You can also use the selection tool (the icon that resembles a black mouse cursor in the toolbar to the left) to change the size of your font by clicking and dragging the corners of your text object. Hold Shift to keep the text size proportional while resizing it with the selection tool.
- Leading: Leading changes the space between lines of text. Use the drop-down menu next to the icon that resembles an "A" on top of another "A" to change the leading.
- Kerning: Kerning adjusts the space between specific characters. To adjust the kerning, highlight the characters you want to adjust and then use the drop-down menu next to the icon with an "A" and a "V" being pushed together in the character menu to adjust the kerning.
- Tracking: Tracking adjusts the space between all characters in the text. Use the drop-down menu next to the icon that resembles an "A" and a "V" being pushed apart in the Character menu to adjust the tracking.
- Horizontal Scale: Horizontal stretches the characters horizontally making them wider or thinner. Use the drop-down menu next to the icon that resembles a "T" being stretched horizontally in the Character menu to adjust the horizontal scale of the text.
- Vertical Scale: Vertical scale stretches characters vertically making them taller or shorter. Use the icon that resembles a "T" being stretched vertically to adjust the vertical scale of the text.
-
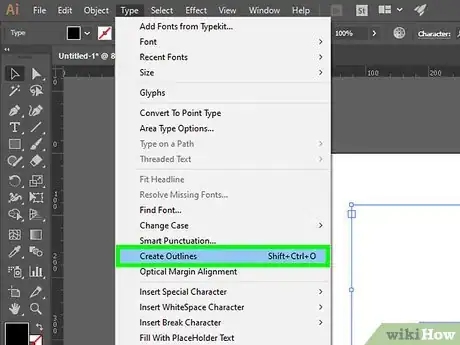
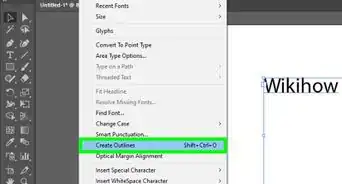
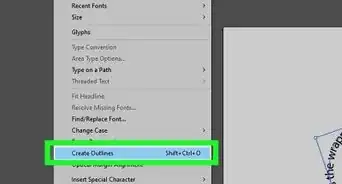
5Vectorize the font. The font you select for your logo may not be available on all machines. Once you get the text set the way you want it, you should vectorize the font. This transforms the text into a vector graphic instead of a text object. Be aware that you will not be able to edit the text after it has been vectorized. So make sure you are finished editing it and you are happy with how it looks. Use the following steps to vectorize the text:
- Click the selection tool at the top of the toolbar to the left.
- Click the text object to select it.
- Click Type in the menu bar at the top.
- Click Create Outlines.
Using Shapes to Create an Image
-
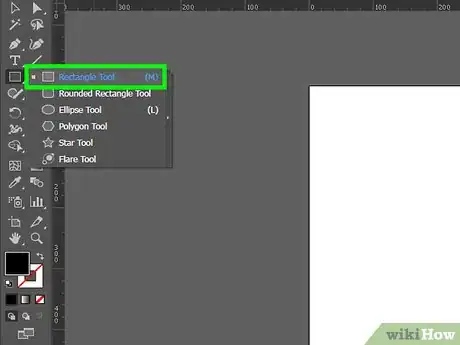
1Select a shape tool. Click the icon that resembles a rectangle in the toolbar to the left to select the rectangle tool. Click and hold the rectangle tool to see other shape tools. Click the shape tool for the shape you want to add to your logo. For example, if you want to draw a face, use the ellipse tool to draw a circle or oval shape for the head.
- It's a good idea to place your text and your images on separate layers in Illustrator.
- You can also use the Pen Tool to create more complex shapes.
-
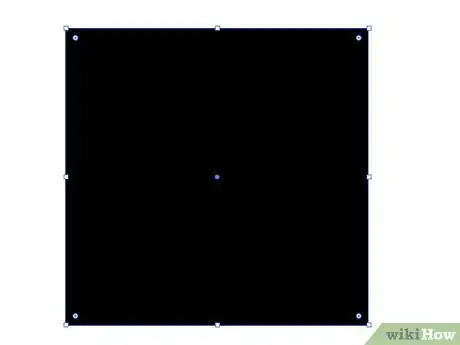
2Click and drag to add a shape. The easiest way to create images in Illustrator is by combining and subtracting simple shapes. Select a shape tool and click and drag to add a shape to your artboard.
- Hold ⇧ Shift while you click and drag to keep the shape proportional.
- Don't add any color to the logo just yet. Start with a simple black-and-white version of the logo.
-
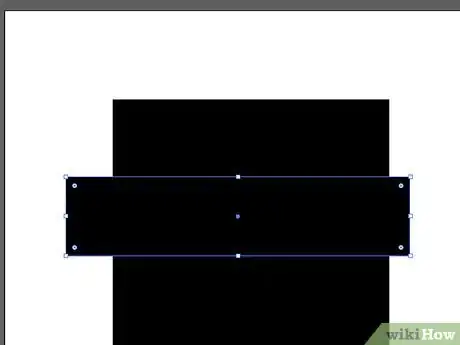
3Add another shape on top of the first shape. You can use the same shape tool or another shape tool to add a new shape on top of the previous shape. For example, you can add small ovals on the side of a larger oval to make ears. You can also use circles to cut out eyes in an oval-shaped face.
-
4Select both shapes. To select both shapes, click the selection tool at the top of the toolbar to the left and then click and drag over all the shapes you want to modify.
-
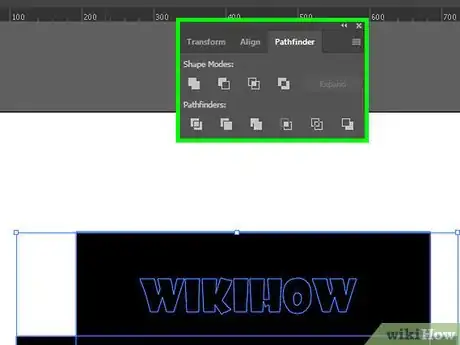
5Open the Pathfinder. The Pathfinder has an icon that resembles a square overlapping another square in the sidebar to the right. If you don't see the Pathfinder icon, use the following steps to open the Pathfinder.
- Click Windows in the menu bar at the top.
- Click Pathfinder
-
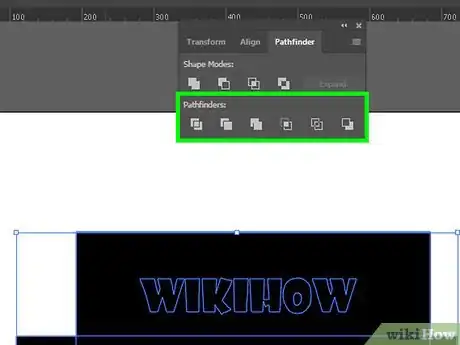
6Use the pathfinder to create shapes. The pathfinder has the following tools:
- Unite: This joins the selected shapes into a single shape. It's the icon that resembles two squares joined together.
- Minus Front: This cuts the shape on top out of the shape on the bottom. It's the icon that resembles a square with the corner cut out.
- Intersect: This removes all but where the two shapes overlap. It's the icon with two squares forming a small square in the middle.
- Exclude: This removes the area where the two shapes overlap. It's the icon with the two squares with the corners cut out in the middle.
-
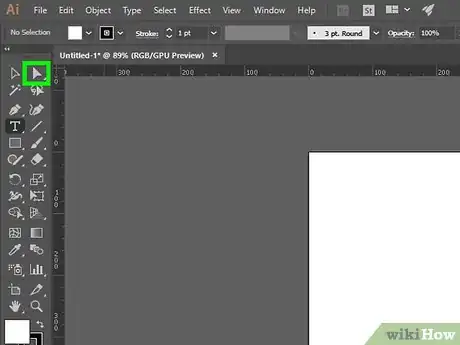
7Use the Direct Select tool to adjust lines and curves. The Direct Select Tool is the second icon in the toolbar to the left. It has an icon that resembles a white mouse cursor. You can use it to adjust the lines and curves of a shape.
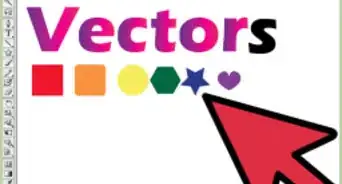
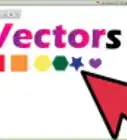
- If you zoom in on a shape, you'll see white dots on the lines and corners of the shape. These are called Vectors. Use the Direct Select tool and click and drag the vectors to move them. This allows you to move corners and expand shapes.
- If you click a vector with the Direct Select tool, you might see two lines with dots on the end of them attached to the vector. These are called Bezier Curves. You can click and drag them to adjust the curve of a line.
Adding Color
-
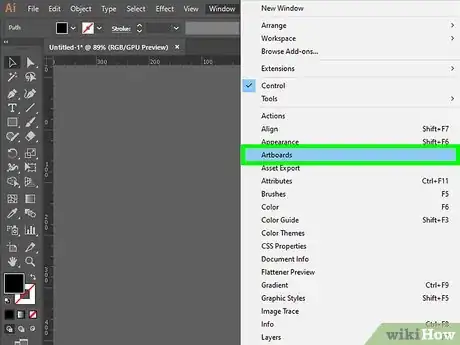
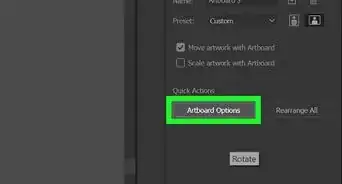
1Click the artboards icon. This is the icon that resembles two pieces of paper in the sidebar to the right. Not to be confused with the Artboard Tool in the toolbar to the left. If you do not see the Artboards icon, use the following steps to open it.
- Click Windows in the menu bar at the top.
- Click Artboards
-
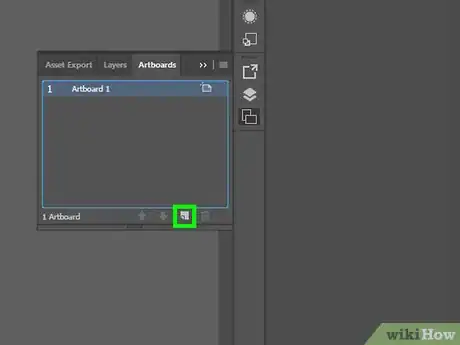
2Click the small paper icon. It's in the lower-right corner of the Artboards menu. This adds a new artboard to your file.
-
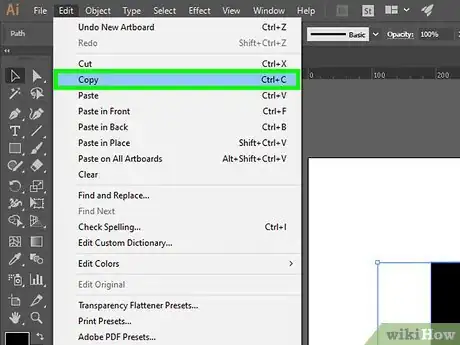
3Copy the logo in the first artboard. Click the selection tool at the top of the toolbar to the left. Then click and drag over the entire logo in the first artboard. Click Edit in the menu bar at the top and click Copy.
-
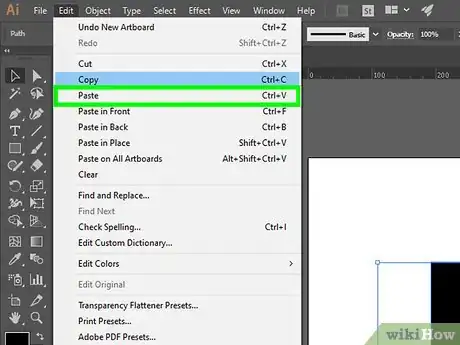
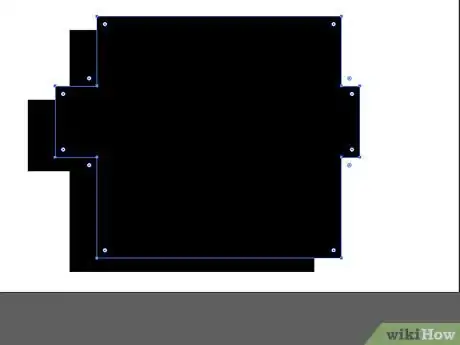
4Paste the logo into the new artboard. Navigate over to the second artboard and click Edit in the menu bar at the top. Then click Paste to paste the logo into the second artboard. Instead of adding color to the original logo in the first artboard, save a black-and-white version as your line-art logo. Add color to a separate version of the logo.
-
5Select a shape you want to add color to. Click the Selection tool in the toolbar to the left and click a shape or text you want to add color to.
-
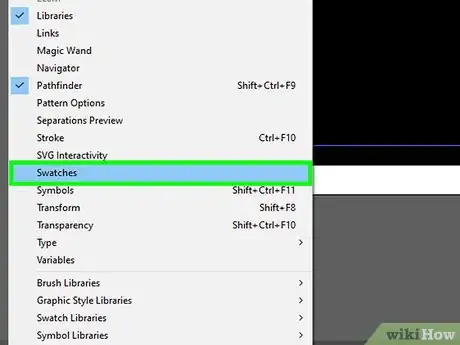
6Click the swatches menu. It's the icon that resembles a grid with different color squares in the sidebar menu to the right. If you don't see the swatches menu, use the following steps to open the swatches menu:
- Click Windows in the menu bar at the top.
- Click Swatches.
-
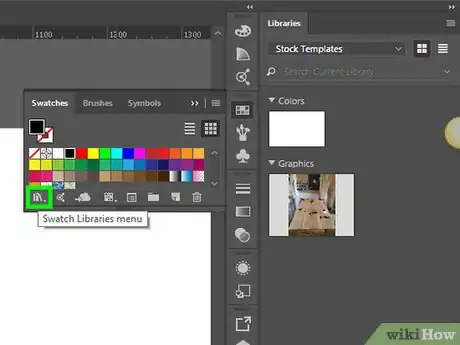
7Click the swatches libraries menu icon. It's the icon that resembles two folders stacked together in the lower-left corner of the swatches menu. This displays a drop-down menu with a variety of swatch libraries.
-
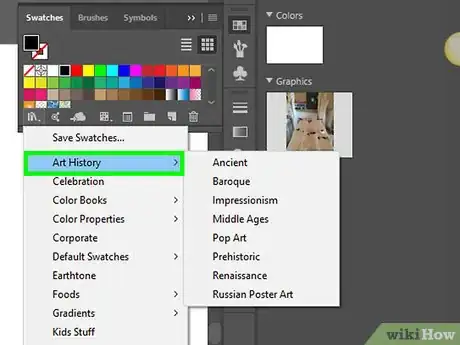
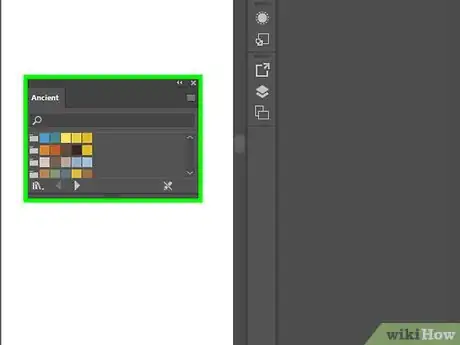
8Click a swatch library. There are a number of swatch libraries in the drop-down menu. These include Earth tones, Natural, Kids' Stuff, Metal, Color Properties, skin tones, and more.
- You can access Pantone swatches under Color books in the swatch libraries menu.
-
9Click a color. This changes the color of the selected object in the artboard. It's a good idea to stick to a few simple colors for a logo. If you want to add more advanced colors to a logo, create a full-color version of the logo on a third artboard.
- You can also use the gradient to add more complex color blends. However, it's best to do this on a third artboard with a full-color copy of the logo.
Exporting the Logo
-
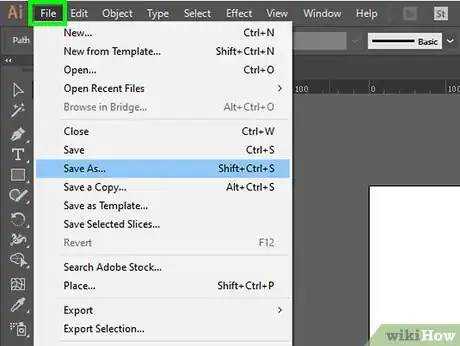
1Click File. It's in the menu bar at the top.
-
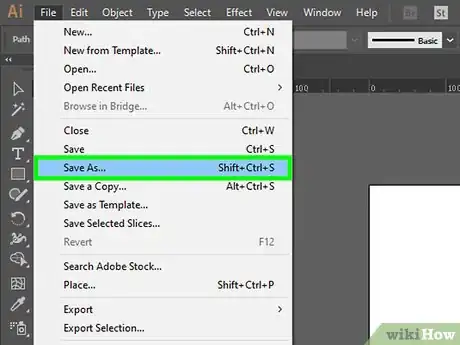
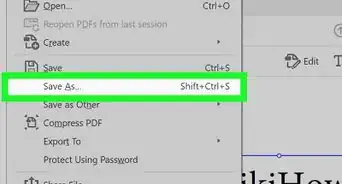
2Click Save As. It's in the File menu.
-
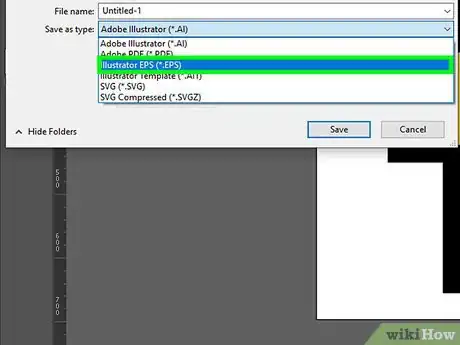
3Select "Illustrator EPS" as the file type. Use the drop-down menu next to "Save as Type" to select "Illustrator EPS". This is the standard file format for printing in vector format.
- You can also select "Adobe PDF" to save the logo in PDF format.
- If you plan on using the logo in Adobe Animate or Adobe After Effects, it's also recommended that you save a copy in "SVG" format.
-
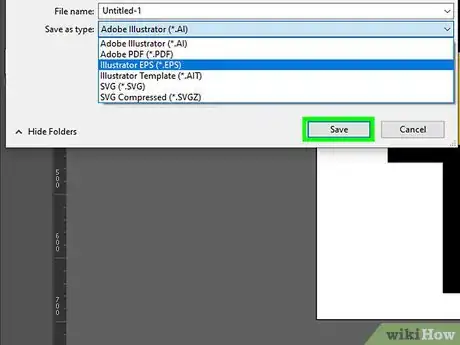
4Click Save. This saves the logo in the selected file format.
Community Q&A
-
Questionwhat is the size of logo regulary use?pixel size or other
 wikiHow Staff EditorThis answer was written by one of our trained team of researchers who validated it for accuracy and comprehensiveness.
Staff Answer wikiHow Staff EditorStaff AnswerLogos can be a variety of sizes depending on how they are being used. The reason we use Adobe Illustrator to create logos is because it creates logos in vector format. Vector graphics can be stretched to any size without losing quality. So it doesn't really matter what size you make your Illustrator file.
 -
Questionhow it was created in a cad
 wikiHow Staff EditorThis answer was written by one of our trained team of researchers who validated it for accuracy and comprehensiveness.
Staff Answer wikiHow Staff EditorStaff AnswerYou can create a CAD version of a logo by saving the logo as an SVG file. From there you should be able to import the SVG file into your CAD program. Then you can convert the SVG into a mesh, which will allow you to edit it in your CAD program.
 -
QuestionHow do I create a blank page?
 Community AnswerSelect the edit tab and click "New," then select how big you want your page "Artboard," and click "select". Or, you can use the keystrokes: hold down control and then, while still holding control, click "n".
Expert Interview
Thanks for reading our article! If you'd like to learn more about designing websites, check out our in-depth interview with Ryan Conway.
About This Article
1. Open Illustrator.
2. Create a new file with a rectangle or square-shaped artboard.
3. Use the Text tool to add text to the logo.
4. Click Character at the top of the screen.
5. Use the Character menu to adjust the font, font format, size, spacing, and horizontal and vertical scale of the text.
6. Click Type' followed by "Create Outlines to vectorize the text.
7. Use the shape tool to add shapes to your logo.
8. Use pathfinder to combine shapes or cut shapes out of existing shapes.
9. Use the Swatches menu to add color to the logo.
10. Export the logo as an EPS file.

