X
This article was co-authored by wikiHow Staff. Our trained team of editors and researchers validate articles for accuracy and comprehensiveness. wikiHow's Content Management Team carefully monitors the work from our editorial staff to ensure that each article is backed by trusted research and meets our high quality standards.
This article has been viewed 199,029 times.
Learn more...
In Microsoft Word, you can do a lot more than simple word processing—you can create charts and graphs, add media, and draw and format shapes. These quick, easy steps will show you how to draw a 3D shape or add 3D effects to existing shapes. Before beginning, make sure you have updated to the latest version of Microsoft Word.
Steps
Method 1
Method 1 of 3:
Drawing 3D Objects
-
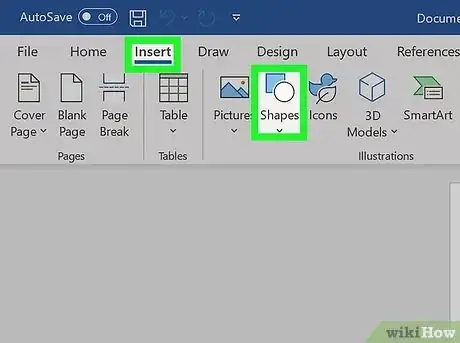
1Select Insert > Shape. You’ll find the “Insert” menu at the top of the screen.
- Mac users will see a menu of shapes appear on the right side of the screen.
- PC users will see a drop down menu of shapes.
-
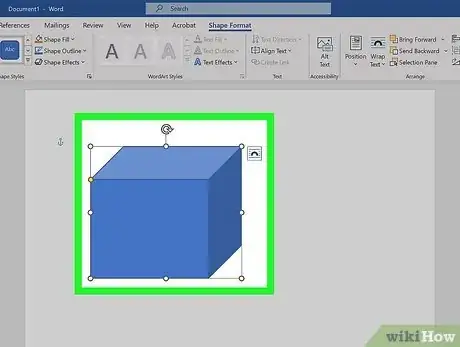
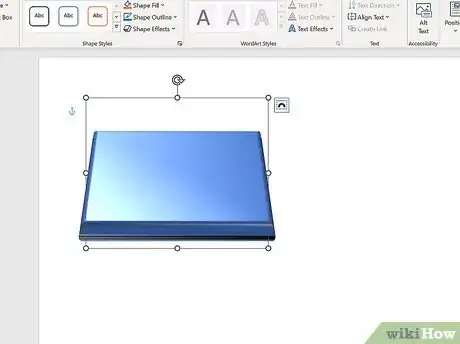
2Select a 3D shape. As you scroll through the available shapes, you’ll see a small selection of pre-formatted 3D objects, including a cube, a cylinder (“can”), and a bevel. Click on your desired shape to select it.Advertisement
-
3Draw your 3D shape. Click anywhere on your document and your shape will appear in previously determined measurements, usually equalling or close to 1”x1”.
- You can also click and drag to draw your shape in the desired dimensions.
-
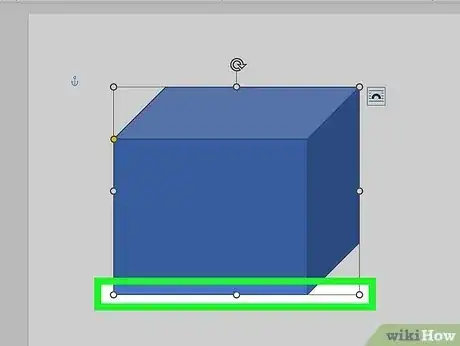
4Modify your shape. You can modify your shape by clicking on it to reveal resize boxes. Click and drag any of these to resize your object and also change the direction it’s facing.
Advertisement
Method 2
Method 2 of 3:
Converting 2D Objects to 3D
-
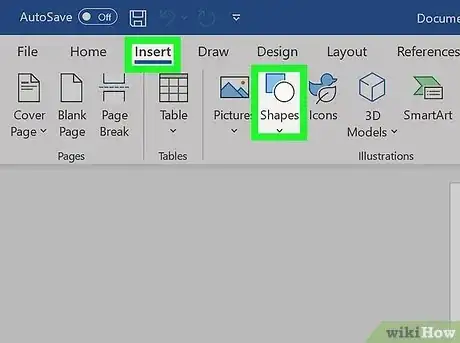
1Select Insert > Shape. You’ll find the “Insert” menu at the top of the screen.
- Mac users will see a menu of shapes appear on the right side of the screen.
- PC users will see a drop down menu of shapes.
-
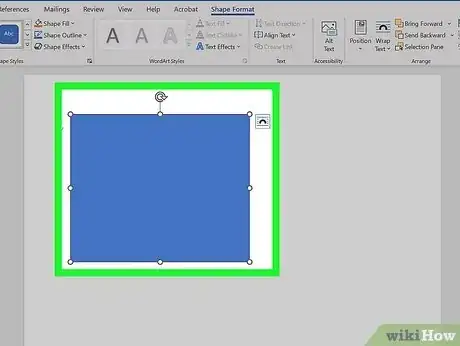
2Draw a 2D object. Click on a 2D object that you’d like to convert to three dimensions. Click on your document and your shape will appear.
-
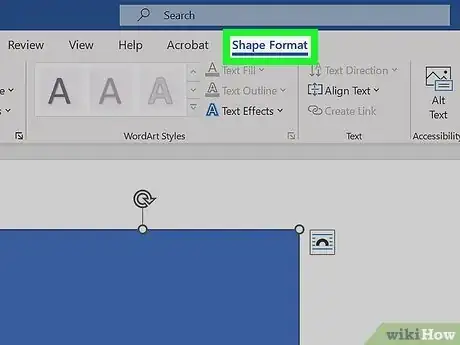
3Open the format menu. Right click (for Mac users, Ctrl + click) the shape and select “Format Shape”.
-
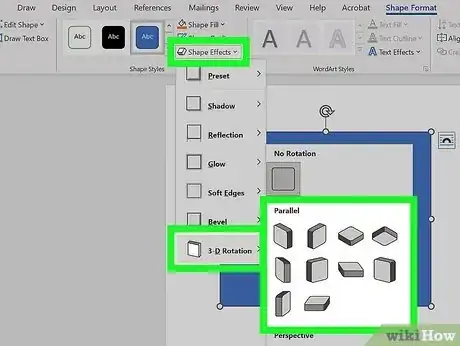
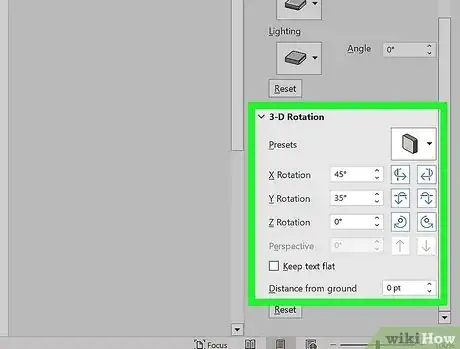
4Rotate your object in three dimensions. Select “3-D Rotation” and use the rotation buttons to turn your shape along the X, Y, and Z axes. Play with the rotation until your shape is facing the desired direction.
- You need to rotate the shape along the X or Y axis to see the depth you are about to add.
-
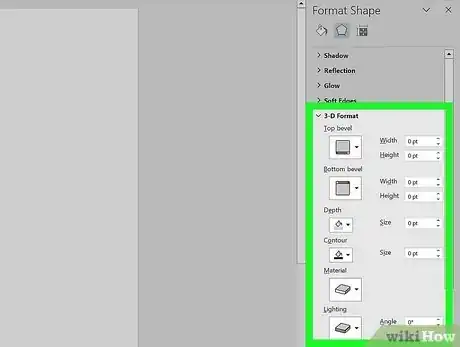
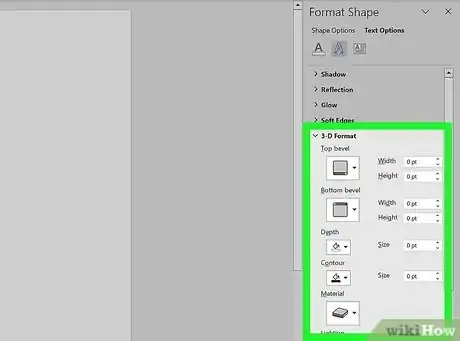
5Add depth to your object. Still in your “Format Shape” menu, select 3-D Format > Depth and Surface. Increase the “Depth” value to your desired depth and watch your 2D shape become 3D.
- You can experiment with the depth amount and the X, Y, and Z angles until you are satisfied with the look of your 3D object.
- The 3-D Format > Bevel menu allows you to add more 3D effects to the top and bottom of your object.
-
6Click “Ok” when you are finished.
Advertisement
Method 3
Method 3 of 3:
Adding 3D Effects to Text and WordArt
-
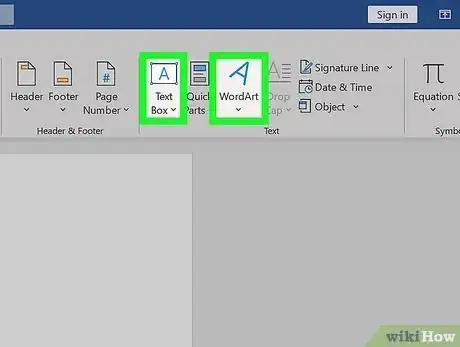
1Add a Text Box or WordArt. Select Insert > Text Box or Insert > WordArt. You’ll find the “Insert” menu at the top of the screen. Draw your box and type your desired text in the box.
-
2Add 3D effects to the box. Right click (for Mac users, Ctrl + click) your WordArt or Text Box and choose “Format Shape” from the drop down menu. Under "3-D Rotation", change the X and/or Y axis numbers; under "3-D Format", increase the value of the depth.
- You can experiment with the depth amount and the X, Y, and Z angles until you are satisfied with the look of your 3D object.
- To better see the 3D effects you’ve added to the object, change the fill color in the "Format Shape" menu.
-
3Add 3D effects to the letters. Right click (for Mac users, Ctrl + click) your WordArt or Text Box and select “Format Text Effects” from the drop down menu. Under "3-D Rotation", change the X and/or Y axis numbers; under "3-D Format", increase the value of the depth.
- To better see the 3D effects you’ve added to the object, change the fill color in the "Format Text Effects" menu.
Advertisement
Community Q&A
-
QuestionCan I divide the cube into 12 x 12 text boxes in each part?
 Community AnswerYou have to click the insert button and click INSERT CHART. Then you have to choose the 12 by 12 cube, and you're done!
Advertisement
About This Article
Advertisement
