This article was co-authored by wikiHow staff writer, Jessica Gibson. Jessica Gibson is a Writer and Editor who's been with wikiHow since 2014. After completing a year of art studies at the Emily Carr University in Vancouver, she graduated from Columbia College with a BA in History. Jessica also completed an MA in History from The University of Oregon in 2013.
There are 8 references cited in this article, which can be found at the bottom of the page.
This article has been viewed 29,490 times.
Learn more...
Whether you're running your own science experiments at home or you want to save a little money in your lab, start mixing your own agar medium. Agar is a gel-like material that's made from algae or animal proteins and you can use it to grow bacteria for your experiments. Although it doesn't take a lot to create agar, your simple agar powder or homemade mixture has all the nutrients that microbes need to grow. Once you've made either type of agar medium, pour it into Petri dishes with your samples and grow some germs!
Ingredients
Basic Nutrient Agar
- 2 1/2 teaspoons (4.6 g) of agar powder
- 3⁄4 cup (180 ml) plus 1 1⁄2 tablespoons (22 ml) of distilled water
Makes enough medium for 10 Petri dishes
Homemade Agar
- 1 beef bouillon cube
- 2 teaspoons (8 g) of sugar
- 1 cup (240 ml) of distilled water
- 1 packet (2 1/2 teaspoons or 7 g) of unflavored gelatin
Makes enough medium for 6 Petri dishes
Steps
Making and Sterilizing an Agar Medium
-
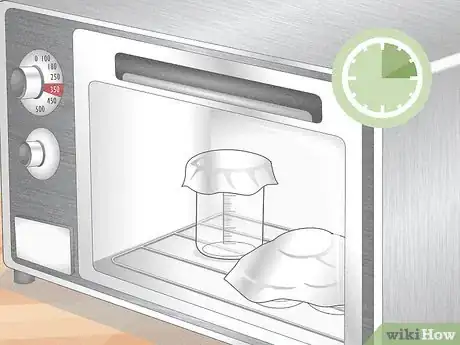
1Heat a beaker and Petri dishes in a 350 °F (177 °C) oven for 2 to 3 hours. To sterilize your equipment, cover the top of a 1,000 ml (34 fl oz) laboratory beaker with foil. You'll also need to put foil over 6 to 10 glass Petri dishes. Put all of your equipment into a cold oven and then turn it on to 350 °F (177 °C). Heat the equipment for 2 to 3 hours and let them cool completely before you continue to make the agar.[1]
- If you don't have Petri dishes, use glass baby food jars with the labels removed. Cover them with foil and sterilize them in the oven along with the beaker.
-
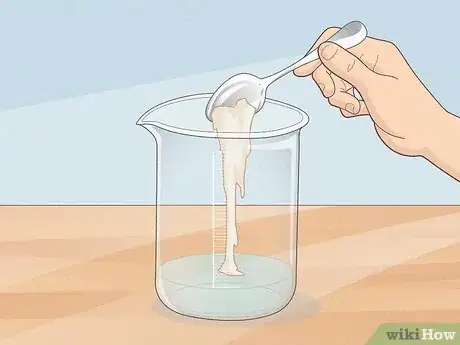
2Pour the medium ingredients into the beaker. Once the beaker is cool, set it on your work surface. To save time, use nutrient agar powder, which works for any type of experiment you're doing. Pour 3⁄4 cup (180 ml) plus 1 1⁄2 tablespoons (22 ml) of distilled water into the beaker along with 2 1/2 teaspoons (4.6 g) of agar powder. If you want to make a homemade medium using pantry items, put these ingredients into the beaker instead:[2]
- 1 beef bouillon cube
- 2 teaspoons (8 g) of sugar
- 1 cup (240 ml) of distilled water
- 1 packet (2 1/2 teaspoons or 7 g) of unflavored gelatin
Did You Know: Although you can use the homemade medium for many experiments, it may not work if the bacteria in your experiment eat protein. This is because the gelatin in the homemade medium contains protein so the medium may liquify.
Advertisement -
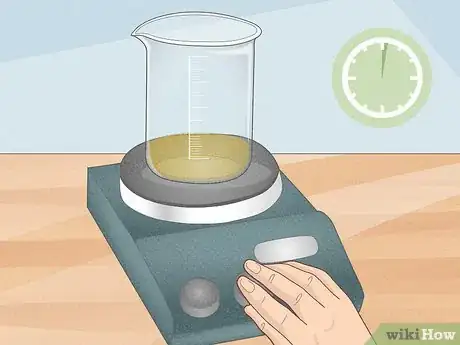
3Bring the mixture to a boil on a hot plate for 1 minute. If you have a scientific hot plate, turn it to high and set the beaker on it. Wear heat-resistant gloves and very carefully swirl the beaker to combine the mixture. Boil it for 1 minute as you swirl the beaker.[3]
- If you don't have a hot plate, put the beaker into the microwave and heat it for 10-second increments until the mixture boils.
- Ensure that the agar powder or bouillon mixture dissolves completely.
-
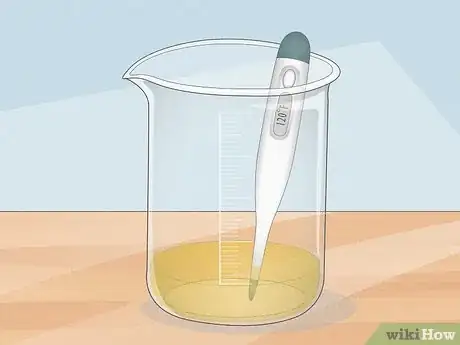
4Cool the agar medium to 120 °F (49 °C). Turn off the heat and leave the agar medium to cool for a few minutes. Then, insert a thermometer to see if it's cooled to 120 °F (49 °C) before you pour it into the Petri dishes.[4]
- If you don't have a thermometer to check the temperature, wait about 10 to 15 minutes before using the medium.
Pouring Agar Plates
-
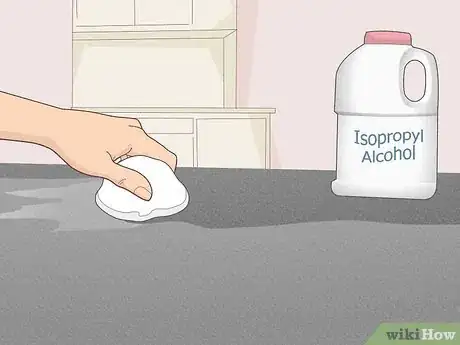
1Sanitize your workspace with isopropyl alcohol or diluted bleach. Dip a clean cloth in isopropyl alcohol or a diluted bleach mixture and wipe it across your work surface to remove bacteria. To dilute bleach, mix 1 part bleach with 4 parts of water.[5]
- Spend a minute washing your hands after you've sanitized your space.
-
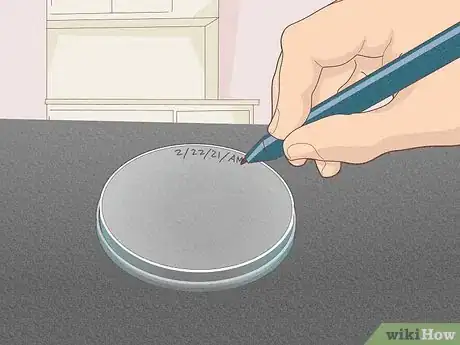
2Label the bottom of each Petri dish with experiment information. Place the Petri dishes on your work surface so they're upside down. Take a marker and label each dish with the information that you need for the experiment.[6]
- For example, you might write the bacteria, the date, and your initials.
-
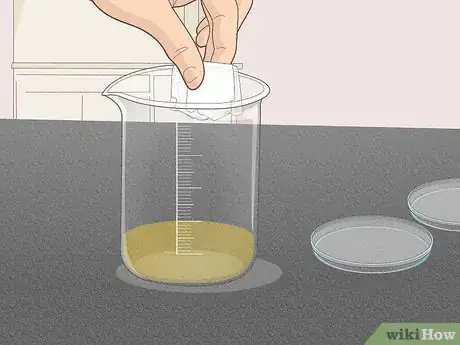
3Flip the Petri dishes and wipe the beaker's mouth with an alcohol wipe. Turn over the sterilized Petri dishes on your clean work surface and remove an alcohol wipe from its package. Wipe it around the mouth of the beaker to prevent bacteria from coming into contact with the agar medium.[7]
-
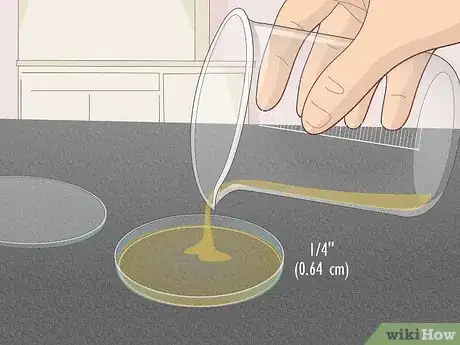
4Pour 1⁄4 in (0.64 cm) of medium into each dish and set the lids on. Pour slowly so you don't introduce air bubbles into the medium. As soon as you've covered the bottom of the Petri dish with 1⁄4 inch (0.64 cm) of medium, put the lid on to prevent contamination.[8]
- Repeat this for each Petri dish that you have.
-
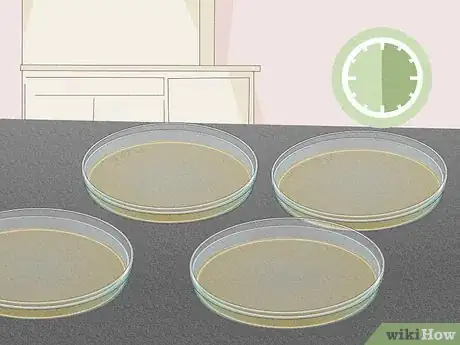
5Leave the dishes for about 30 minutes so the agar sets. Don't move the Petri dishes immediately after filling them since they need time to gel. Check the dishes after about 30 minutes to see if the agar is opaque and stiff.[9]
-
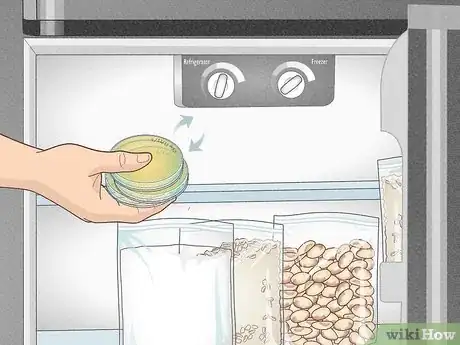
6Turn the dishes upside-down and store them in the fridge. It's important to store the Petri dishes upside-down so condensation doesn't drip down onto the agar. The agar medium lasts in the fridge for up to 2 years.[10]
Tip: Try to use homemade agar medium faster than medium made from agar powder since the ingredients may break down quicker.
Warnings
- Always use caution and wear oven mitts when handling hot materials.⧼thumbs_response⧽
Things You'll Need
- 1,000 ml (34 fl oz) laboratory beaker
- Petri dishes
- Aluminum foil
- Measuring cups or jugs
- Measuring spoons
- Oven mitts or heat-resistant gloves
- Scientific hot plate
- Thermometer
- Isopropyl alcohol or bleach
- Cloth
- Alcohol wipe
- Saucepan, optional
References
- ↑ https://www.umsl.edu/microbes/files/pdfs/sterilizing.pdf
- ↑ https://teach.genetics.utah.edu/content/microbiology/plates/
- ↑ https://teach.genetics.utah.edu/content/microbiology/plates/
- ↑ https://bitesizebio.com/6938/how-to-make-the-perfect-agar-plate-every-time/
- ↑ https://youtu.be/h9ViwEW7Xss?t=104
- ↑ https://youtu.be/aK9nDAzjyv0?t=64
- ↑ https://youtu.be/h9ViwEW7Xss?t=134
- ↑ https://sciencing.com/make-agar-gel-powder-10070363.html
- ↑ https://sciencing.com/make-agar-gel-powder-10070363.html


-Electric-Shock-Step-9.webp)


