This article was co-authored by wikiHow staff writer, Darlene Antonelli, MA. Darlene Antonelli is a Technology Writer and Editor for wikiHow. Darlene has experience teaching college courses, writing technology-related articles, and working hands-on in the technology field. She earned an MA in Writing from Rowan University in 2012 and wrote her thesis on online communities and the personalities curated in such communities.
This article has been viewed 72,401 times.
Learn more...
This wikiHow will teach you how to connect a PlayStation 4 controller to your computer so you can use it to play Steam games. You can connect your controller wirelessly with Bluetooth or by using a USB cable.
Steps
Using a USB Cable
-
1Plug in your PS4 controller to your computer with a USB cable. You'll find a USB port on the front of your computer's tower, on the back of an all-in-one, or along the sides of a laptop; you'll find the mini-USB port on the back of the controller.
-
2Press the PS button on the controller to turn it on. The light on the back of your controller should illuminate when it's on.Advertisement
-
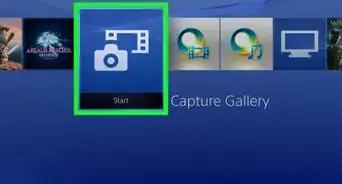
3Open the Steam client. You'll find the gear icon to launch the client in your Start Menu or Applications folder in Finder.
-
4Click the Steam tab. You'll see this in the menu along the top of your screen.
-
5Click Settings. You'll find this near the bottom of the menu.
-
6Click Controller. You'll see this on the left side of the pop-up window.
-
7Click General Controller Settings. You'll see this button on the right side of the window and it will bring up another window where your connected controller should be detected.
-
8
-
9Click your controller under "Detected Controllers." If you don't see your controller here, check the USB connections between your controller and computer as well as the power status of your controller.
- Your controller's details will pop up on the right side of the window.[1]
-
10Click Preferences. You can change your controller's name, the light's brightness and color, and the rumble preference.
-
11Click Submit. You'll see this in the bottom left corner of the window.
- Your PS4 controller will now work for Steam. If you want to configure the controller's buttons more, press the PS button on your controller to pull up a keybinding menu.


Using Bluetooth
-
1
-
2Press and hold the PS and Share buttons on your controller. This will put your controller in pairing mode and make it discoverable by non-PlayStations.
- You can release the buttons when the light on the back of your controller should pulse rapidly.
-
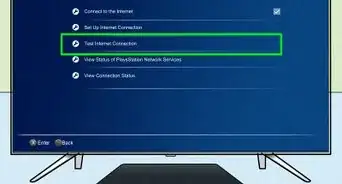
3Click Add Bluetooth or other device on your computer. You'll see this above the Bluetooth toggle.
-
4Click Bluetooth. Since your PS4 remote is using Bluetooth to connect, you'll want to prompt your computer to find Bluetooth.
-
5Click to select your controller from the device list. When it's done connecting, you'll see the button at the bottom of the window change.
-
6Click Done. You'll see this at the bottom of your window.
-
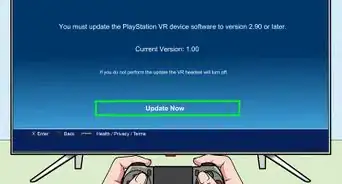
7Launch Steam. You'll find the gear icon to launch the client in your Start Menu or Applications folder in Finder.
-
8Click the Steam tab. You'll see this in the menu along the top of your screen.
-
9Click Settings. You'll find this near the bottom of the menu.
-
10Click Controller. You'll see this on the left side of the pop-up window.
-
11Click General Controller Settings. You'll see this button on the right side of the window and it will bring up another window where your connected controller should be detected.
-
12
-
13Click your controller under "Detected Controllers." If you don't see your controller here, check the USB connections between your controller and computer as well as the power status of your controller.
- Your controller's details will pop up on the right side of the window.[2]
-
14Click Preferences. You can change your controller's name, the light's brightness and color, and the rumble preference.
-
15Click Submit. You'll see this in the bottom left corner of the window.
- Your PS4 controller will now work for Steam. If you want to configure the controller's buttons more, press the PS button on your controller to pull up a keybinding menu.[3]


References
About This Article

1. Connect your PS4 controller and computer.
2. Press the PS button on the controller to turn it on.
3. Open the Steam client.
4. Click the Steam tab.
5. Click Settings.
6. Click Controller.
7. Click General Controller Settings.
8. Click to check the box next to "PS4 Configuration Support."
9. Click your controller under "Detected Controllers."
10. Click Preferences.
11. Click Submit.