X
wikiHow is a “wiki,” similar to Wikipedia, which means that many of our articles are co-written by multiple authors. To create this article, volunteer authors worked to edit and improve it over time.
This article has been viewed 120,718 times.
Learn more...
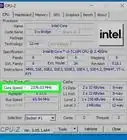
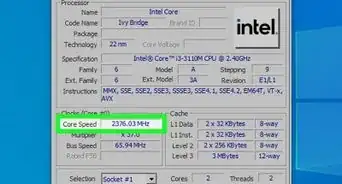
Insufficient cooling is a common source of computer malfunction. Hard drives and system processors, or CPUs, are especially vulnerable to overheating due to insufficient cooling. Installing additional case fans is typically an effective method of providing additional cooling to the interior of a computer case.
This article provides step-by-step instructions for multiple methods of providing extra cooling to system components by installing additional case fans.
Steps

Method 2
Method 2 of 2:
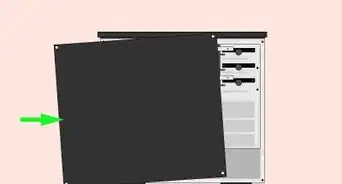
Attach an Additional Fan to the Side-Panel Door of the Computer Tower
-
1Mark the case door for drilling. When there is no room left on the vented back panel of the computer case, a fan can be attached to the side-panel door of the tower. Mark and drill a series of holes near the rear of the side-panel door to attach and vent the supplemental case fan. Measure the distance between the screw holes located on each corner of the case fan. Use a marker, crayon or a grease pen to mark the location where the holes will need to be drilled on the side-panel door.
- Use a straight edge ruler to draw 2 straight lines running diagonally between the marks for the screw holes, forming an "X" on the side-panel door. Using a straight-edge ruler, draw a straight line vertically through the center of the "X," and another line horizontally through the "X."
-
2Drill the holes for the case fan. Use a 3/16 inch (4.76 mm) drill bit to drill holes through the first set of marks made to match the screw holes in each corner of the case fan being installed. Now drill holes, evenly spaced, along each of the diagonal, vertical and horizontal lines. The venting and screw holes have been drilled.
-
3Attach and connect the case fan. Hold the new case fan against the inside of the side-panel door so that it lines up with each of the 4 screw holes. Insert a screw through each corner of the case fan. Locate an available 4-plug power connector coming from the power supply, plug the fan in and replace the side-panel door. The supplemental case fan has been installed.


Advertisement
Things You'll Need
- Hand Drill
- 3/16 inch ( 4.76 mm) drill bit
- Grease pen
- Supplemental case fan, including hardware


About This Article
Advertisement