This article was co-authored by wikiHow staff writer, Darlene Antonelli, MA. Darlene Antonelli is a Technology Writer and Editor for wikiHow. Darlene has experience teaching college courses, writing technology-related articles, and working hands-on in the technology field. She earned an MA in Writing from Rowan University in 2012 and wrote her thesis on online communities and the personalities curated in such communities.
This article has been viewed 1,198 times.
Learn more...
Is BlueStacks acting sluggish and loading apps slower than it used to? Fortunately, there are a few different things you can try to fix this: clearing the app cache and then clearing the BlueStacks cache. This wikiHow article teaches you how to clear the cache and the app cache on BlueStacks for Windows and Mac, so it's an easy process that anyone can do!
Steps
Clearing the App Cache in BlueStacks 5 (Windows Only)
-
1Open BlueStacks. This app icon looks like green, yellow, red, and blue layers stacked on top of each other.
- Only the Windows version of BlueStacks has the ability to clear app caches individually.
-
2Click the System apps folder. Since this is an Android emulator, you'll need to access Settings to clear an app's cache.Advertisement
-
3Click Settings. It looks like a gear icon.
-
4Click Apps. You'll see this next to the Android logo in the "Device" grouping.
-
5Click the app with the cache you want to clear. If you want to clear the cache in Google (like if you're having trouble downloading from the Play Store), click the Google Play Store.
-
6Click Storage. This is on the "App Info" page that you'll see after clicking an app from the app list.
-
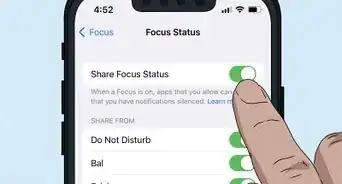
7Click Clear Cache. It's below the "Data" header and in the "Cache" section.
- Once the cache is cleared, you'll see the number to the right of "Clear Cache" turn to "0" and the button will grey out.[1]
- Repeat this process to clear multiple app caches.
- If your BlueStacks is still acting sluggish after you've cleared some app caches, you can try to clear the overall BlueStacks cache for Windows.


Clearing the BlueStacks Cache on Windows
-
1Open BlueStacks. This app icon looks like green, yellow, red, and blue layers stacked on top of each other.
-
2
-
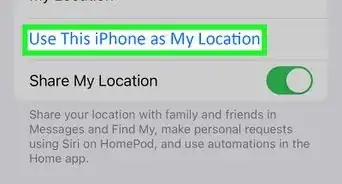
3Click User data. This is in the menu on the left side of the window.
-
4Click Free up space. It's under the "Disk Cleanup" header.
- BlueStacks will begin deleting data that you don't need and might become unresponsive for a few seconds.


Clearing the BlueStacks Cache on Mac
-
1Open BlueStacks. This app icon looks like green, yellow, red, and blue layers stacked on top of each other.
-
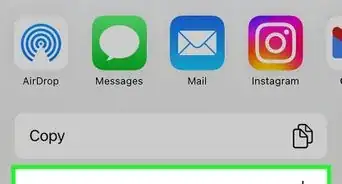
2Click BlueStacks and select Preferences. The BlueStacks tab is in the Apple menu bar in the top left corner of your screen. Clicking Preferences will open a new window.
-
3Click User data. This tab is along the top of the "Preferences" window.
-
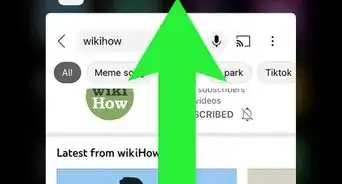
4Click Free up space. It's under the "Disk Cleanup" header.
- BlueStacks will begin deleting data that you don't need and might become unresponsive for a few seconds.


References
About This Article