This article was co-authored by Jonas Jackel and by wikiHow staff writer, Janice Tieperman. Jonas Jackel is the Owner of Huckleberry Bicycles, a bicycle retail store based in San Francisco, California. Jonas has over 20 years of experience managing bicycle retail stores and has operated Huckleberry Bicycles since 2011. Huckleberry Bicycles specializes in servicing, repairing, and custom building road, cross, gravel, touring, folding, and e-bikes. Jonas was also previously sat on the Board of Directors for Bike East Bay, a bicycle-advocacy non-profit organization based in Oakland, California.
There are 22 references cited in this article, which can be found at the bottom of the page.
This article has been viewed 12,646 times.
Squeaky brakes can be really annoying when you’re going for a ride around the neighborhood. The “squeak” from your brakes can happen when your brake pads aren’t attaching smoothly to your disc rotors—these are the large, metal rings that go around the center of your bike wheels.[1] Don’t worry! A thorough cleaning can help your brake pads and disc rotors work smoothly, and might get rid of the unpleasant noise. While this process requires a little bit of elbow grease, it shouldn’t take more than an hour or so to clean your bicycle disc brakes.
Steps
Brake Disassembly
-
1Take apart your brakes after riding your bike so they'll be easier to clean.[2] Set aside some time right after your bike ride to give your disc brakes a little TLC. This way, all of the dirt, dust, and salt will be easier to wipe off.[3]
- If you store your bike outside, you might have to clean your disc brakes more often. Give your bike a quick examination before and after each ride to see if everything looks good.
- You don’t need to clean your brakes after every ride. Instead, just listen for squeaking—this is a good indication that your disc brakes need to be cleaned.[4]
-
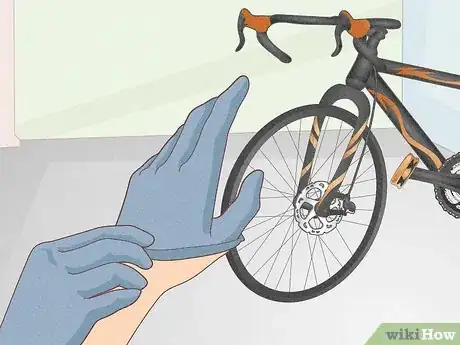
2Slide on a pair of nitrile disposable gloves to protect the brake parts. Your brake pads and disc rotor are pretty sensitive, and you don’t want to transfer any oil from your fingertips to these parts of your bike. Slip on these gloves before you start disassembling your bike, so you don’t contaminate anything by mistake.[5]Advertisement
-
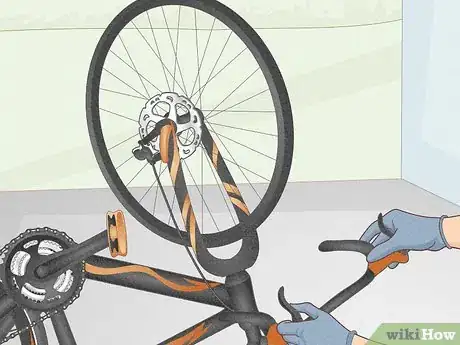
3Flip your bike so it’s easier to remove the wheels. It can be tricky to take off your wheels while your bike is still upright. Instead, find an open area where you can safely flip over your bike so the handlebars and bike seat are flush with the ground.[6]
-
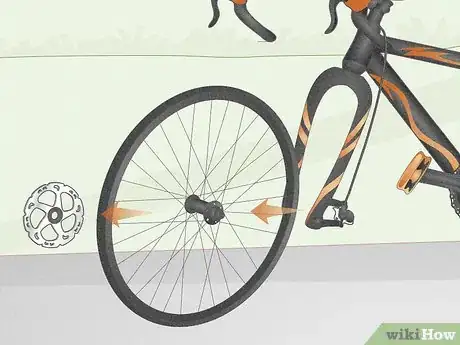
4Remove the large bolts holding your bike wheels in place. Look for a large bolt going through your bike axle, which holds each wheel in place. Rotate this bolt counterclockwise and slide it out of your bike. At this point, you can safely remove and separate the wheel from the rest of the bike.[7]
- Take a peek at your bike’s owner manual for more specific instructions. Some bikes might be built a little bit differently.
-
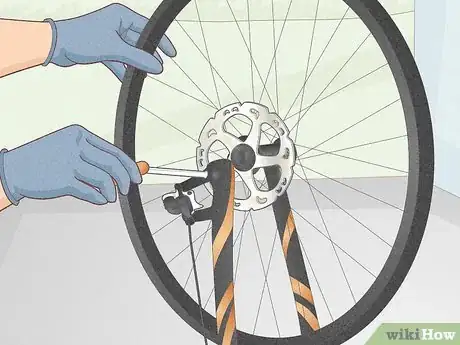
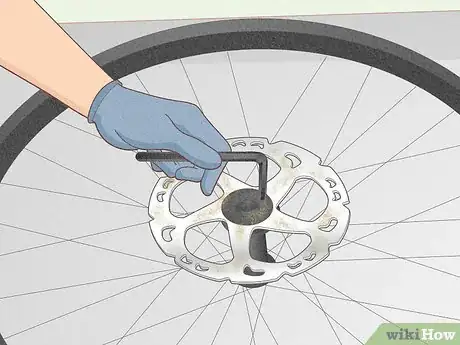
5Use a T25 Torx key to unscrew the bolts from your disc rotor. Set your bicycle wheels on a flat, even surface, with the center of the wheel facing up. Grab a T25 Torx key—this is a special kind screwdriver designed for the bolts that attach your disc rotor to the center of your bike. Remove the bolts 1 at a time, and then pull the disc rotor off the wheel.[8]
- Disc rotors are large, metal circles attached to the center of your bike wheels. Each wheel has 1 disc rotor attached to it.
- Most bike wheels have 6 bolts holding the disc rotor in place. Keep them in a safe place for when you’re reassembling the bike.
- Some disc rotors aren’t connected with bolts. You can remove these with a BB tool—simply align the round portion of the tool around the center of the disc rotor, and rotate it counterclockwise until the disc comes loose.[9]
-
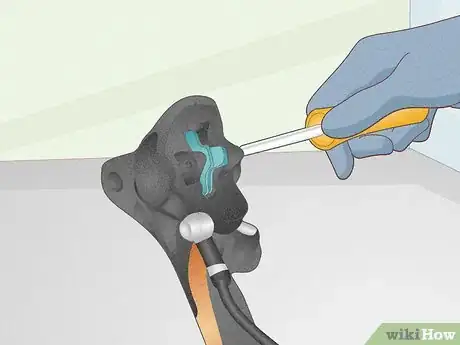
6Unscrew the retaining bolt from your brake pads. Examine the section of your bike that connects to the center of the wheels. You’ll see a large, horizontal bolt going through both brake pads—this is known as a retaining bolt, and it helps hold these pads in place. Grab a pair of needle-nose pliers and pull off the retaining circlet—this is a small cap that goes over 1 end of the bolt. Then, stick an Allen key into the opposite side of the brake pads to unscrew and remove the bolt.[10]
-
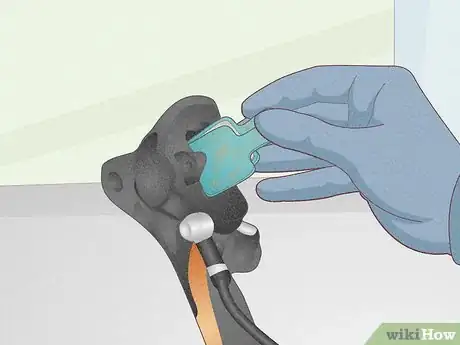
7Pull the brake pads out of the bike caliper. The bike caliper is the area where your brake pads are stored. Now that you’ve removed the retaining bolt, grab onto the brake pads with 2 fingers. Pinch and pull these pads out of the bike—with the retaining bolt gone, they should come out easily.[11]
Wheel Hub and Disc Rotors
-
1Wipe down the wheel hub face with a rag dipped in brake cleaner. Find the wheel hub face—this is the central part of the wheel where the disc rotor was attached. Dip a clean, lint-free cloth or paper towel with specialized bike brake cleaning liquid, and rub it around the edges of this hub. A lot of crud and dirt can build up there after your bike rides.[12]
- The hub is a circular area, directly in the center of your bike wheel.
- You can find brake cleaner online, or in some specialty stores.
-
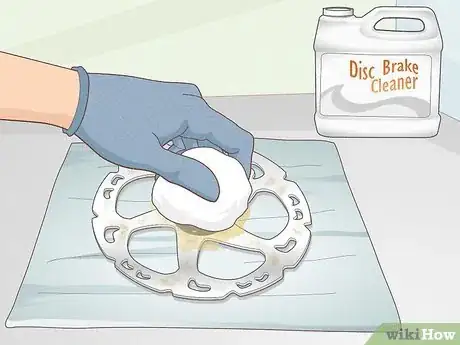
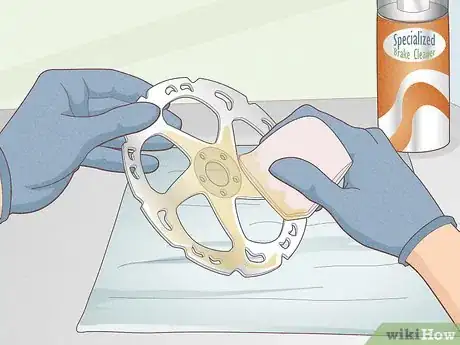
2Wipe both sides of the disc rotors with a specialized brake cleaner. Rub the brake cleaner into your disc rotors with a clean, lint-free paper towel, rubbing away any dirt or residue stuck to the surface. Use as much brake cleaner as you need until both discs look and feel really clean.[13]
-
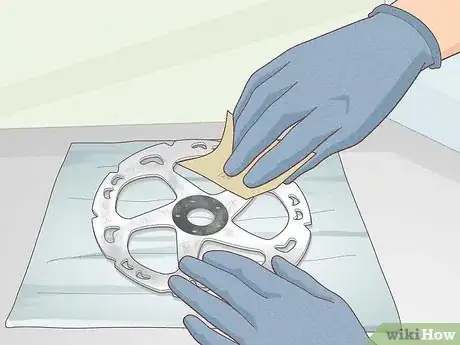
3Buff the disc rotor with sandpaper to make the surface slightly rough. Grab a sheet of 120-grit sandpaper and rub it all over the sides of your disc rotor.[14] Don’t worry, you’re not damaging the disc rotor—you’re actually making it easier for the brake pads to adhere and clamp onto these discs. Once you’re done, the metal surface should feel a little rough.[15]
Brake Pads, Calipers, and Levers
-
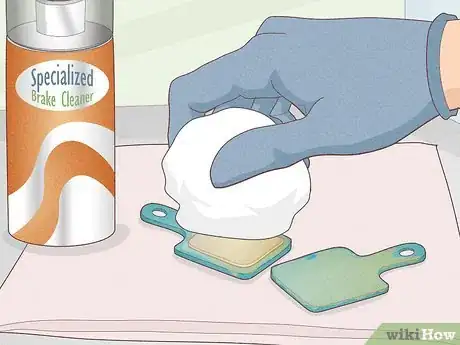
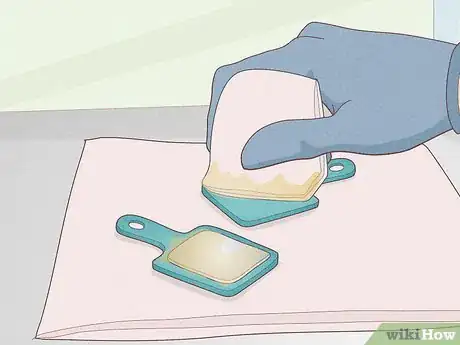
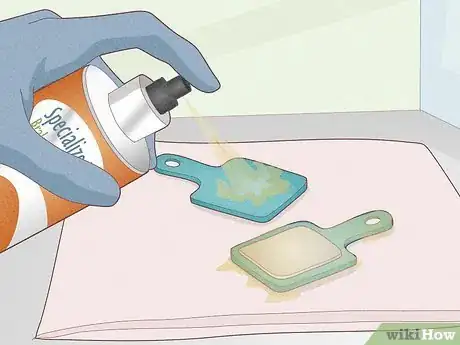
1Scrub both sides of each brake pad with a specialized brake cleaner. Set your brake pads on a clean, lint-free paper towel sheet. Grab a specialized bicycle brake cleaner and spritz it all over both sides of the pads. Rub the product into the pads with a clean, lint-free paper towel.[16]
-
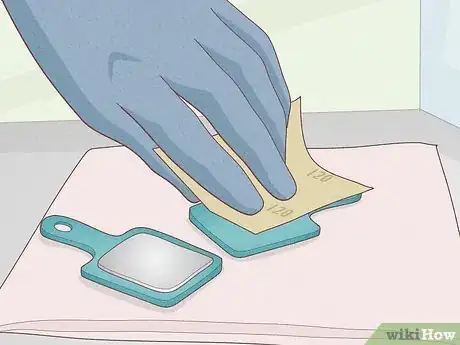
2Sand down both brake pads with 120-grit sandpaper. Grab a sheet of fairly coarse sandpaper and work it back and forth over each pad.[17] Rub the pad portion of the brakes onto the sandpaper, using quick, back and forth motions. Your main goal is to smooth off any residue from your brake pads, which will help eliminate the squeaking sound.
-
3Clean off both brake pads 1 more time. Place your pads on another lint-free paper towel sheet and spray them down again. Rub away any leftover pad residue from your brakes, so they’re ready to reinstall into your bike.[18]
-
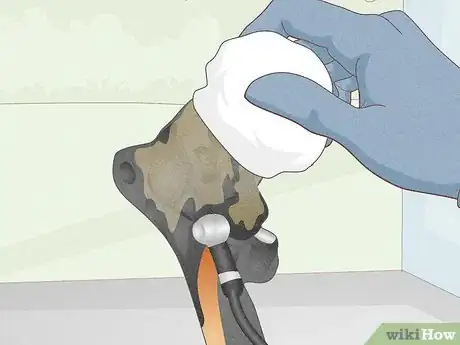
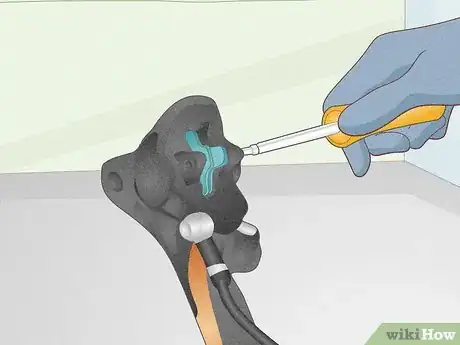
4Spray down the calipers with brake cleaner and wipe them off. Search for the caliper in your bike frame—this is the metal pocket that stores your brake pads. Spritz this area with brake cleaning spray, and wipe it down with a clean cloth.[19]
-
5Wipe down the bike unions and levers with brake cleaner. Look for the components that hold your bike’s piping together—these are known as the unions, and they need a good clean once in a while. Spritz them with brake cleaner, and wipe them off with a clean rag. Then, spray brake cleaner on the hand brake levers and give them a good wipedown as well.[20]
Reassembly
-
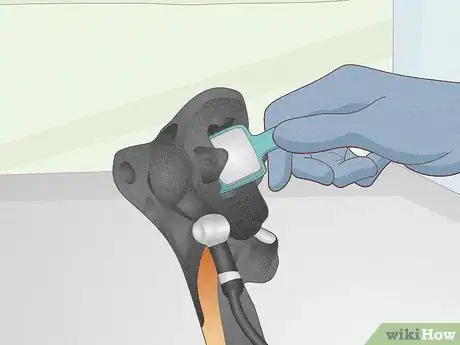
1Slide the brake pads back into the caliper. Sandwich the 2 brake pads together, so both pads are touching one another. Slip the brakes back into the caliper—they should fit snugly.[21]
-
2
-
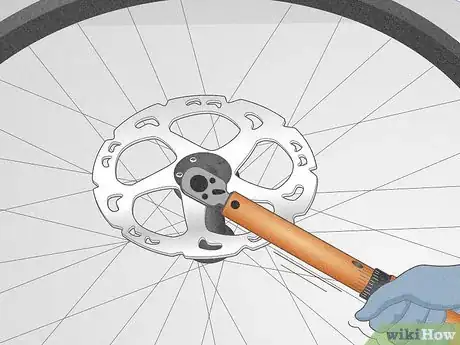
3Screw in the bolts around your disc rotor with a torque wrench. Center your disc rotor along the center of your bike wheel. Grab a torque wrench and screw the bolts back in. Repeat this process until all of your disc rotors are back in their proper positions.[24]
-
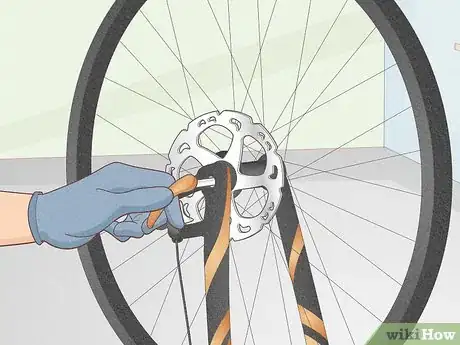
4Reattach your bike wheels with the central bolt. Slide your bike wheel back into place, lining up the center of the wheel with both dropouts. Slide the long bolt back into place, twisting it clockwise so it stays put. Now, your brakes hopefully won’t sound squeaky on your next bike ride![25]
Warnings
- Try not to touch your brake pads or disc rotor with your bare hands. Oils can transfer from your skin and make your brakes less effective.[27]⧼thumbs_response⧽
- Don’t press on the hand brakes after you’ve removed your bike tires. This will tighten up your brake pads and make it really tough to reinstall your tires.[28]⧼thumbs_response⧽
- Avoid any brake cleaners with the ingredient “PTFE”—this will make your disc rotors slick, and will make it trickier to brake.[29]⧼thumbs_response⧽
Things You’ll Need
- Nitrile disposable gloves
- Needle-nose pliers
- Brake cleaner
- 120-grit sandpaper (or lower)
- Lint-free paper towels
- T25 Torx key
- Allen key
References
- ↑ https://m.youtube.com/watch?v=mXQxLK6z5WA&t=0m30s
- ↑ Jonas Jackel. Owner, Huckleberry Bicycles. Expert Interview. 18 February 2020.
- ↑ https://guides.wiggle.co.uk/how-clean-bicycle-disc-brakes-0
- ↑ https://m.youtube.com/watch?v=mXQxLK6z5WA&t=0m48s
- ↑ https://m.youtube.com/watch?v=mXQxLK6z5WA&t=4m29s
- ↑ https://www.liv-cycling.com/global/campaigns/removing-and-reinstalling-a-bike-wheel-for-transport/19059
- ↑ https://m.youtube.com/watch?v=hdjB_wHW0-Q&t=1m9s
- ↑ https://m.youtube.com/watch?v=RaVQL820Dfo&t=1m20s
- ↑ https://m.youtube.com/watch?v=RaVQL820Dfo&t=3m40s
- ↑ https://m.youtube.com/watch?v=mXQxLK6z5WA&t=4m30s
- ↑ https://m.youtube.com/watch?v=mXQxLK6z5WA&t=4m45s
- ↑ https://m.youtube.com/watch?v=RaVQL820Dfo&t=1m26s
- ↑ https://m.youtube.com/watch?v=mXQxLK6z5WA
- ↑ https://www.bikeradar.com/features/tools-and-tricks-for-trouble-free-disc-braking/
- ↑ https://m.youtube.com/watch?v=mXQxLK6z5WA&t=8m24s
- ↑ https://m.youtube.com/watch?v=mXQxLK6z5WA&t=6m20s
- ↑ https://www.bikeradar.com/features/tools-and-tricks-for-trouble-free-disc-braking/
- ↑ https://m.youtube.com/watch?v=mXQxLK6z5WA&t=7m35s
- ↑ https://guides.wiggle.co.uk/how-clean-bicycle-disc-brakes-0
- ↑ https://guides.wiggle.co.uk/how-clean-bicycle-disc-brakes-0
- ↑ https://m.youtube.com/watch?v=zoiBeLJRH7U&t=1m47s
- ↑ https://m.youtube.com/watch?v=zoiBeLJRH7U&t=2m4s
- ↑ https://m.youtube.com/watch?v=mXQxLK6z5WA&t=4m30s
- ↑ https://m.youtube.com/watch?v=RaVQL820Dfo&t=2m38s
- ↑ https://m.youtube.com/watch?v=hdjB_wHW0-Q&t=4m25s
- ↑ https://guides.wiggle.co.uk/how-clean-bicycle-disc-brakes-0
- ↑ https://guides.wiggle.co.uk/how-clean-bicycle-disc-brakes-0
- ↑ https://m.youtube.com/watch?v=hdjB_wHW0-Q&t=1m12s
- ↑ https://guides.wiggle.co.uk/how-clean-bicycle-disc-brakes-0
