This article was co-authored by Jonas Jackel. Jonas Jackel is the Owner of Huckleberry Bicycles, a bicycle retail store based in San Francisco, California. Jonas has over 20 years of experience managing bicycle retail stores and has operated Huckleberry Bicycles since 2011. Huckleberry Bicycles specializes in servicing, repairing, and custom building road, cross, gravel, touring, folding, and e-bikes. Jonas was also previously sat on the Board of Directors for Bike East Bay, a bicycle-advocacy non-profit organization based in Oakland, California.
wikiHow marks an article as reader-approved once it receives enough positive feedback. In this case, several readers have written to tell us that this article was helpful to them, earning it our reader-approved status.
This article has been viewed 1,028,285 times.
There can be many problems and solutions to bicycle brakes. This article will attempt to cover the common problems with caliper type brake systems, and only mention coaster brakes briefly.
Steps
Checking Calipers
-
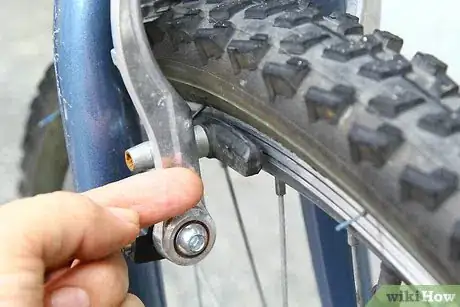
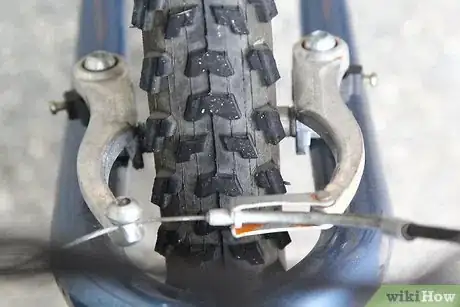
1Check the brake pads. The first thing you will need to know is if the brake pads are too worn to work effectively. There should be at least 1⁄4 inch (0.6 cm) of rubber (the brake pad) between the clamp and the tire when the caliper is engaged to brake the bike. If the pads are worn out, you will need to replace them.[1]
-
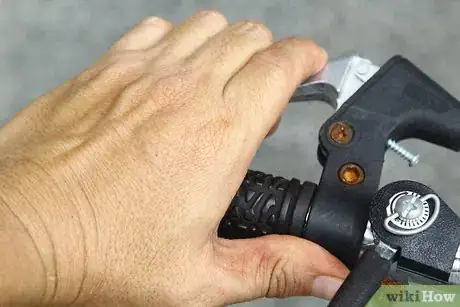
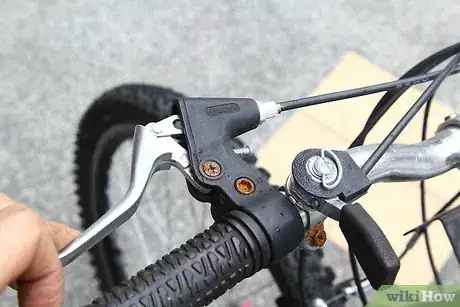
2Check the cables. Squeeze the brake handles and make sure the cable moves. If it does not, your cable may be stuck in the cable housing, or the clamp in the handle may be loose.Advertisement
-
3Make sure the caliper moves when the cable pulls on it. Either squeeze the handle and watch the caliper close and open, or have someone else operate it while you watch. If the cable at the brake handle moves, but the end at the caliper does not, the cable may be broken inside the cable housing, and the whole cable assembly will have to be replaced.
-
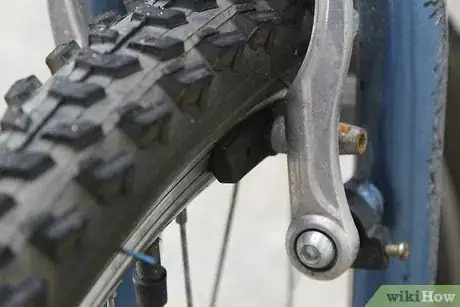
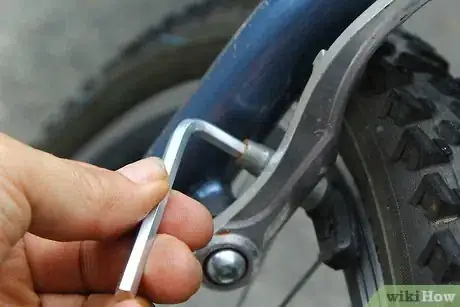
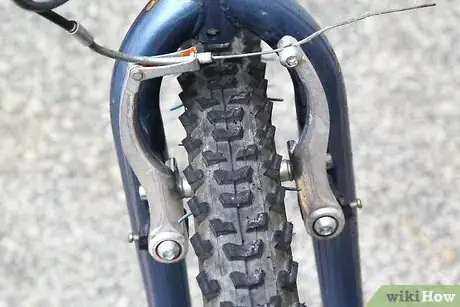
4Watch the caliper to make sure both sides clamp against the bike wheel. If one side is stuck, you may find that only one pad is engaging the wheel, and this will not give you effective braking. You may need to loosen the bolts that hold the caliper on the bike, and work it in and out to free up the mechanism. Some good light machine oil will help keep these moving parts lubricated.[2]
Changing Brake Pads
-
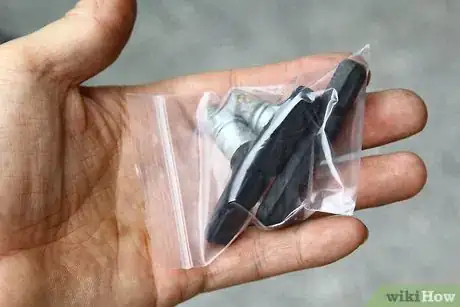
1Purchase new brake pads. If you have the make and model of your bike, a Bicycle Shop can probably supply you with the correct brake pads for your bike. There are "universal" pads available at discount stores, but these typically only work on inexpensive bikes.
-
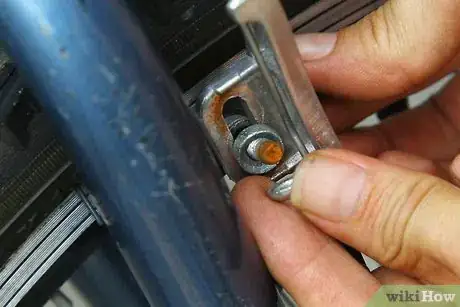
2Remove the nut and washers from your old brake pads, and pull the pad free from the caliper arm. On most bikes, this can be done without removing the caliper from the bike frame.[3] If the caliper must be removed to allow space to work on it, remove the nut at the top center of the caliper, slide the assembly out, and replace the nut on the stud without allowing the assembly to come apart. This keeps all washers, spacers, and the caliper arms in the correct position while working on it.
-
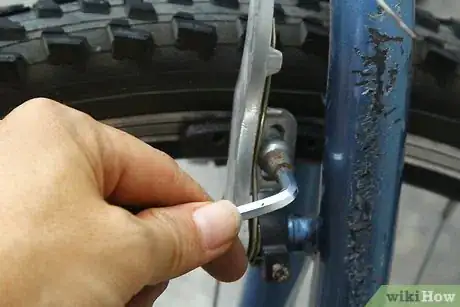
3Install the new pads, being careful to keep the pad surface "true", or aligned with the tire.[4] To prevent the pads from squeaking, toe the pads in slightly, so that the trailing edge contacts the wheel first. Make sure the pad height is near the center of the metal rim of you wheel. Pads mounted too low may slide off the rim, causing a dangerous situation, or if they are mounted too high, the pad will rub against the sidewall of the tire, which is also undesirable.
Servicing the Cables
-
1Lubricate the caliper pivot.
-
2Check the adjustment of your brake cables. When the brakes are not applied, they should be about 1⁄4 inch (0.6 cm) from the wheel rim, and when the lever is squeezed, they should make full contact at about half the distance the lever will travel.
-
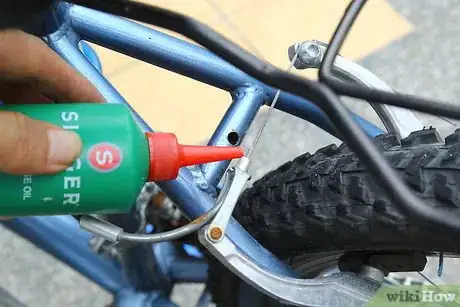
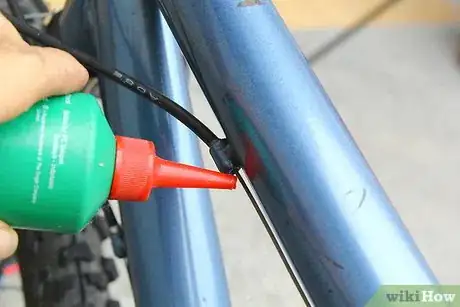
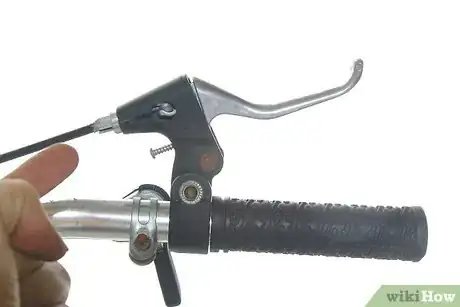
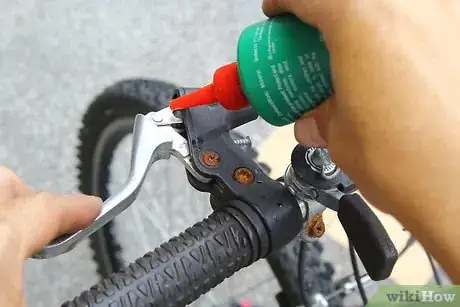
3Lubricate the cables. You may use a lubricant in an aerosol can with a tube to spray oil into the cable housing at the ferrell where the cable enters the housing underneath the brake levers.[5] A light machine oil with a small nozzle similar to "3 in 1" Oil, or a special brake cable oil purchased at a bike shop is recommended. WD-40, and similar products may "wash" the factory lubricant off the cable, and when they evaporate, there will be very little lubricant residue on the cable.
-
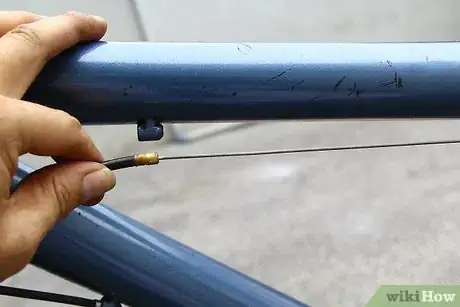
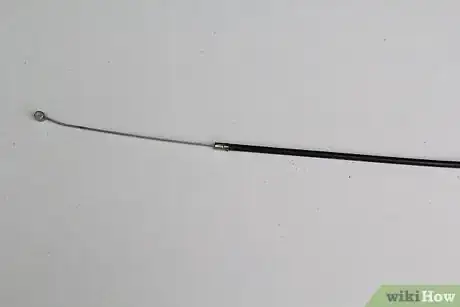
4Remove the cable from its casing, only if it is very stiff, or difficult to operate. This is done by removing the clamp at either the caliper or brake lever, and pulling it out the opposite end. If you remove the cable, use an aerosol solvent (or even WD-40) to flush any dirt or debris from the cable tube while the cable is out. Apply a light coat of lithium grease or machine oil to the cable, and reinstall it if it is not damaged.
-
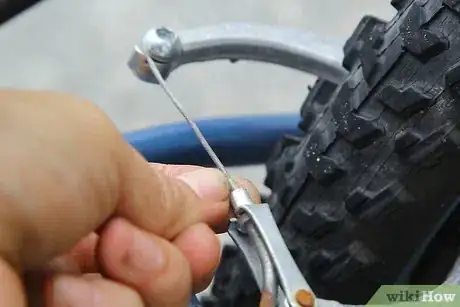
5Thread the loose end of the cable through the clamp at the end you removed previously, and check the "free travel" (the distance the brake lever can be squeezed before the brake contacts the wheel). When the brake pads are about 1⁄4 inch (0.6 cm) from the wheel with the lever released, tighten the clamp.
-
6Replace either the cable, or the complete cable assembly if the steps above did not solve the problem of the cable not moving when the brakes are applied. Buy the same diameter cable, factory fitted, in the same length as the original equipment. Making up the ferrells, cutting the cables to the correct length, and threading cables cut with pliers through the clamps is a difficult chore.
Servicing the Brake Levers
Servicing the Calipers
-
1Make sure the calipers are centered over the wheel.
-
2Make sure the springs are equally tensioned on each caliper arm. When you squeeze the brake handle, each side of the caliper should advance toward the wheel the same. If one side has more movement than the other, you will need to ascertain the arms are moving freely and well lubricated. Tighten the spring on the side which moves the greatest amount by bending it with a pair of pliers, being careful not to nick the spring or break it.
Coaster Brakes
-
1Rotate the pedals backward on your bike if it is equipped with coaster brakes. The pedals should only travel 1/4 turn and the brakes should engage. This all occurs inside the rear axle housing, and servicing is not recommended for a novice.
-
2Check the brake arm. On "Bendix" type coaster brakes, the brake arm is a flat, steel "arm" attached to the rear axle opposite from the chain, which is clamped to the lower frame. Look to see if the clamp has become loose, allowing the arm to rotate with the axle. If it has become detached, reclamp the brake arm facing the front of the bike.
Expert Q&A
-
QuestionWhy are the caliper brakes on my bike not working?
 Jonas JackelJonas Jackel is the Owner of Huckleberry Bicycles, a bicycle retail store based in San Francisco, California. Jonas has over 20 years of experience managing bicycle retail stores and has operated Huckleberry Bicycles since 2011. Huckleberry Bicycles specializes in servicing, repairing, and custom building road, cross, gravel, touring, folding, and e-bikes. Jonas was also previously sat on the Board of Directors for Bike East Bay, a bicycle-advocacy non-profit organization based in Oakland, California.
Owner, Huckleberry Bicycles Check the quick release lever on your brakes. Some people have quick release open without realizing it—they'll assume that they need to adjust their brakes when they really just need to close the quick release.
 -
QuestionWhat are some common problems with disc brakes?
 Jonas JackelJonas Jackel is the Owner of Huckleberry Bicycles, a bicycle retail store based in San Francisco, California. Jonas has over 20 years of experience managing bicycle retail stores and has operated Huckleberry Bicycles since 2011. Huckleberry Bicycles specializes in servicing, repairing, and custom building road, cross, gravel, touring, folding, and e-bikes. Jonas was also previously sat on the Board of Directors for Bike East Bay, a bicycle-advocacy non-profit organization based in Oakland, California.
Owner, Huckleberry Bicycles On most mechanical disc brakes you have one brake pad that sits next to the rotor (like a car brake). The other pad then moves and squeezes it all together. A lot of times, people have the rotor centered evenly between those pads, or they'll have the moving pad situated right next to the rotor. This pushes the rotor all the way over towards the stationary pad before you actually get the brakes to apply—although it's subtle, the brakes won't feel very good and the rotor ends up getting bent.
 -
QuestionHow do I stop my wheels from getting stuck by the brake?
 Community AnswerTry lubricating your braking system first. You could have dirt build-up preventing your brakes from properly releasing. Also, check for rust during this process. (Hopefully there is no rust and you do not need new brake cables.) Second, adjust the brakes using the adjustments near the brake levers. The brakes should loosen up enough if you have a clean and lubricated brake cable, levers, and clamps. Double check that they are not strung too tightly; you may need to manually loosen them. Third, check to make sure your rims are true. You will probably need to bring your wheel to a shop to do this. They can adjust and true your rims if they are not too badly warped.
Warnings
- Secure the brake pad firmly so that your newly installed pads work efficiently⧼thumbs_response⧽
- Ride slowly to test the brakes first!⧼thumbs_response⧽
Things You'll Need
- New brake pads
- Right type of replacement parts.
- Basic hand tools.
- Lubricating oil.
References
- ↑ https://totalwomenscycling.com/road-cycling/maintenance/ask-expert-know-brake-pads-need-replacing#RCZfVeQJIlpEEDip.97
- ↑ https://www.bicycling.com/bikes-gear/a20023166/the-beginners-guide-to-disc-brakes/
- ↑ https://www.bicycling.com/repair/a20021308/skills-test-replace-worn-brake-pads/
- ↑ https://www.bicycling.com/repair/a20021308/skills-test-replace-worn-brake-pads/
- ↑ https://www.youtube.com/watch?v=vsv5THnUl-Q
About This Article
If your bike’s brake pads are worn to less than ¼ of an inch, you’ll have to replace the pads. To do so, remove the nuts and washers from your old pads and pull the pads free from the calipers, which squeeze the pads to the tires to make the bike stop. Then, put the new pads in, align them with the tires, and replace the nuts and washers. If you need to adjust your brake’s calipers, tighten the spring on the side that’s moving too much by bending it with pliers. For brake cables that are really stiff or hard to work, remove them completely and lubricate them. To learn how to check your bike’s pads, cables, and calipers to see what needs to be fixed, read on!
