X
wikiHow is a “wiki,” similar to Wikipedia, which means that many of our articles are co-written by multiple authors. To create this article, volunteer authors worked to edit and improve it over time.
This article has been viewed 40,968 times.
Learn more...
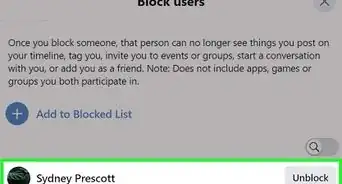
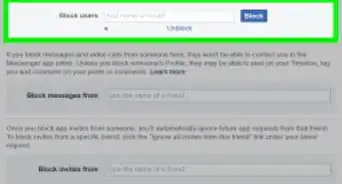
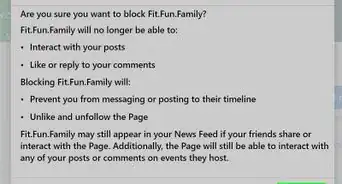
There’s really no direct way to block people from your event on Facebook. Unless you want to totally block those people on Facebook, which will essentially remove them as your friends, all you can do is to manually filter who you invite to your event when you create it. As long as you set your event to Private or By Invite Only, you can safely avoid having other people see and know about your event.
Steps
Method 1
Method 1 of 2:
Using a Computer
-
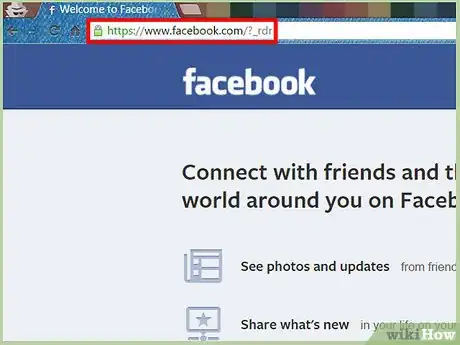
1Go to Facebook. Visit the Facebook home page from any web browser.
-
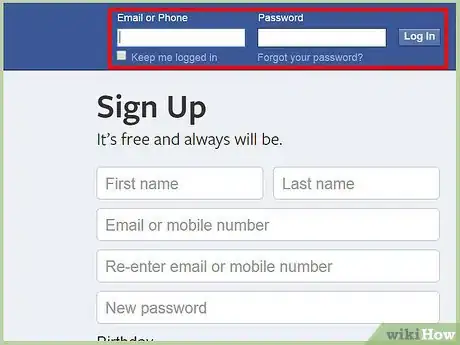
2Log in. Use your Facebook account and password to log in. The login fields are found on the upper right corner of the page. Click the “Log in” button to proceed.Advertisement
-
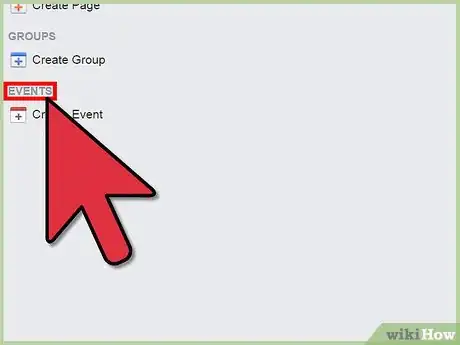
3Click the Events link. It is right under your name and profile picture on the upper left panel. You will be brought to your Events page. You can see all your events from here.
-
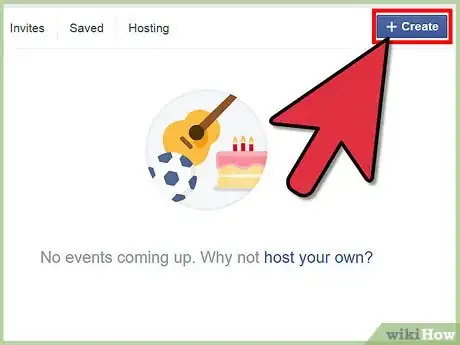
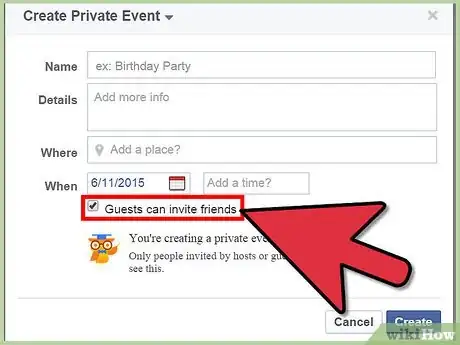
4Create a new event. Click the “Create” button on the rightmost part of the header tabs of the Events page. A small window for “Create new event” will appear.
- Type in the name of your event in the first field. Are you celebrating a birthday, a baptism, or a wedding? Put it in and make it interesting.
- You can put some additional info for your guests, such as attire, gift registries, and directions in the second field.
- Clearly indicate where your event will take place in the third field. Make it very specific so that your guests can easily find it.
- Clearly indicate the date and time of your event in the next field.
-
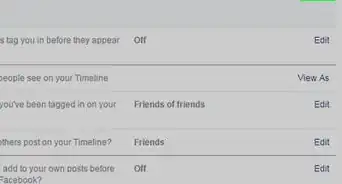
5Set the privacy level. The last field in creating an event is for Privacy. Click the drop-down list to see the options. Select “Invitation Only” to limit visibility and invitees to your event. Only you, as the host, can invite guests, thereby making your event strictly private.
-
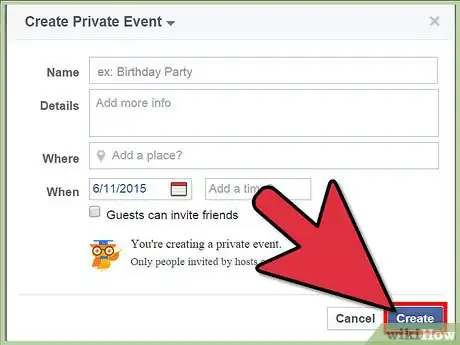
6Click the “Create” button to save and create your event. You will be brought to the event’s Facebook page.
-
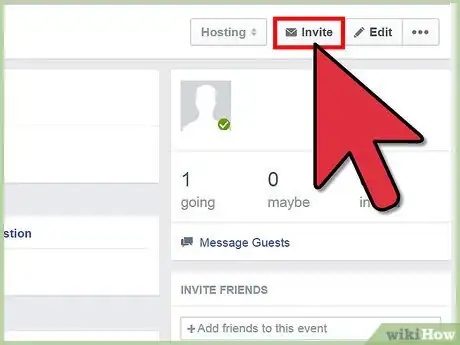
7Invite people. On your event’s page, click the “Invite” button on the header. A window will appear with your Facebook friends. Click and select the people you will want to invite to your event. The list of your invitees will be displayed on the rightmost panel.
- Be sure not to click the “Select All” link at the top of the list so you can properly filter out the people you’re inviting. You don’t want to mistakenly invite someone you wanted to block in the first place. It would be an awkward situation to withdraw an invite once you’ve sent it.
-
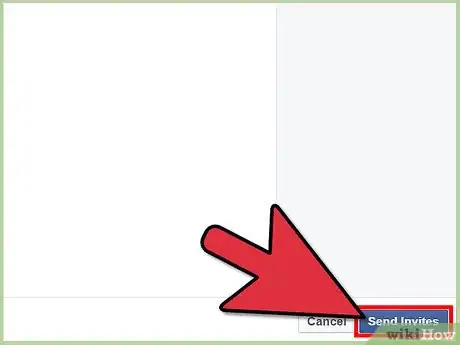
8Click the “Send Invitations” button on the lower right corner of the window. The people you’ve invited will be sent invitations on Facebook, and they will see your event on their Events pages. Since you’ve set it to “Invitation Only,” you’re assured that people you didn’t invite will not be able to see and know about your event.
Advertisement
Method 2
Method 2 of 2:
Using the Facebook App
-
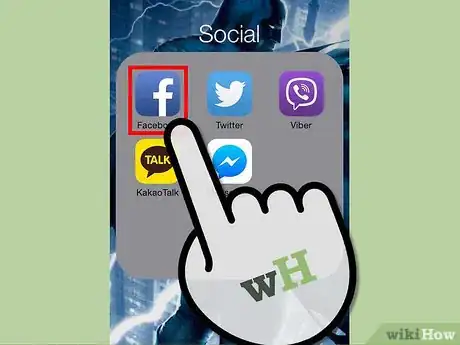
1Launch Facebook. Look for the Facebook app on your mobile device and tap on it.
-
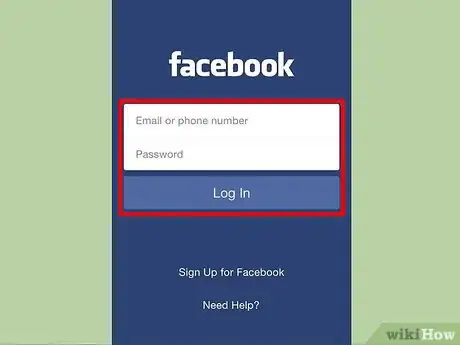
2Log in. If you logged out of your previous Facebook session, you will be asked to log in. Enter your registered email address and password into the fields provided, and then tap “Log in” to access your account.
-
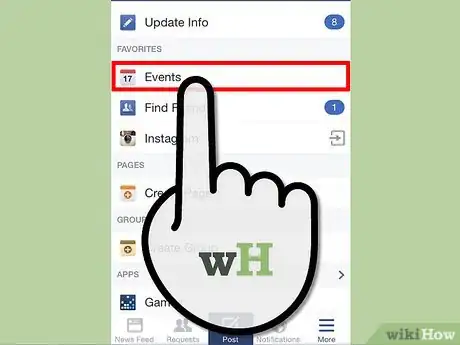
3Go to Events. Tap on the button with three horizontal bars on the upper left corner to see the main menu. Tap “Events” from here. You will be brought to your Events screen. You can see all your events from here.
-
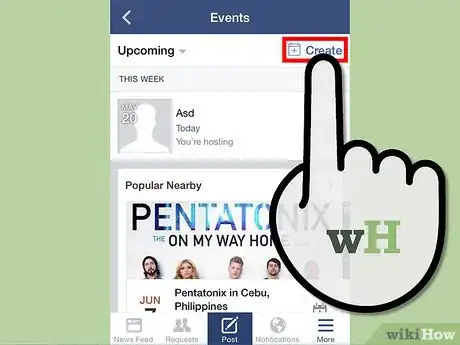
4Create an event. Tap the “Create” button on the rightmost part of the header tabs of the Events screen. A small window for “Create Event” will appear.
- Type in the name of your event in the first field. Are you celebrating a birthday, a baptism, a wedding? Put it in and make it interesting.
- You can put some additional info for your guests, such as attire, gift registries, and directions in the second field.
- Clearly indicate where your event will take place in the next field. Make it very specific so that your guests can easily find it.
- Clearly indicate the date and time of your event in the Date and Time field.
-
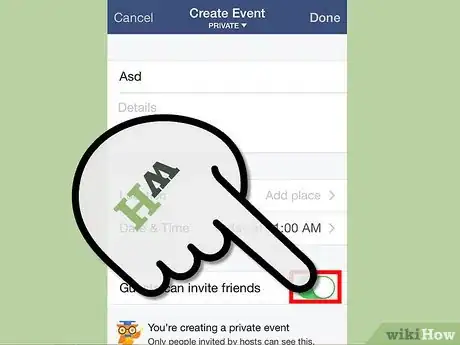
5Set the privacy level. The last field in creating an event is for Privacy. Tap the drop-down list to see the options. Select “Invite Only” to limit visibility and invitees to your event. Only you, as the host, can invite guests, thereby making your event strictly private.
-
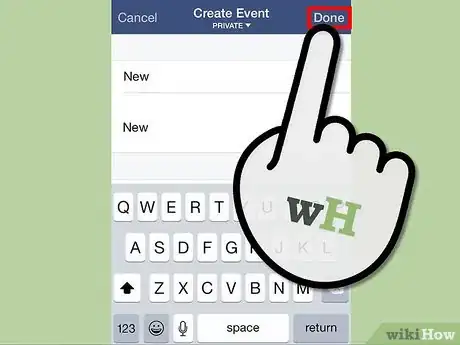
6Tap “Done” to save and create your event. You will be brought to the event’s Facebook page.
-
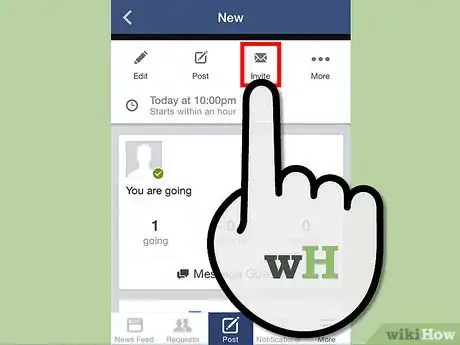
7Invite people. On your event’s screen, tap the “Invite” button on the header bar. A window will appear with your Facebook friends. Individually tap and select the people you will want to invite to your event.
- Be sure to carefully select the people you’re inviting. You don’t want to mistakenly invite someone you wanted to block in the first place. It’s going to be an awkward situation to withdraw an invite once you’ve sent it.
-
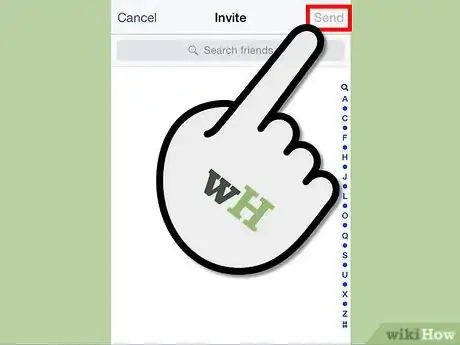
8Tap “Done” on the upper right corner of the window. The people you’ve invited will be sent invitations on Facebook, and they will see your event on their Events pages. Since you’ve set it to “Invite Only,” you’re assured the other people you didn’t invite will not be able to see and know about your event.
Advertisement
Community Q&A
-
QuestionHow can you remove someone from your Facebook page?
 R2_d2000Top AnswererIf you want to remove someone from your page, you can block them.
Advertisement
About This Article
Advertisement
