This article was co-authored by wikiHow staff writer, Nicole Levine, MFA. Nicole Levine is a Technology Writer and Editor for wikiHow. She has more than 20 years of experience creating technical documentation and leading support teams at major web hosting and software companies. Nicole also holds an MFA in Creative Writing from Portland State University and teaches composition, fiction-writing, and zine-making at various institutions.
This article has been viewed 13,259 times.
Learn more...
This wikiHow teaches you how to organize your photos into albums using the Photos app on your iPhone. You'll also learn how to change the order of the photos within an album.
Steps
Creating a New Album
-
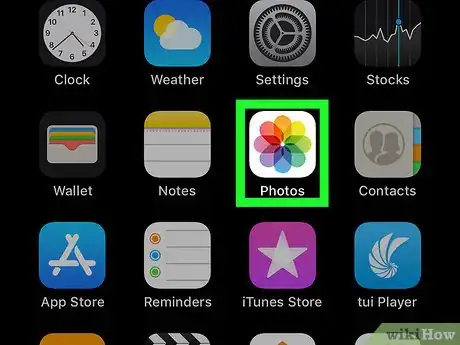
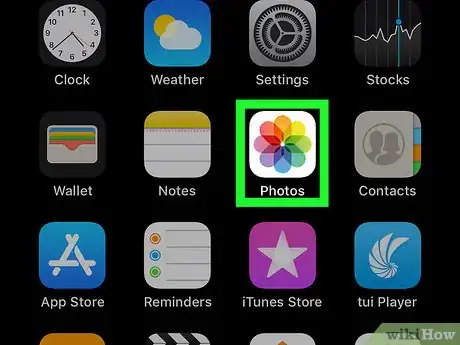
1Open Photos on your iPhone. It's the multicolored floral icon typically found on the home screen.
-
2Tap +. It's at at the top-left corner of the screen. The ″New Album″ pop-up will appear.Advertisement
-
3Type a name for the album and tap Save. Give the album a name that represents the photos you'll be adding to it, e.g. Summer 2018, Football Practice, etc.
-
4Select the photos you want to add. Scroll down through the photos, and then tap each photo you want to add to the new album. A blue and white check mark will appear at the bottom-right corner of each selected photo.
-
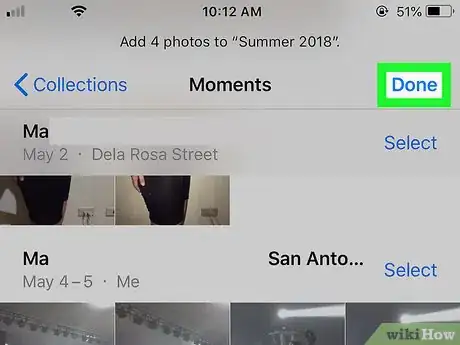
5Tap Done. It's at the top-right corner of the screen. The selected photos are now added to the new album.
Adding to an Album
-
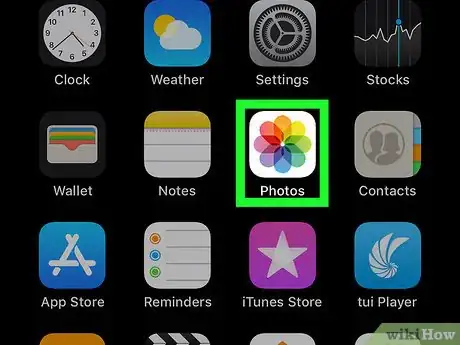
1Open Photos on your iPhone. It's the multicolored floral icon typically found on the home screen.
-
2Tap the Photos tab. It's at the bottom-left corner of the screen.
-
3Tap Select. It's at the top-right corner of the screen.
- If the photos are in another album, tap that album to open it, then tap Select.
-
4Tap the photo(s) you want to add. A blue and white check mark will appear at the bottom-right corner of each selected photo.
-
5
-
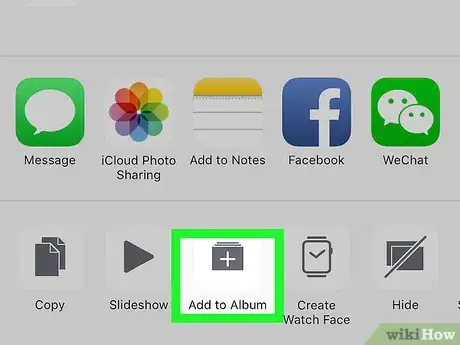
6Tap Add to Album. It's the folder with a ″+″ at the bottom-center part of the screen. A list of albums will appear.
-
7Select an album. Tapping an album name will add the selected photos to that album.
Rearranging Photos in Albums
-
1Open Photos on your iPhone. It's the multicolored floral icon typically found on the home screen.
-
2Tap the Albums tab. It's at the bottom-right corner of the screen.
-
3Select an album. Tapping the album's name opens the album.
-
4Tap Select. It's at the top-right corner of the screen.
-
5Tap and hold a photo you want to move. This allows you to move the photo elsewhere.
-
6Drag and drop the photo to its new location. When you lift your finger, the photo will be moved to its new position.
Community Q&A
-
QuestionCan you move photos in shared album?
 Community AnswerYes, just select your photos, click the share button, click Add To Shared Album, create one, and add them to it!
About This Article
1. Create a new album.
2. Add photos to the album.
3. Tap and hold a photo.
4. Drag the photo to a different place.
