This article was co-authored by wikiHow staff writer, Darlene Antonelli, MA. Darlene Antonelli is a Technology Writer and Editor for wikiHow. Darlene has experience teaching college courses, writing technology-related articles, and working hands-on in the technology field. She earned an MA in Writing from Rowan University in 2012 and wrote her thesis on online communities and the personalities curated in such communities.
This article has been viewed 19,460 times.
Learn more...
This wikiHow teaches you how to add an AirPrint printer to a Wi-Fi network so you can print wirelessly. Once the printer is online, you can print wirelessly from your Mac, iPhone, iPad, and iPod Touch.
Steps
-
1Place your printer within range of your router. Most modern printers have Wi-Fi capability and display the wireless logo . If you aren't sure if your printer has Wi-Fi or AirPrint capabilities, you can check the manual that came with it or you can check Apple's list of AirPrint printers.
-
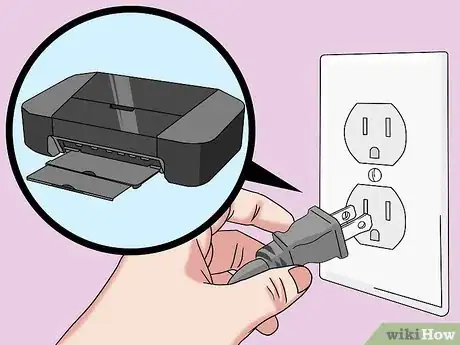
2Plug your printer into a power source. Use the power cable that came with your printer or one that's compatible.Advertisement
-
3Power on your printer. If the printer doesn't turn on automatically when plugged in, press the power button to turn it on. You can usually find the power button on the front face or on the back near the power cable.
-
4Navigate to your printer's wireless network settings. Most modern printers have a built-in display that you can use to navigate various menus. The location of the wireless settings varies by printer, but you'll usually find it in a menu called Settings or Manage.
- If your printer does not have a built-in display, consult your manual to learn how to connect it to your wireless network.
- People using HP AirPrint printers without a built-in display need to press and hold the "Wireless" and "Cancel" buttons at the same time until the "Power" and "Wireless" lights flash.[1]
- If you can't find your printer's wireless settings, you can add the printer on a Mac by clicking the Apple menu, navigating to System Preferences > Print & Scan, and then clicking + to add the printer.
-
5Select your Wi-Fi network on the printer. Once you find the wireless settings, the printer should start scanning for wireless access points it can connect to. Select the SSID of your wireless router (usually found on the bottom or back of the router), and then enter the Wi-Fi password if required.
- If you don't see the Wi-Fi network you're looking for, you may need to move the printer closer to the router.
- If your printer does not have a touch screen, use the hardware buttons to enter the password. Wi-Fi passwords are typically case-sensitive, so make sure you use proper capitalization.
-
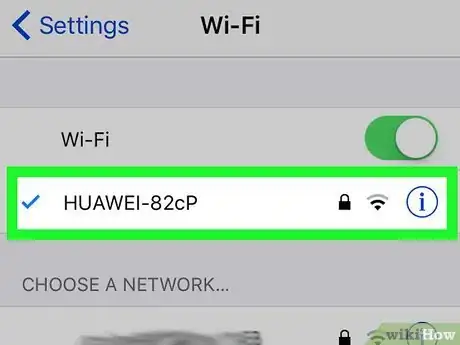
6Connect your computer, phone, or tablet to the same Wi-Fi network. Once you've connected the AirPrint printer to your Wi-Fi network, it will show up as a printer on any device (like your iPhone) as long the device is connected to the same Wi-Fi network.
Community Q&A
-
Questionmy iPad and iPhone will not find my printer.
 wikiHow Staff EditorThis answer was written by one of our trained team of researchers who validated it for accuracy and comprehensiveness.
Staff Answer wikiHow Staff EditorStaff AnswerNot all printers have AirPrint enabled. Check with your printer's manual to see if it has AirPrint. If not, you'll need to use Wi-Fi Direct to print wirelessly.
 -
QuestionMy iPad cannot locate AirPrint
 wikiHow Staff EditorThis answer was written by one of our trained team of researchers who validated it for accuracy and comprehensiveness.
Staff Answer wikiHow Staff EditorStaff AnswerNot all printers have AirPrint enabled. Check with your printer's manual to see if it has AirPrint. If not, you'll need to use Wi-Fi Direct to print wirelessly.
References
About This Article
1. Place your printer within range of your router.
2. Plug your printer into a power source.
3. Power on your printer.
4. Locate your wireless network.
5. Connect to your wireless network.
6. Make sure your computer, phone, and tablet connect to the network.


