X
wikiHow is a “wiki,” similar to Wikipedia, which means that many of our articles are co-written by multiple authors. To create this article, 9 people, some anonymous, worked to edit and improve it over time.
This article has been viewed 81,732 times.
Learn more...
SharePoint makes it easy to store your documents on the web or a server so you can access them remotely. Uploading files is easy—our guide will walk you through the steps!
Steps
Method 2
Method 2 of 3:
Uploading Documents
-
1Open the "Documents" link and then "Shared Documents."
-
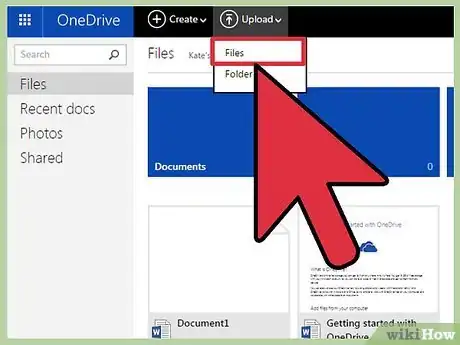
2Click on "Upload Document."
-
3Click "Choose File."
-
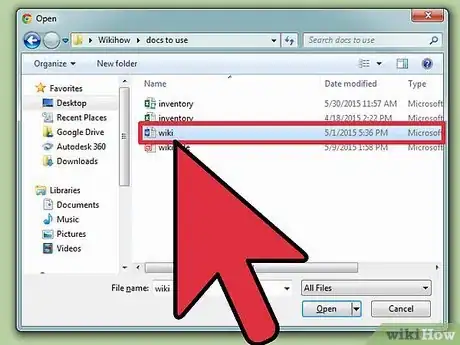
4Search for your file. Note that the file will need to be stored somewhere on the computer you are working on in order to upload the file. You cannot directly upload from email or the web.
-
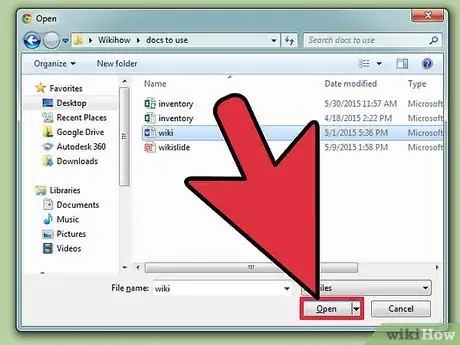
5Select the file you wish to upload. If you wish to write over an already loaded document make sure the "Overwrite if Document Already Exist" box is checked.
-
6Click "Save and Close." You will be taken back to the Shared Documents page, where your document will now be available.
Advertisement
Method 3
Method 3 of 3:
Create a New Document
-
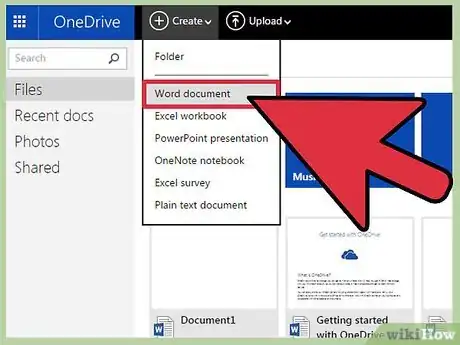
1Click "New Document." Note that a program compatible with SharePoint Team Services is required to use this document creating function.
-
2Create the document. You can create several document types including Word, Excel, html and PowerPoint documents.
-
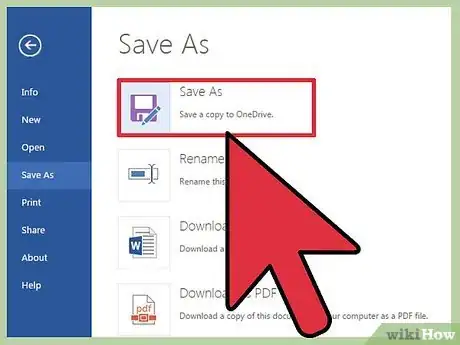
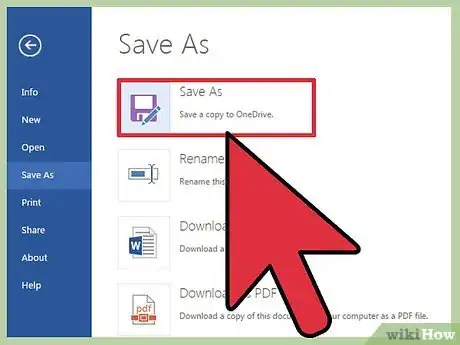
3Use the "File" menu to click "Save."
-
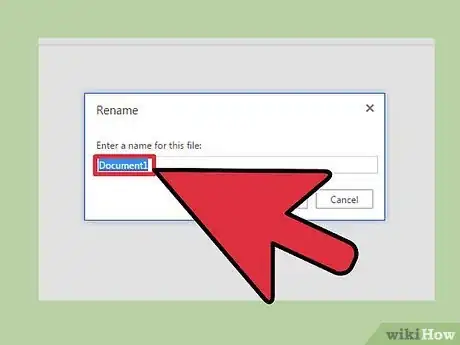
4Type the name of the new file in the "File Name" box. Use "Save As" to select a specific document format. The new document will be created and added to your library.
Advertisement
Warnings
- Anyone with access to the SharePoint page will be able to view your document. Be sure there is no confidential information.⧼thumbs_response⧽
Advertisement
Things You'll Need
- Computer
- Internet access
- SharePoint access
About This Article
Advertisement

