wikiHow is a “wiki,” similar to Wikipedia, which means that many of our articles are co-written by multiple authors. To create this article, 27 people, some anonymous, worked to edit and improve it over time.
This article has been viewed 107,038 times.
Learn more...
The 180 is a popular trick that’s moderately difficult, especially if you’re new to skateboarding. But if properly executed it can be a versatile trick that can be combined with a larger combo of tricks. To do a 180 on a skateboard, you will be essentially performing an ollie and then turning your body 180-degrees either towards your frontside or your backside. Doing a 180 on a skateboard takes some practice, but once you get the hang of it, it’s a great trick you can do to impress your friends.
Steps
Setting Your Body Correctly
-
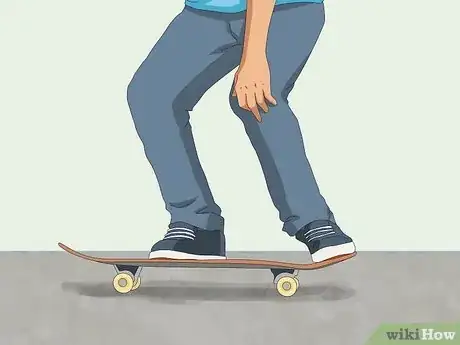
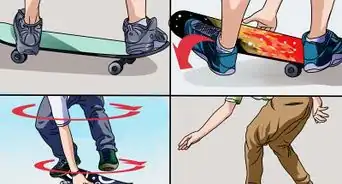
1Practice getting into the ollie 180 position. If you’re new to doing a 180 on your skateboard or haven’t done the trick in a while it’s a good idea to get your body used to being in the proper position.
- Practice skating around for a bit by pushing off and then situating your body into the right position.
-
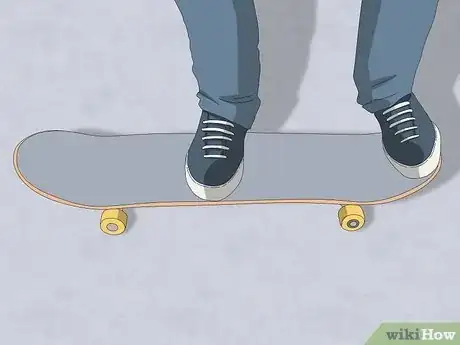
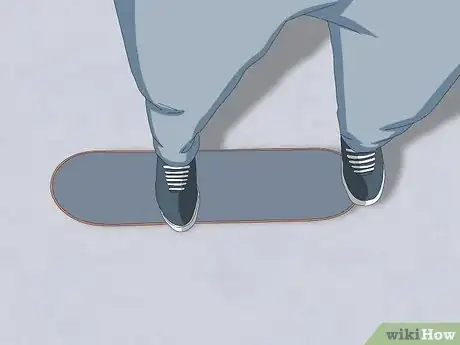
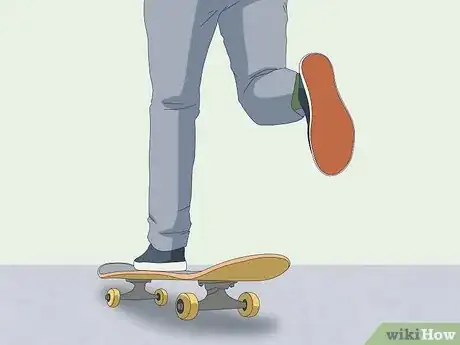
2Position your back foot for an ollie. The ollie is the most fundamental skateboard trick and it’s incorporated into pretty much every trick you’ll do. And the 180 is an ollie where you turn your board and body 180-degrees. For the 180 you’ll be turning around either behind you for a backside 180, or in front of you for a frontside 180. Once you have the ollie down, you’re well on your way to doing a 180 skateboard trick!
- If you ride “regular” you will have your right foot in the back positioned on the tail of the board. If you ride “goofy” then your left foot will be in back on the tail.
- You want to position your back foot on the tip of the tail. To do a 180 on the skateboard, you’ll want to position your back foot on the corner of the tail.
Advertisement -
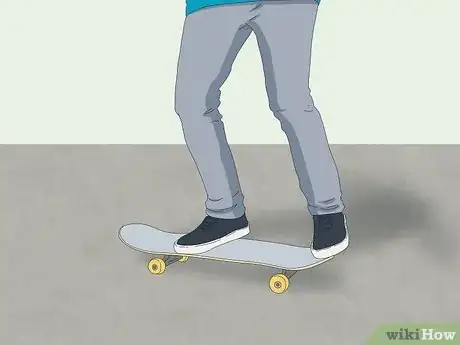
3Position your front foot for an ollie. For a straight ollie your front foot will be centered about halfway up the board or slightly back.
- You also want to put more pressure on the outer edge of your foot (the side your pinky toe is on).
- To help you with turning, plant your front foot so its slightly hanging over the opposite edge of board from your back foot. This may feel awkward but it will help to keep your board balanced when you’re in the air.
-
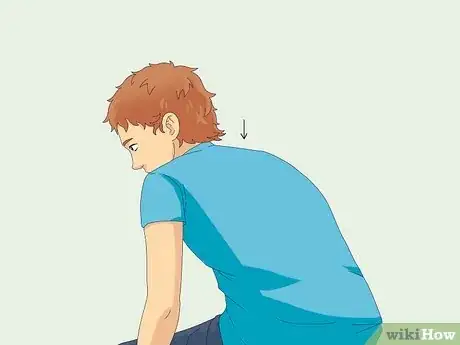
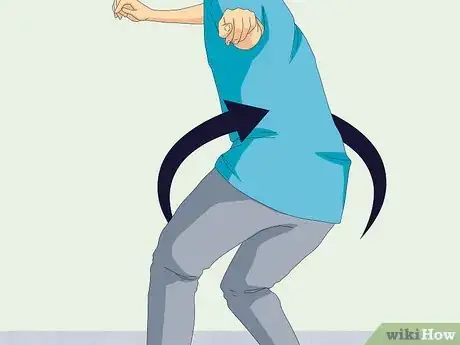
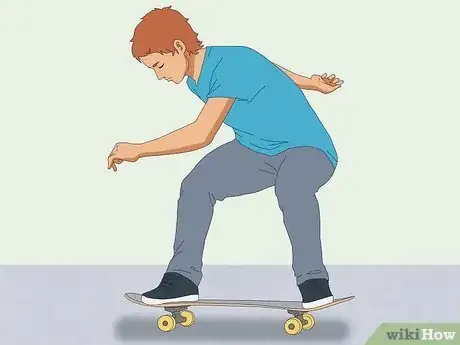
4Set your shoulders. Your shoulders and your upper body is where most of the work will come from when you perform your 180.
- By setting your shoulders correctly you will be able to turn your body quickly enough and this should allow your legs and the board to follow. You might be tempted to try and force the board to turn using mostly your legs, but you won’t get enough torque this way.
- For a backside 180, position your front shoulder slightly in front of your chest and dip it down so when you pull up you have more momentum to work with.
- For a frontside 180, you want to position back shoulder in front of your chest and dip it down as well so you can pull up and create momentum.
-
5Bend your knees. You don’t want too much of a bend so that you end up crouching too low as that won’t allow you to pop high enough. You should stand with relaxed knees like you’re getting ready to hop slightly.
- If you are bending correctly you should be able to slide your front forward up the board with ease.
Starting Your Ollie to 180 Rotation
-
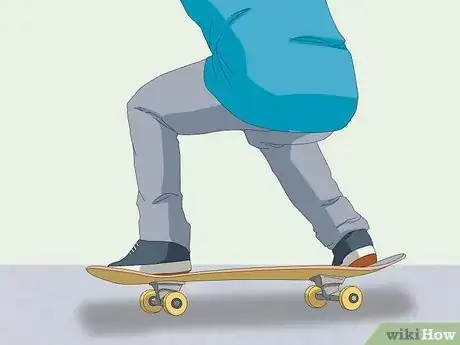
1Get some speed. While you can perform a 180 on your skateboard from a stand still position, it will be easier if you already have some momentum going. A few pushes should work (if you are doing a gap then do more pushes, but you should only try this if you have done a 180 plenty of times before).
- If this is your first time attempting this trick or you’re still new to it, then you should go at a slower pace so you have more of a handle on your board.
-
2Put your feet in an ollie position.[1] Once you’ve got a few pushes in and have some momentum built up, it’s time to place your feet in the modified ollie position for your 180.
- Plant your back foot on the tail of your board while you rotate and slide your front foot to the edge of the board.
- Remember that your back foot should be on the back edge of the tail.
-
3Wind up the opposite way you want to spin. If you’re doing a backside 180, have your front shoulder slightly lowered and in front of you and bend your knees. For a frontside, do the same with your back shoulder.
- This part may feel natural, but if you wind too far, then you'll over spin. If you don't wind enough, then you won’t spin enough. This might take some practice so just remember to keep patient.
- When you do try to execute the trick if you spin too much you’ll over rotate and you may lose your board from under you.
- If you don’t spin enough your board won’t turn enough and may land sideways causing a stop to forward momentum.
-
4Start by doing an ollie. You may also want to start to turn the board in the direction you want it to go with your back foot. For a backside 180 you’ll be turning towards your back instead of your front, and vice versa for a frontside. It will be complicated in the beginning, and takes a few tries to fully get it.
- For a backside 180, if you ride “goofy” you’ll want to start to turn the board to your right, and if you’re “regular” turn the board to your left.
- For a frontside 180, “goofy riders will start to turn the board left, and “regular” riders will turn the board right.
-
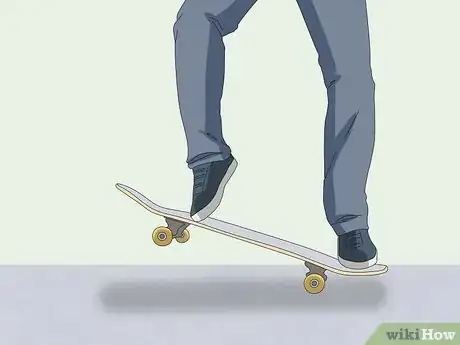
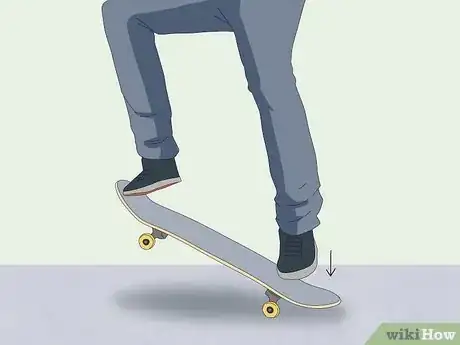
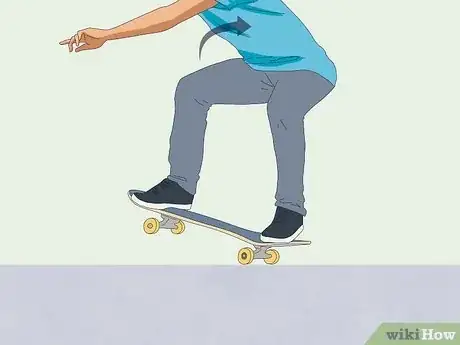
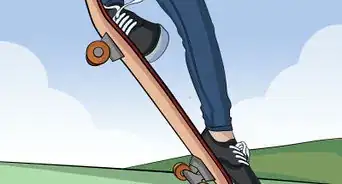
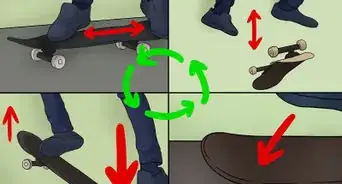
5Snap downward with your back foot. Push the tail of your board down until it hits the ground. When you feel it hit, that’s when you’ll begin to slide your front foot upwards.
- Use force, but not too much, as too much pressure won’t allow you to get the lift you need.
-
6Swipe your front foot up and to the opposite side of your board that it was originally planted on when you are doing the ollie.
- For “regular” skaters you’ll swipe your left foot up and left for a backside 180, and right for a frontside 180.
- For “goofy” skaters you’ll swipe your right foot up and right for a backside 180, and left for a frontside 180.
-
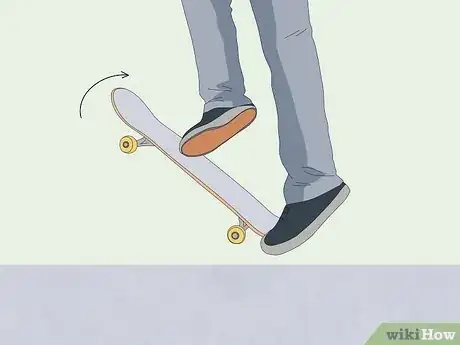
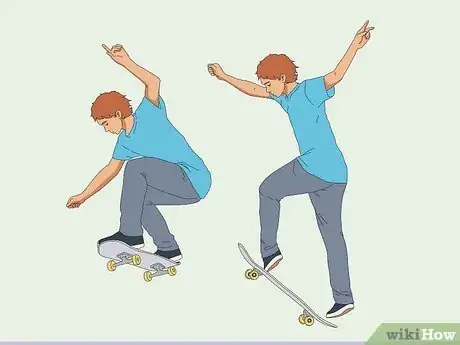
7Shift your weight in the direction you want to spin. Remember here that you’re turning starting at the top of your body with your shoulders and then letting your legs follow you.
- As you spin your shoulders and then your waist and legs, lift your body upwards with your board.
- Don't lock your knees. If you extend your legs and lock your knees you will push the board down and away from you, preventing it from spinning along with you.
Completing your 180 Degree Rotation and Landing
-
1Follow your shoulders with your feet. While you get the most torque and start your 180 with your shoulders, you end with your feet.
- Here with a backside 180 you’re pushing your back foot forward while pulling back with your front front foot.
- With a frontside 180 you’re pushing your front foot forward while pulling backwards on your back foot.
-
2Unwind your body. If you’ve executed the 180 correctly, you’ll now be in mid air and your body will still be slightly wound up as your shoulders finish rotating with your feet not far behind.
- This will all be happening in less than a second so try to just trust your body. Your momentum combined with how your body naturally moves should allow you unwind without trying too hard.
- Try not to overcompensate when unwinding though, as you might turn too far and land at an awkward angle that could send your board flying out from under you.
-
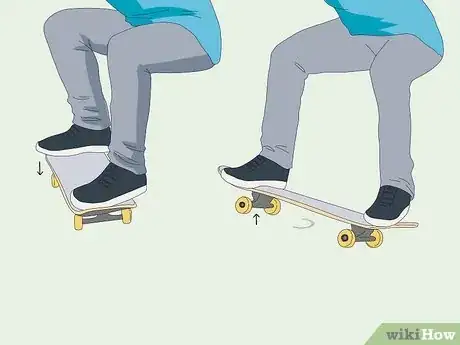
3Make a clean landing. Of course, this is a lot easier said than done, but if you’ve successfully completed the 180-degree rotation then you should hit the ground rolling.
- Take note that you will be riding switch (with your opposite foot forward) when properly executed, so you may want to get used to riding with your opposite stance.
- Keep your knees bent so that you can properly absorb the shock of landing. This will also keep you balanced on your board, which may be harder for you if you’re not used to riding switch.
- If you’re having a hard time landing straight the best thing you can do is to just keep practicing and take note of how far you are rotating. If you’re not making it far enough try turning your shoulders more. If you’re going too far, then do the opposite and ease up a bit.
Warnings
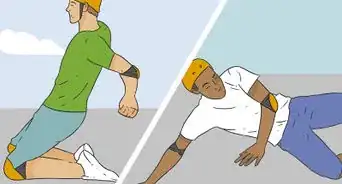
- Don’t attempt to do a backside 180 on your skateboard in an area that’s uneven or has a lot of cracks. Pick a big, smooth surface to try the trick on.⧼thumbs_response⧽
- Skateboarding can be dangerous, even if you know what you’re doing. Always wear the proper protective gear like a helmet and pads, especially if you’re new to the sport.⧼thumbs_response⧽
References
About This Article
To do a frontside 180 on a skateboard, start by standing on the board with your back foot on the tail end and your front foot halfway up the board. Next, push off with your back foot to gain some speed. After a few pushes, place your foot back on the tail end and push down on the back of the board so that it hits the ground. At that point, shift your weight in the direction you want to spin, making sure to start from your shoulders. Then, keep your knees bent to absorb the shock as the front of your board drops back onto the ground. To learn more, like how to make sure your board doesn’t fly out from under you as you turn, read on!
