This article was co-authored by Nicole Bolin. Nicole Bolin is a Crafting Specialist and the CEO of Stencil, a DIY Craft Studio in Phoenix, Arizona. Nicole specializes in interior design and various craft and DIY projects. Nicole holds a Certificate in Interior Design from the New York Institute of Art and Design. She opened Stencil in 2017 to teach others to create DIY projects that fit their home and lifestyle.
There are 11 references cited in this article, which can be found at the bottom of the page.
wikiHow marks an article as reader-approved once it receives enough positive feedback. This article has 29 testimonials from our readers, earning it our reader-approved status.
This article has been viewed 591,348 times.
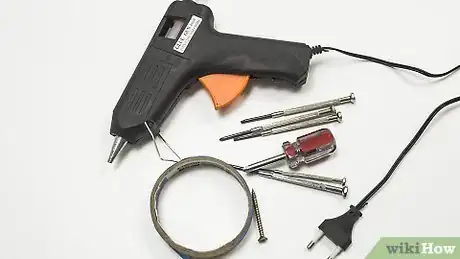
For arts and crafts and quick, easy patch-ups, nothing beats a hot glue gun. Unlike other adhesives, hot glue goes on smoothly, dries fast, and holds firm when applied to all sorts of different surfaces. While its hold is not the strongest, it can be used to bond a greater diversity of materials than almost any other glue. Using a hot glue gun is a breeze as long as you follow a few basic steps and keep safety guidelines in mind.
Steps
Loading the Glue Gun
-
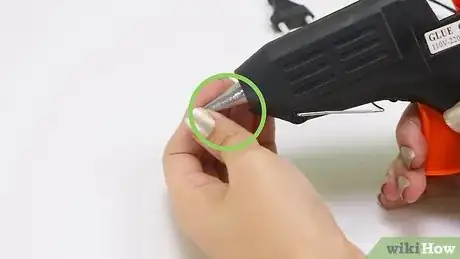
1Make sure the nozzle is free of old glue residue. There should be a clear path for the melted glue to emerge from the tip of the glue gun. If necessary, remove the nozzle and wipe it down with a piece of aluminum foil to take off dried glue, or use a toothpick to clean out the hole. Your glue gun should always be free of excess residue from past projects before each use.[1]
- Always make sure the glue gun is unplugged before handling or removing the nozzle.
- Never use water to clean a glue gun. In the worst-case scenario, you may simply have to wait until the glue gun warms up enough for the old stuck-on glue to drip off.
-
2Load a glue stick into the back of the gun. Take a fresh glue stick and place one end into the circular opening in the back of the gun. Slide it in until it stops.[2] If there is already a partially used glue stick in the gun, finish that stick before inserting a new one. Your glue gun does not need to be loaded with a new stick for each project.[3]
- Most glue sticks are uniformly sized and made to fit any glue gun model. Check the instructions or specifications of your glue gun when buying replacement glue sticks just to be on the safe side.
Advertisement -
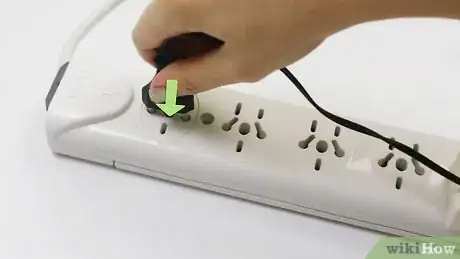
3Plug the glue gun’s cord into an electrical outlet. Locate an electric outlet in the wall nearest to where you’ll be working on your project. Stick the glue gun’s electric cord into the socket. The glue gun’s heating element will automatically begin to warm the glue stick inside, so don’t touch the nozzle or leave the glue gun unattended once it has been plugged in. Ensure you’re your glue gun is upright in its stand to avoid accidents.[4]
- Again, check the electrical cord for any signs of damage or deterioration before plugging it in. An cord in bad condition can present a possible fire risk.
- Some glue gun models are cordless, giving you more freedom to choose where and how you work. If you can't find one of these, try using an extension cord to increase your range within your work area.
Operating the Glue Gun
-
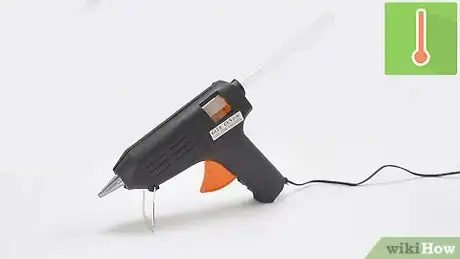
1Wait for the glue to heat up. Give the glue gun a couple minutes to soften the glue. Once it’s been sufficiently melted, the glue will ooze out when you pull the trigger. For most glue guns, the heating process will take around two minutes. Larger and industrial-grade glue guns may require up to five minutes to heat the glue enough to make it easily dispensable.[5]
- Some glue guns will have on/off switches, while others won’t. If your model does, it will need to be placed in the “on” position before it will begin heating up the glue. Otherwise, it will start warming as soon as it is plugged in.
- Rest the glue gun on the wire support stand at its base when it’s not in use. Never lay an active glue gun on its side.[6]
-
2Lightly squeeze the trigger to release the melted glue. Aim the nozzle of the glue gun downwards and place it close the item you’ll be gluing. Gently squeeze the trigger of the gun until melted glue begins to emerge from the nozzle.[7] Glue directly onto the item’s surface, leaving the nozzle in contact. Apply the glue smoothly in dots, swirls or straight lines.[8]
- Place a piece of scrap cardboard or foil beneath the object you’re gluing to catch stray strands of glue.[9]
- Try gluing a few pieces of throwaway material to get a feel for your glue gun before using it for projects that require precision.
- If possible, wear a pair of gloves while working with hot glue to protect your hands from the heat and mess.
-
3Only use as much glue as you need. Start with a modest amount of glue and then determine whether you need more. A little glue goes a long way. The melted glue will flow fairly quickly once the trigger is pulled, and it can be easy to use too much if you’re not careful. Avoid saturating the item you’re gluing or applying the glue in messy globs. Glue can set up rather quickly, so only use as much as you need as you go.[10]
- Attaching Styrofoam letters to diorama will only take a small dot, for instance, while you might want to add more glue in a zigzag or spiral pattern to securely hold objects with large surface areas or heavy parts.
- Hot glue is meant to be applied somewhat thickly, but using an excessive amount can cause softer surfaces to grow stiff and may be unsightly.
- Chances are that if you use too much, at some point you'll need to know how to remove hot glue.
-
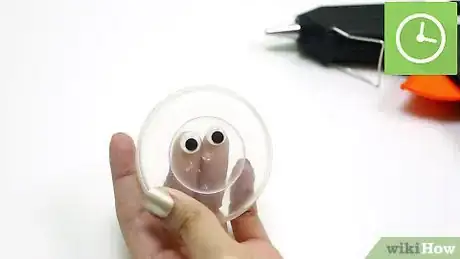
4Wait for the glue to dry. Remove the nozzle from the item you just finished gluing. If the glue gun model you’re using has an on/off switch, flip it to the “off” position and set it aside. Allow the glue to dry for several minutes. The bond between the glued surfaces will solidify as the glue sets up. It can be helpful to hold your items with your hands or a clamp as the glue sets for a tight bond.[11]
Using a Glue Gun for Various Projects
-
1Keep a glue gun handy for basic repairs. Make a home in your toolbox for a glue gun when performing minor indoor repair jobs. Hot glue works especially well on wood and plastic objects in cool, dry conditions. Whether it’s securing a bit of loose paneling or sticking your child’s toys back together, glue guns create a fairly strong, flexible bond that will serve just about any general adhesive task.[12]
- You should not try to hold moving parts or heavy, precarious objects together using a glue gun. Big jobs should always be carried out by contractors using the proper tools.
-
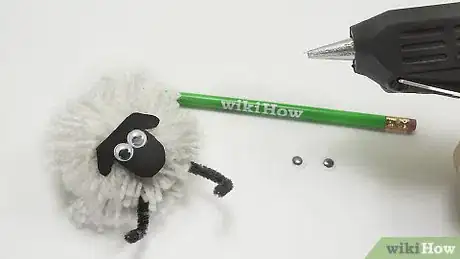
2Try a glue gun for creative crafts. The next time you’re helping your kids with a school project or putting together homemade holiday decorations, reach for the hot glue gun instead of the Elmer’s. It’s better for larger variety of surfaces, goes on cleaner and won’t cause paper to wrinkle and colors to bleed the way some craft glues do. A small dab of hot glue will help your DIY creations hold up longer.
- It is difficult to remove hot glue once it has set up. Make sure that the measurements, angles, and dimensions of your craft project are perfect before gluing it down.
-
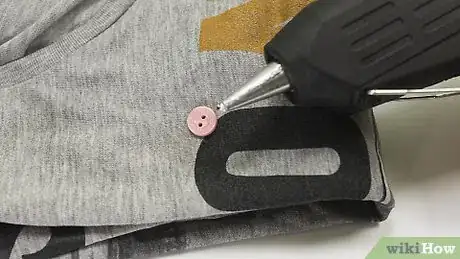
3Make alterations to clothing. Hem an ill-fitting pair of pants with a ring of hot glue or use it to reattach a button that’s popped off. Unlike many types of bonding materials, hot glue is actually quite successful on fabrics. It will work best, however, on parts of clothing like buttons, zippers, and other functional features. Though it might not provide the permanency of stitching or tailoring, gluing will do the trick for small alterations if you have no other alternative.[13]
- Repeated washings will eventually deteriorate glue that is used on clothing, especially in warm water.
- Use hot glue to secure patches, rhinestones, and other accessories to clothing.
-
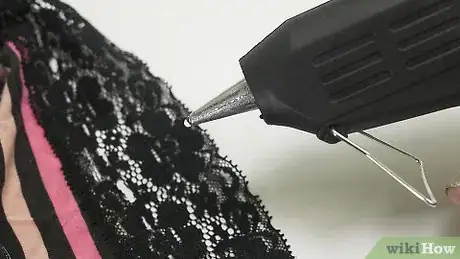
4Use a glue gun on delicate surfaces. Because of its thick, gel-like consistency, hot glue works better for sticking thin, easily damaged surfaces together than more liquid adhesives like paste and even superglue. Watery glues can be difficult to apply, require longer to take effect and have a higher chance of damaging sensitive materials than hot glue. Hot glue is also versatile, and will often hold together temperamental objects that don’t take well to other types of adhesives. Just make sure any delicate parts are aligned before application.[14]
- Apply a small amount of glue when working with delicate materials to keep from ruining it.
- Hot glue works on lace, wicker, paper, cotton and even confectionary items like those used to make candy arrangements and gingerbread houses.[15]
Expert Q&A
Did you know you can get premium answers for this article?
Unlock premium answers by supporting wikiHow
-
QuestionMy glue is too short so my glue gun is not responding to it. I tried pull the glue stick out, but unfortunately my glue stick broke inside the gun. What should I do?
 Mark SpelmanMark Spelman is a General Contractor based in Austin, Texas. With over 30 years of construction experience, Mark specializes in constructing interiors, project management, and project estimation. He has been a construction professional since 1987.
Construction Professional
-
QuestionDo I have to remove the glue stick after using it?
 Mark SpelmanMark Spelman is a General Contractor based in Austin, Texas. With over 30 years of construction experience, Mark specializes in constructing interiors, project management, and project estimation. He has been a construction professional since 1987.
Construction Professional
-
QuestionHow do I cool the gun down quickly if it has overheated?
 Mark SpelmanMark Spelman is a General Contractor based in Austin, Texas. With over 30 years of construction experience, Mark specializes in constructing interiors, project management, and project estimation. He has been a construction professional since 1987.
Construction Professional
Warnings
- Never point a glue gun upwards or use it on overhead objects.⧼thumbs_response⧽
- Do not touch the nozzle of a glue gun that is plugged in and switched to the "on" position. It will be extremely hot.⧼thumbs_response⧽
- Do not let young children or toddlers be around with it or use it because the hot glue can cause serious burns.⧼thumbs_response⧽
- Go over the owner's manual for information about safely operating your glue gun.⧼thumbs_response⧽
- Before plugging in or using the glue gun, look over the body to check for cracking, splitting, chipping or any other indications of damage. Make sure you also take a look at the electrical cord to see if there’s any frayed or broken wires. It can be very dangerous to operate a glue under these conditions.[16]⧼thumbs_response⧽
- Because of their electrical and heating elements, a malfunctioning glue gun can be extremely hazardous to use.⧼thumbs_response⧽
References
- ↑ http://makelyhome.com/how-to-clean-a-glue-gun/
- ↑ Nicole Bolin. Crafts & DIY Specialist. Expert Interview. 8 February 2021.
- ↑ https://www.youtube.com/watch?v=UofY6lOQ-q0
- ↑ https://www.youtube.com/watch?v=Zj71LcW_sWI
- ↑ https://www.youtube.com/watch?v=oTF2pca_EVA
- ↑ http://safety.ucanr.edu/files/3260.pdf
- ↑ Nicole Bolin. Crafts & DIY Specialist. Expert Interview. 8 February 2021.
- ↑ https://www.youtube.com/watch?v=Zj71LcW_sWI
- ↑ http://safety.ucanr.edu/files/3260.pdf
- ↑ https://www.smithers.com/industries/packaging/manufacturers-and-users/packaging-materials-testing/adhesives-and-labels/hot-melt-open-time-and-setting-time
- ↑ https://www.wonderopolis.org/wonder/how-does-super-glue-work
- ↑ https://www.iqsdirectory.com/articles/adhesive/hot-melt-adhesives.html
- ↑ https://www.iqsdirectory.com/articles/adhesive/hot-melt-adhesives.html
- ↑ https://www.youtube.com/shorts/4MqR7BghV1M
- ↑ https://www.iqsdirectory.com/articles/adhesive/hot-melt-adhesives.html
- ↑ http://safety.ucanr.edu/files/3260.pdf
- Videos provided by Helpful DIY
About This Article
To use a glue gun, slide a fresh glue stick into the back of the gun, then plug the cord into the nearest outlet. Give the gun a few minutes to warm up so the glue can soften. Then, aim the nozzle close to the item you’re gluing and lightly squeeze the trigger to release the melted glue. You can apply the glue smoothly in dots, swirls or straight lines. A little goes a long way, so use the minimum amount of glue required. Let the glue dry for several minutes, and don't forget to unplug the gun when you're finished! To learn more from our Contractor co-author, like how to use a glue gun on delicate materials or clothes, keep reading the article!
