X
wikiHow is a “wiki,” similar to Wikipedia, which means that many of our articles are co-written by multiple authors. To create this article, volunteer authors worked to edit and improve it over time.
The wikiHow Tech Team also followed the article's instructions and verified that they work.
This article has been viewed 63,414 times.
Learn more...
Rainmeter is a desktop customization tool for Windows. You can completely change the "look and feel" of your desktop with Rainmeter. However, there is a short learning curve. This article will help you get started.
Steps
Part 1
Part 1 of 3:
Installing Rainmeter
-
1Download Rainmeter from https://www.rainmeter.net/.
-
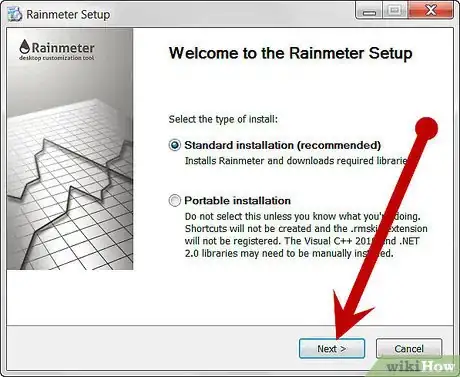
2The Rainmeter application is simple enough to install. Just keep pressing "Next" when in doubt.Advertisement
-
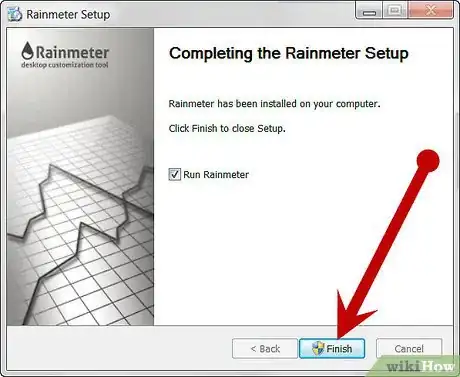
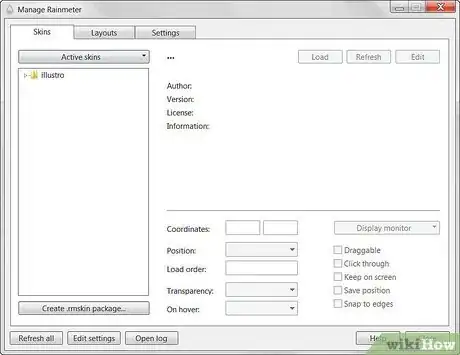
3You have successfully installed Rainmeter. A huge collection of skins should appear on your desktop.
Advertisement
Part 2
Part 2 of 3:
Installing a Skin
-
1Download a "skin". By the Rainmeter terminology, skins can be compared with widgets. Skins come in many styles, most new ones have a .rmskin extension.
-
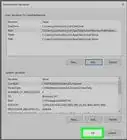
2Click on the skin to install the skin. The installation window is a single-click job.
-
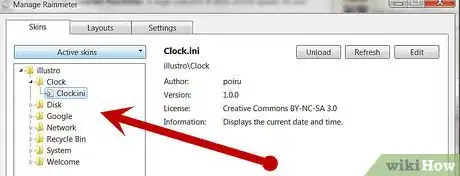
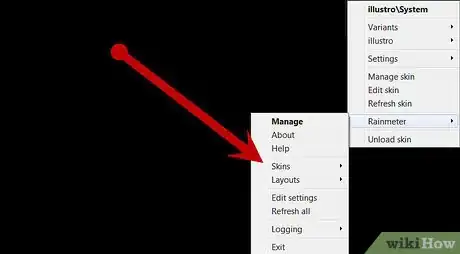
3Right Click on any skin on your desktop(which were there after installation). In the Right click menu, select: Right Click>Skins>NAME_OF_SKIN_PACK>Skin_name.
-
4A new skin should pop up. You can drag it around.
Advertisement
Part 3
Part 3 of 3:
Deleting a Skin
Community Q&A
-
QuestionHow do I use multiple skins in Rainmeter?
 Community AnswerInstall multiple skins and then first take the first skin and load it. After the first skin is loaded remove the skins or objects that are not needed.Then go to Rainmeter Application and open the folder of skins and add the skin that you want to use.
Advertisement
About This Article
Advertisement

