This article was co-authored by Kristin Pulaski. Kristin Pulaski is a Professional Nail Artist and the Founder of Paintbucket, a self-owned and operated nail salon based in Williamsburg, Brooklyn. She has over five years of experience running Paintbucket and is licensed as a nail technician. Paintbucket offers nail art manicures, pedicures, and soft gel extensions along with customized packages for wedding and bridal parties. She holds a BA in Managerial Science from Manhattan College.
There are 7 references cited in this article, which can be found at the bottom of the page.
wikiHow marks an article as reader-approved once it receives enough positive feedback. In this case, 100% of readers who voted found the article helpful, earning it our reader-approved status.
This article has been viewed 137,086 times.
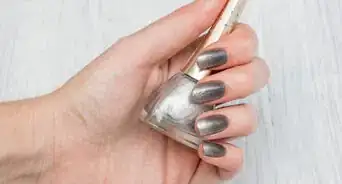
Mirror nails are the latest trend in the nail art world. They are shimmery, they are sparkly, and they are just about everything a nail-polish fanatic could ask for. Typically, mirror powder is applied over UV gel nail polish, but it is still possible to apply it over non-UV gel nail polish, or even regular nail polish.[1] All it take is a little bit of time and effort, and a love for all things sparkly.
Steps
Using Regular Polish or Non-UV Gel Polish
-
1Apply your base coat and two coats of nail polish. Be sure to extend the polish over the tips of your nails to make your manicure last longer. You can use any color you want, but mirror power will show up the best against black.
- UV-gel polish is easier to work with, but it is still possible to get a nice finish on non-UV gel polish and regular nail polish. It will take more work, however.[2]
- Consider covering the skin around your nails with some white school glue or liquid latex to make clean-up easier.
-
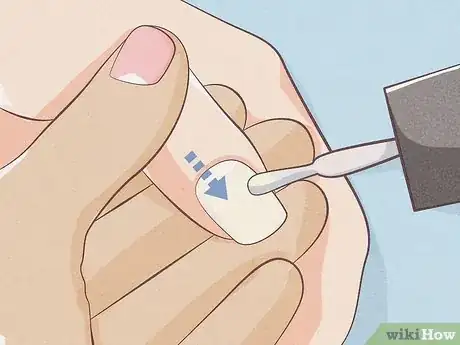
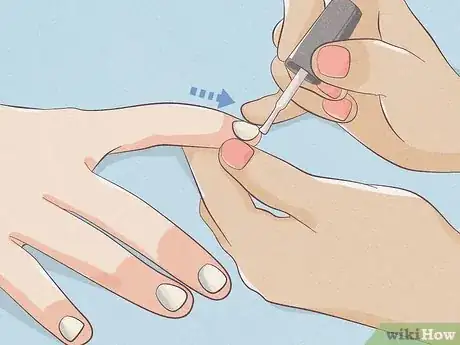
2Apply some top coat, then wait until it is dry to the touch. Don't let the top coat dry all the way, however. You want it to feel rubbery, but not sticky or tacky. This is important, especially with regular, non-gel top coat; if you apply it too soon, the powder will make a mess, and if you wait too long, the powder won't stick.[3]
- Use regular, non-water-based top coat for this. A quick-dry top coat is recommended.
- Remember to extend the top coat down past the tip.
Advertisement -
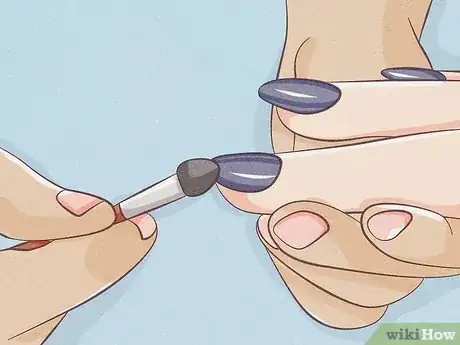
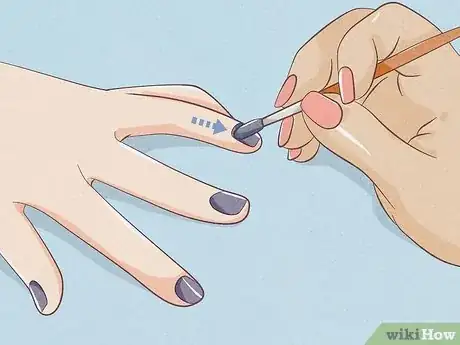
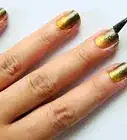
3Tap on the mirror powder using a foam eyeshadow brush. Start from the cuticle area and work your way towards the tip. You can use a special applicator meant for applying mirror powder, or you can use a foam, eyeshadow brush. Gently flick the brush down as you tap the powder on.
-
4Buff the powder into the polish. Once you have your nail coated with powder, gently buff the surface with the foam eyeshadow brush. Do not apply too much pressure, or you may create dents. As you continue to buff, the surface will get smoother and smoother.
-
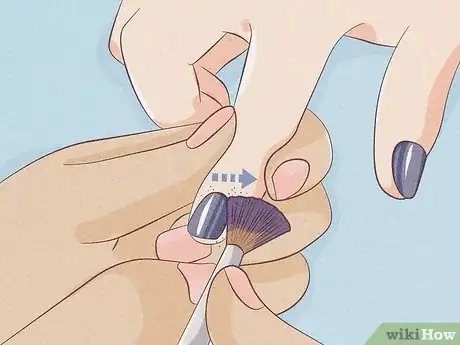
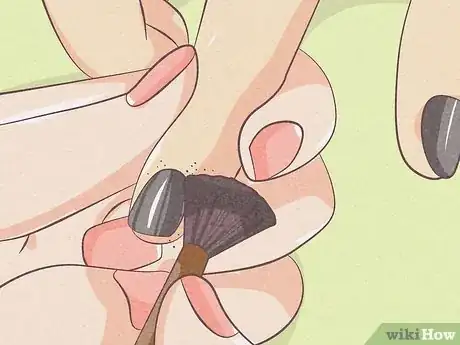
5Wipe off any excess powder. You can do this using a soft brush, such as an eyeshadow brush or a kabuki brush, or a Q-tip dipped in rubbing alcohol. If you applied glue or liquid latex earlier, simply peel it off.
-
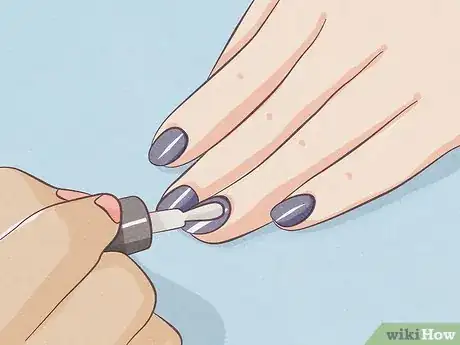
6
-
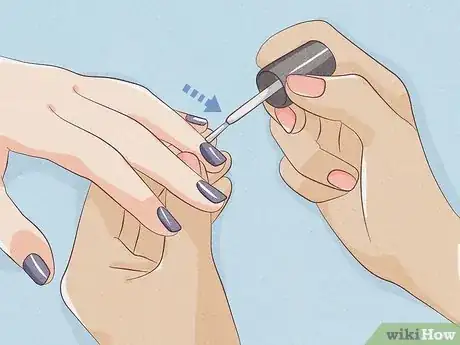
7
-
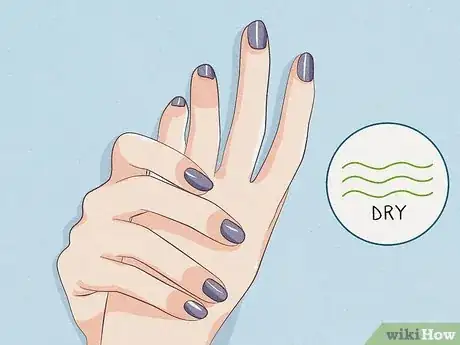
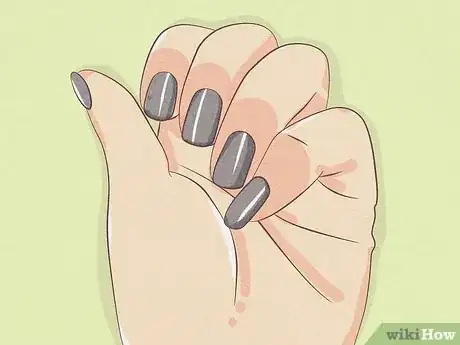
8Wait for your top coat to finish drying. Once it is dry, you can show off your new nails to all of your friends.
Using UV Gel Nail Polish
-
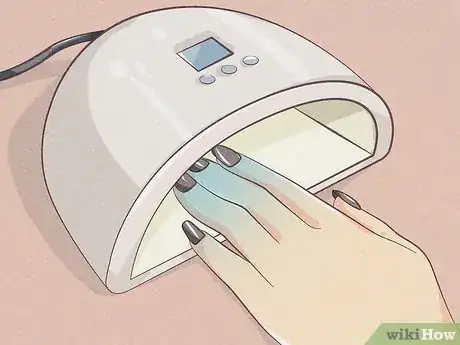
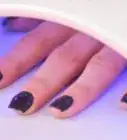
1Apply a base coat, and cure it for 30 seconds under an LED manicure lamp.[8] Some nail artists also recommend coating the skin around your nails with white school glue or liquid latex. This will make cleaning up your manicure easier, because all you have to do is peel the glue or latex off.
- Be sure to coat the very tips of your nails too. This will prevent the polish from peeling.
-
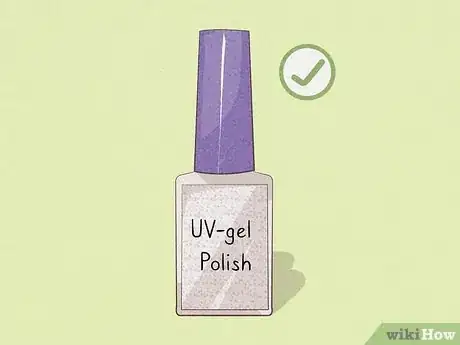
2Add two coats of UV-gel polish, then cure it. Apply your first coat, then cure it for 30 seconds. Apply your second coat, then cure it for only 15 seconds.[9]
- Remember to coat the tips of your nails too!
- You can use any color you want, but many people find that black works best.
-
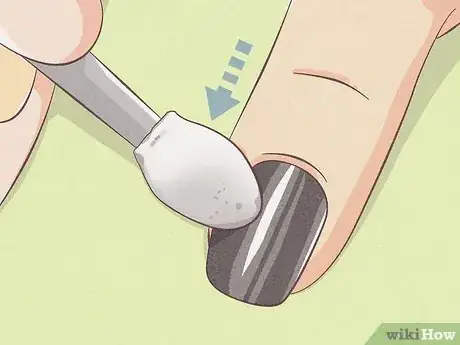
3Use a sponge eyeshadow applicator to tap on the powder. Don't worry if the powder doesn't look smooth. Simply dip your foam applicator into the powder, and start tapping it onto your nail. Start from the cuticle area, and work your way down towards the tip.
-
4Use the applicator to gently buff the powder into your nail. Once you have your nails coated with powder, use the foam applicator to gently buff the powder into your nails. Do not use too much pressure, however, or you might create dents. As you buff, the finish will get smoother and smoother.[10]
-
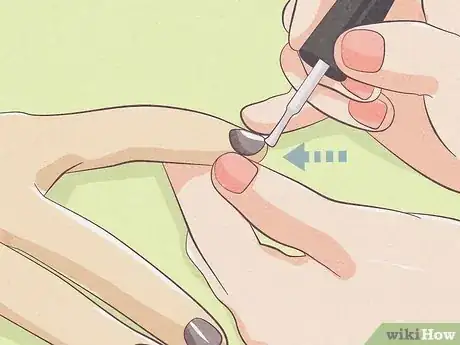
5Clean it up with a soft brush or rubbing alcohol. Grab an soft, fluffy eyeshadow brush or kabuki brush, and gently sweep the tops of your nails. This will knock off any excess powder.[11] You can also use a thin brush or Q-tip dipped in rubbing alcohol to wipe down the ski around your nails.[12] If you applied glue or latex in the beginning, simply peel it off!
-
6Apply a no-wipe top coat, and cure it for 30 seconds. Once your nails have cured, you are ready to rock them!
Expert Q&A
Did you know you can get expert answers for this article?
Unlock expert answers by supporting wikiHow
-
QuestionCan Chrome powder be used on regular nail polish?
 Kristin PulaskiKristin Pulaski is a Professional Nail Artist and the Founder of Paintbucket, a self-owned and operated nail salon based in Williamsburg, Brooklyn. She has over five years of experience running Paintbucket and is licensed as a nail technician. Paintbucket offers nail art manicures, pedicures, and soft gel extensions along with customized packages for wedding and bridal parties. She holds a BA in Managerial Science from Manhattan College.
Salon Owner & Nail Specialist
-
QuestionAfter the color is cured, do I put the powder on the sticky layer?
 Community AnswerYes, that's where you put the powder.
 -
QuestionCan I use nail polish instead of the gel?
 Community AnswerYes, you can.
Things You'll Need
Using UV Gel Nail Polish
- Base coat
- UV gel nail polish
- Mirror powder
- Sponge eyeshadow applicator
- LED nail polish lamp
- Q-tip
- Rubbing alcohol
- Eyeshadow brush
Using Regular Polish or Non-UV Gel Polish
- Base coat
- Nail polish
- Top coat
- Water-based top coat
- Mirror powder
- Sponge eyeshadow applicator
- Q-tip
- Rubbing alcohol
- Eyeshadow brush
References
- ↑ Kristin Pulaski. Salon Owner & Nail Specialist. Expert Interview. 19 May 2020.
- ↑ Kristin Pulaski. Salon Owner & Nail Specialist. Expert Interview. 19 May 2020.
- ↑ https://www.youtube.com/watch?v=Dt5GfsXYgKI
- ↑ https://www.youtube.com/watch?v=Dt5GfsXYgKI
- ↑ https://www.youtube.com/watch?v=ns7CFKubXLs
- ↑ https://www.youtube.com/watch?v=Dt5GfsXYgKI
- ↑ https://www.youtube.com/watch?v=ns7CFKubXLs
- ↑ https://www.youtube.com/watch?v=eilTdX31y2A
- ↑ Kristin Pulaski. Salon Owner & Nail Specialist. Expert Interview. 19 May 2020.
About This Article
To use non-UV mirror powder on your nails, you’ll need to apply a regular nail polish as a base, then spread the powder on top. To start, apply a clear base coat and 2 coats of the color you want to use. Make sure to let them dry completely between each coat. Once it's dry, apply a clear top coat. While it's still drying, use a sponge applicator brush to tap on the mirror powder, working from your cuticle to the tip of your nail. Once your nail is fully coated, use the brush to gently buff the powder into your nails. Just don’t apply too much pressure or you might dent them. After you’ve finished your nails, use a soft fluffy brush to sweep away any excess powder from your hands and nails. Finally, apply a water-based top coat and let it dry completely. If you want it to last even longer, apply a regular top coat once the water-based coat dries. To learn how to use mirror powder on UV gel polish, read on!

