X
This article was co-authored by Lindsay Yoshitomi. Lindsay Yoshitomi is the nail artist behind the blog, Lacquered Lawyer. She was featured as one of Nail It! magazine’s “Bloggers You Should Know,” and has been on the cover of Nail Art Gallery Magazine. She has been practicing nail art for over 15 years.
This article has been viewed 51,647 times.
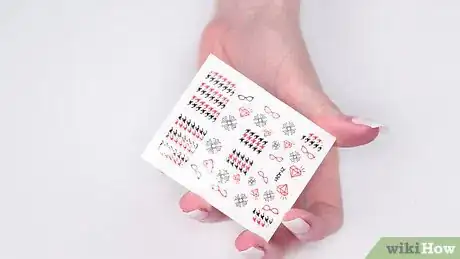
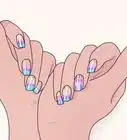
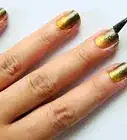
You can get the look of nail tattoos using water slide temporary tattoos, whether they are made specifically for nail art or not. Temporary tattoos tend to look best in colors and/or dark shades, on top of white or light-colored polish. Alternately, you can use full-nail sticker decals to achieve a similar style with more color options.
Steps
Method 1
Method 1 of 2:
Applying Water Slide Tattoos
-
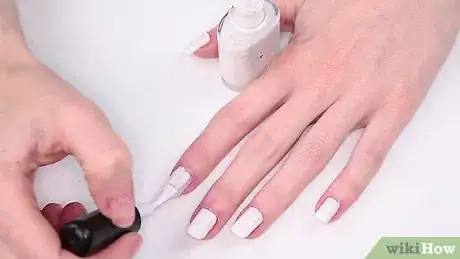
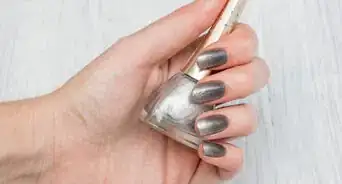
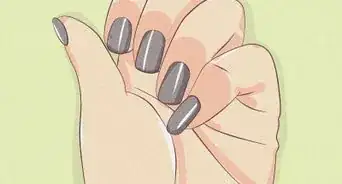
1Apply a base coat and nail polish. Brush on a clear base coat. Once it's fully dry, brush on at least one to two coats of nail polish – allowing it to dry between coats – until you achieve satisfactory coverage.
- Because the edges of temporary tattoos often have a translucent, filmy border, opt for white or light-colored polish. This will also make a canvas for good contrast with your tattoos.
- Some water slide tattoos made for nails can be used with any color.[1]
-
2Cut the tattoos with small scissors to fit on your nails. Try using sewing scissors or nail scissors; a curved blade will work well. Pick the pieces of the tattoos you like best, and make sure each piece will fit on one of your nails without any overlap. At least part of your nail plate should show around each tattoo piece.[2]
- Choose tattoos with dark or colored shades and/or details, to contrast with your nail lacquer.
- You don't need to cut perfectly around the tattoo: you can cut small squares that fit onto your nails.[3]
- Wait until your nails are fully dried before doing this step, so that you don't accidentally smudge your polish.
Advertisement -
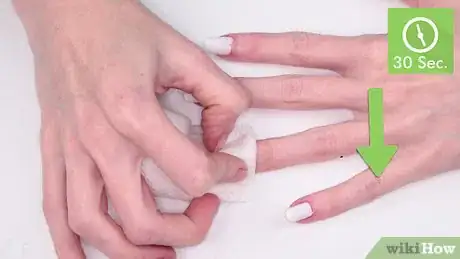
3Wet the tattoo face-down on your nail. Remove the plastic sheet from the tattoo. Place the tattoo so that it touches your nail only, not your skin. Use a wet cotton swab, paper towel, or cloth to dampen the back of the tattoo.[4]
- It's fine for the tattoo to hang over the free edge of your nail.
- Some water slide tattoos for nails require you to soak them first for five to ten seconds each. You can remove tattoos from a bowl of water with tweezers, after soaking them.[5]
-
4
-
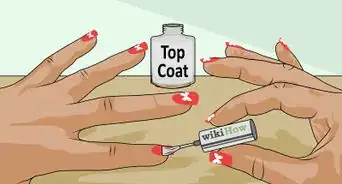
5Remove any excess, if needed. If the tattoo overlaps the edge of your nail, snip it off with scissors. For a look that lasts longer, apply a topcoat.[8]
- If you're applying a topcoat, try dabbing a tiny bit of top coat onto one of the tattoos first, to make sure it doesn't smudge.
Advertisement
Method 2
Method 2 of 2:
Applying Nail Stickers
-
1Clean your nails. Use a cotton pad with nail polish remover or rubbing alcohol to clean on and around your nails. Don't apply a base coat for this look – it can prevent nail stickers from properly adhering.[9]
-
2Prepare the nail sticker. Find a sticker that is the closest match to the size of your nail. If you can't find a sticker that matches the size of a nail well, choose a sticker that's larger than your nail. Then trim it down with small scissors to fit the nail. Rub the sticker in your hands to warm it up a bit – this can improve its flexibility and longevity.[10]
-
3Apply the nail sticker. Remove the backing from the strip. Place the sticker on your nail plate, close to – but not overlapping – your cuticle. Smooth the sticker down from your nail bed to the tip.[11]
-
4Use a blow dryer on the nail for several seconds. Use the warm setting on your blow dryer. If your blow dryer runs quite hot at close range, hold it back far enough that it doesn't hurt your skin.[12]
- Heat helps nail stickers smoothly adhere to the nails.
-
5File off any excess decal. Hold a large-grit file perpendicular to the nail. File the nail downward to detach excess strip from the free edge of your nail. Start out with a rough file, and finish up with a finer grit.[13]
- Try using a glass file to smooth the edges once you've removed excess stickers.
-
6Maintain your nail tattoos. You can add a top coat for gloss, if desired, but it isn't needed for longevity. Treat your nails gently, avoiding pressure and moisture. Avoid using lotion or oil-based products on your nails, which can cause separation of the stickers. Keep your nails away from heat, unless a decal starts to come off. If so, use a blow drier on your nail as you smooth the sticker back down.[14]
- For example, wear gloves to protect your nails when doing dishes or other wet or messy tasks.
Advertisement
Expert Q&A
-
QuestionHow do you water nail decals?
 Lindsay YoshitomiLindsay Yoshitomi is the nail artist behind the blog, Lacquered Lawyer. She was featured as one of Nail It! magazine’s “Bloggers You Should Know,” and has been on the cover of Nail Art Gallery Magazine. She has been practicing nail art for over 15 years.
Nail Artist Paint your nails and let them dry, then cut each image out and place it face-down in a small cup of water. After a few seconds, the decal will loosen from the paper backing. Wet the surface of your nail, which will help if you need to reposition the decal, then use tweezers to transfer the decal from the water onto your nail. Place it where you want it, then use a paper towel to blot away the excess water. Finally, seal it in place with top coat.
 -
QuestionHow do I make my nails grow fast?
 Community AnswerReference Make Nails Grow Faster for some good tips.
Advertisement
Things You'll Need
Applying Water Slide Tattoos
- Clear base coat polish
- Nail lacquer
- Water slide tattoos
- Small scissors
- Bowl of water
- Cotton swab or cloth
- Topcoat (optional)
Applying Nail Stickers
- Cotton pad
- Nail polish remover or rubbing alcohol
- Nail stickers
- Blow drier
- Large-grit nail file
- Fine-grit nail file
- Small scissors
References
- ↑ https://bellatory.com/makeup/How-To-Apply-Water-Decals-For-Nail-Art-Easy-Nail-Art-Ideas
- ↑ https://tiphero.com/temporary-tattoo-nail-art
- ↑ https://bellatory.com/makeup/How-To-Apply-Water-Decals-For-Nail-Art-Easy-Nail-Art-Ideas
- ↑ https://tiphero.com/temporary-tattoo-nail-art
- ↑ https://bellatory.com/makeup/How-To-Apply-Water-Decals-For-Nail-Art-Easy-Nail-Art-Ideas
- ↑ https://tiphero.com/temporary-tattoo-nail-art
- ↑ https://snapguide.com/guides/tattoo-your-nails/
- ↑ https://bellatory.com/makeup/How-To-Apply-Water-Decals-For-Nail-Art-Easy-Nail-Art-Ideas
- ↑ http://www.more.com/beauty/nails/nail-polish/how-apply-nail-stickers-right-way
- ↑ http://www.more.com/beauty/nails/nail-polish/how-apply-nail-stickers-right-way
- ↑ http://www.more.com/beauty/nails/nail-polish/how-apply-nail-stickers-right-way
- ↑ http://www.more.com/beauty/nails/nail-polish/how-apply-nail-stickers-right-way
- ↑ http://www.more.com/beauty/nails/nail-polish/how-apply-nail-stickers-right-way
- ↑ http://www.more.com/beauty/nails/nail-polish/how-apply-nail-stickers-right-way
About This Article
Advertisement
