wikiHow is a “wiki,” similar to Wikipedia, which means that many of our articles are co-written by multiple authors. To create this article, volunteer authors worked to edit and improve it over time.
This article has been viewed 33,352 times.
Learn more...
Also called a screen grab or a screen capture, a screenshot is a captured display of anything shown on your device screen and saved as a static image file. In other words, it’s a digital image of what's currently displayed on your device screen. You can use it to show something that would be difficult to explain in words. Use a screenshot to take note of a problem when you’re troubleshooting, illustrate a program, or explain a specific screen to the reader. You can even use it to save configuration settings for later use or capture a still from a video. Every Android device has a nifty built-in feature for taking screenshots, which you can then save and share as you would your photos. Taking a screenshot can be done three different yet very easy ways using your Samsung Galaxy Note.
Steps
Using the S Pen
-
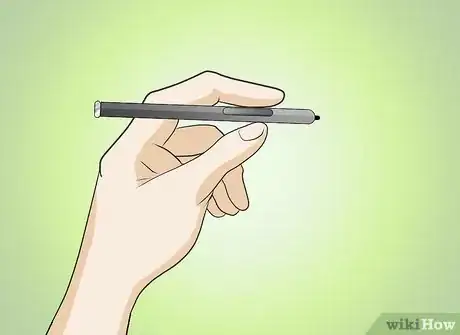
1Get your S Pen. Also known as the Stylus Pen, it looks like a normal pen and it comes along with your Samsung Galaxy Note. You’ll find it on the bottom-right side of your device.
-
2Go to the screen that you would like to capture.Advertisement
-
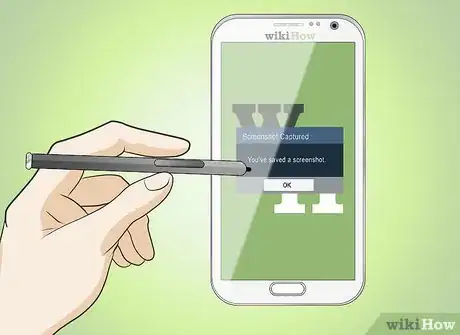
3Take a screen shot. Press a button on the top of your S Pen then long-press on the screen using the S Pen. Do so for a few seconds by holding the top button of the stylus.
-
4Wait for the confirmation. The confirmation message will say that “You’ve saved a screenshot.”
Using the Home Button + Power Button
-
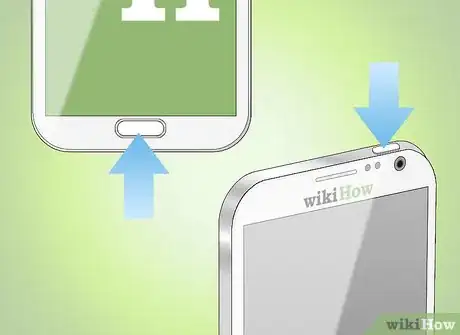
1Get acquainted with the Home and Power buttons. The Home button is the tiny knob found just below your device’s screen, and it takes you directly to the home screen. The Power button is found on the upper right side of your device, and is used to shut down or reboot your device.
-
2Go to the screen which you wish to capture.
-
3Hold the Home button and the Power button simultaneously. Do so for a couple of seconds. If you’re finding it hard to do it simultaneously, you can hold the Power button just slightly prior ro pressing the Home button.
-
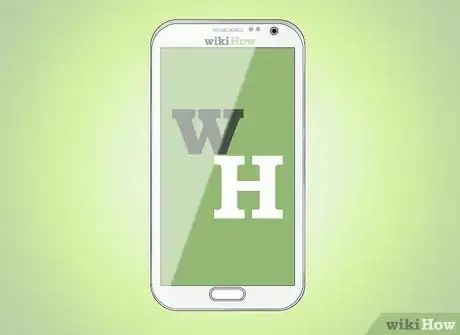
4Wait for confirmation. After a couple of seconds, your device will make an image-capture sound, followed by a message that says “Saving Screenshot” in the notification bar at the top of the screen.
- This way of taking screenshots is the most common method used.
Using Your Palm
-
1Enable the Palm Motion setting. Before using this method, make sure that the Palm Motion setting is enabled in your device.
- To enable Palm Motion, go to Apps, select Settings and click on Controls. Afterwards, look for the Palm Motion option, and make sure that the checkbox next to it is ticked off. Check “Capture screen.”
-
2Go to the screen which you would like to capture.
-
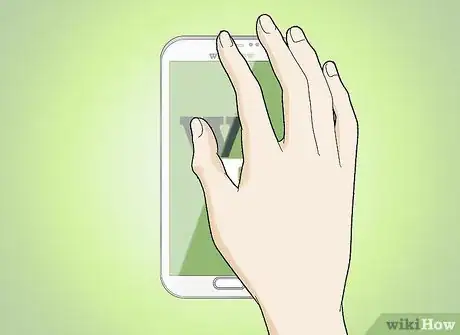
3Position your palm correctly. Meaning, keep your palm vertically on the right or left side of your Samsung Galaxy Note.
-
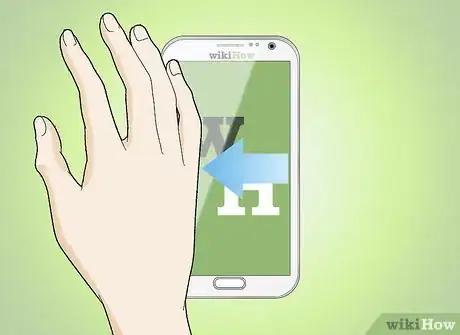
4Swipe your hand slowly to the left or right side of the screen. Make sure that you’re touching the screen while swiping on it, or else your screenshot will not get captured correctly.
-
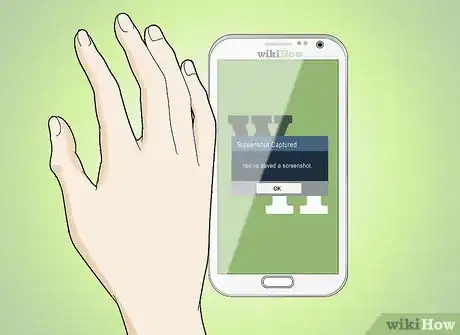
5Wait for confirmation. The confirmation message will say that “You’ve saved a screenshot.”
Tip
- All screenshots will be saved in the Screenshots folder, which can be accessed via your device’s Gallery. You can also access screenshots from the Notification menu.
