This article was co-authored by wikiHow staff writer, Darlene Antonelli, MA. Darlene Antonelli is a Technology Writer and Editor for wikiHow. Darlene has experience teaching college courses, writing technology-related articles, and working hands-on in the technology field. She earned an MA in Writing from Rowan University in 2012 and wrote her thesis on online communities and the personalities curated in such communities.
This article has been viewed 471,104 times.
Learn more...
Since there is no app for Discord on the Nintendo Switch, you'll need a computer to get your Switch screen to stream then play the display screen in a window (using VLC or any other video player) so Discord will show it. This wikiHow will teach you how to stream Nintendo Switch to Discord using a video capture card, which you can get from almost any electronics retailer, like Best Buy or Amazon. If, however, you have a laptop or computer with an HDMI "In" port, you will not need a video capture card since you can plug the Switch directly into your computer (those computers are not common though).
Steps
Connecting Your Switch to a Video Card
-
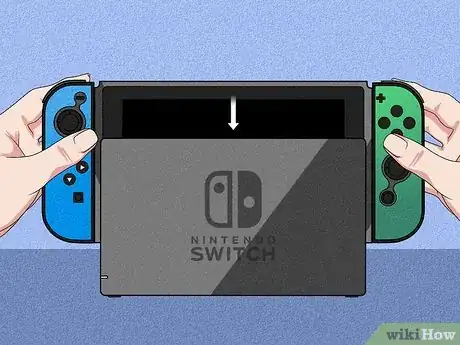
1Insert your Switch into the Dock. You'll need to connect the USB-C ports on the Switch to the Dock to make a solid connection.
- Disconnect any monitors or TVs you have connected to your Dock so the signal isn't accidentally sent somewhere else.
-
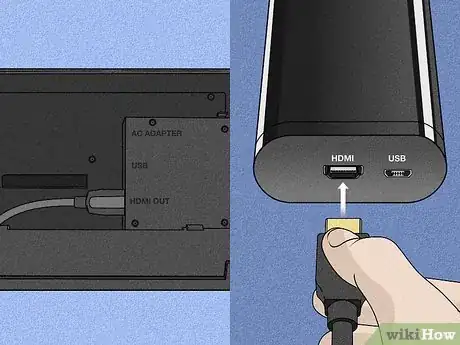
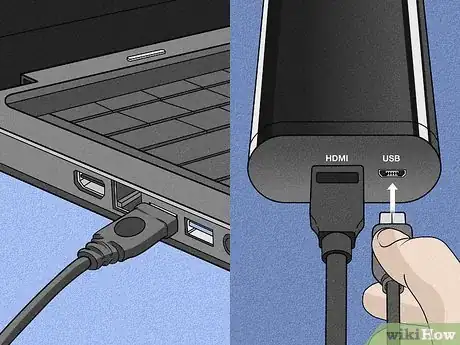
2Connect the HDMI from your Dock to the capture card. Since your Dock only offers an HDMI Out port, make sure you're plugging the other end of the HDMI cable into the "In" port on the capture card to allow the information to transmit to your computer.Advertisement
-
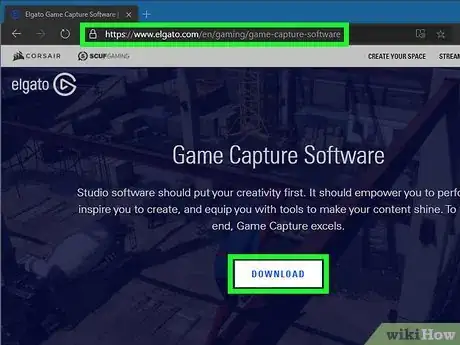
3Open the video capture card software on your computer. You might have been directed to download this software from the packaging or user manual. Your computer might also prompt you to download the appropriate software once you plug in the USB cable.
-
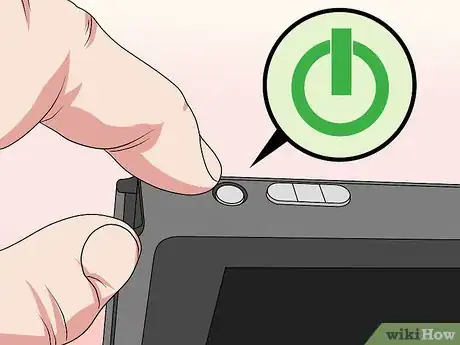
4Turn on your Switch. The POWER button is in the top left corner.
-
5Plug-in the USB cable from your capture card to your computer. If you don't have your video capture card's software open, it will open now. You should see your Nintendo Switch screen displayed on your computer's display quickly.[1]
- Reference your capture card's manual if it's not working.
Setting Up a Video Window
-
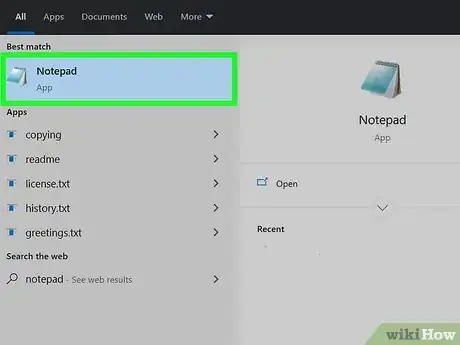
1Open Notepad, TextEdit, or any word processing software. You'll need to be able to copy and paste code so you can create a VLC shortcut on your Desktop that will automatically open your capture card.
- You can use another kind of video player (other than VLC) that lets you display the audio/video source in a window; some capture cards may come with a software that will do this.
-
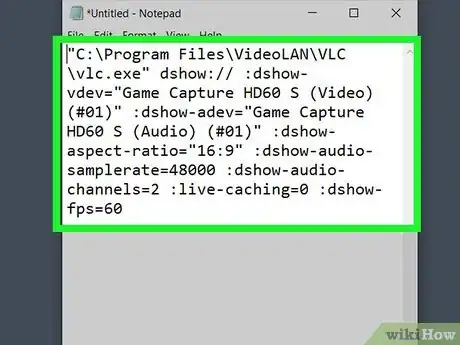
2Paste the following code:
"C:\Program Files\VideoLAN\VLC\vlc.exe" dshow:// :dshow-vdev="Game Capture HD60 S (Video) (#01)" :dshow-adev="Game Capture HD60 S (Audio) (#01)" :dshow-aspect-ratio="16:9" :dshow-audio-samplerate=48000 :dshow-audio-channels=2 :live-caching=0 :dshow-fps=60- The quotation marks are important, so make sure they aren't deleted from the code as you copy and paste. The information you have in "C:\Program Files\VideoLAN\VLC\vlc.exe" may be different if your VLC was installed in a different location, so make sure you change it if you need to.
- The device name shown is from the Elgato (Game Capture HD60 S), so you might need to change that information accordingly.[2]
-
3Open VLC. If you don't have VLC, you can download it at https://www.videolan.org/vlc/index.en_GB.html.
- You can use another kind of video player that lets you choose the audio/video source if you're familiar with the settings.
-
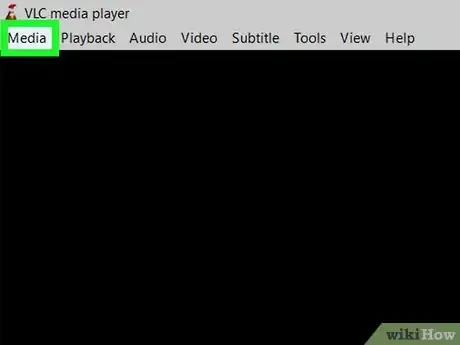
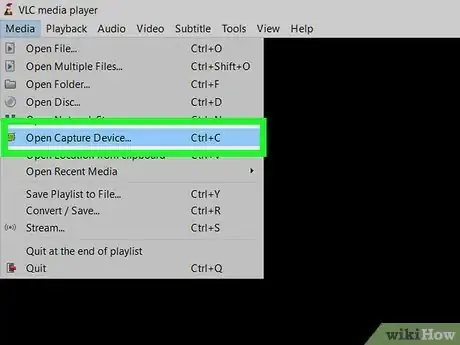
4Click Media. You'll see this at the top of your player with Playback, Audio, and Help.
-
5Click Open Capture Device. It's near the middle of the menu.
-
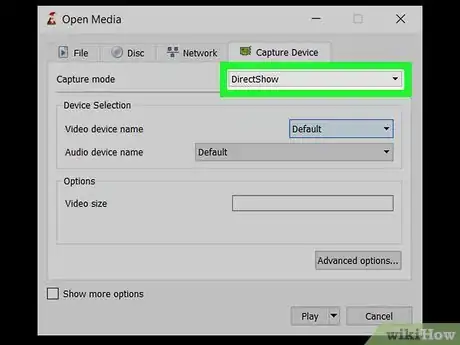
6Make sure DirectShow is selected. If not, click the "Capture Mode" listed and change it to "DirectShow".
-
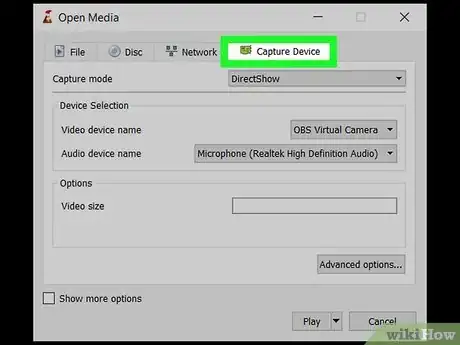
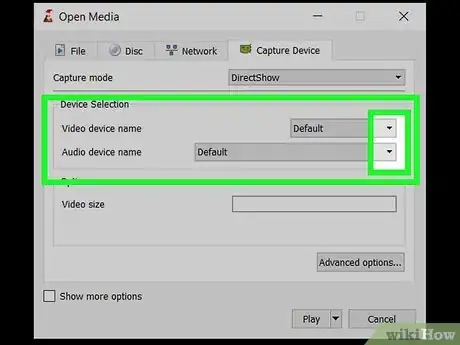
7Select your capture card in the drop-downs next to "Video Device Name" and "Audio Device Name." They should be the name of your capture card, like Game Capture or Elgato.
-
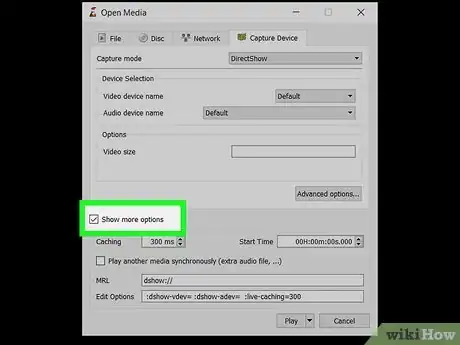
8Select the box next to "Show more options." The window will expand to show you more like the MRL and Start Time.
-
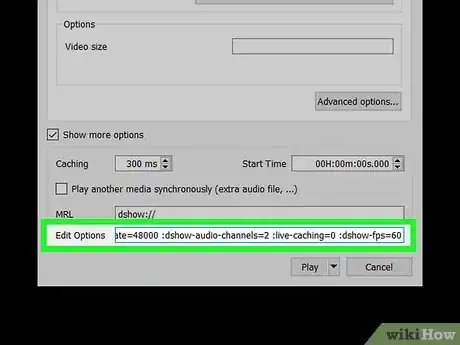
9Edit the code as needed. Copy the video card name in the "Edit Options" field. You'll find this after "
:dshow-vdev=". Paste this copied video card name into the code you have written in Notepad, TextEdit, etc between the quotation marks.- Repeat this process for the audio card name. Make sure you overwrite everything between the quotation marks if there is a difference. If your video capture card does not contain "(Video) (#01)" in the name, delete that information.
-
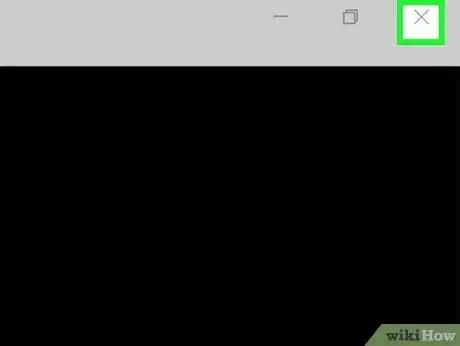
10Close the window and VLC. Click Cancel in the "Open Media" window and then you'll be able to click the X to close VLC.
- If you don't want to create a shortcut that will do all this automatically, you can click Play instead. You will have to change these settings every time you want to stream from VLC and Discord, though.
-
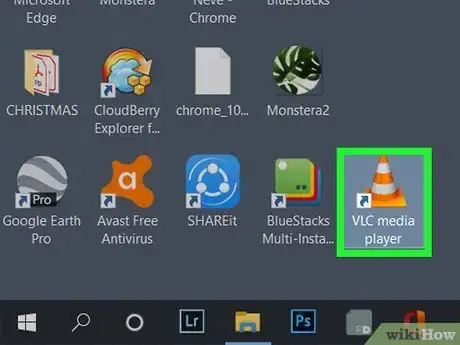
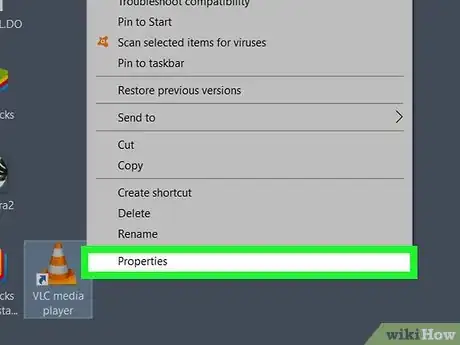
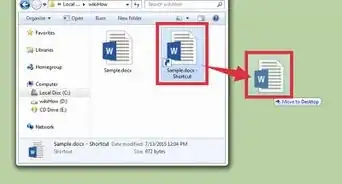
11Right-click the VLC shortcut on your Desktop. This app icon looks like an orange safety cone.
-
12Click Properties. It's at the bottom of the menu.
-
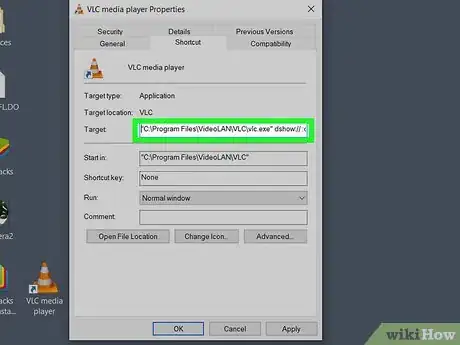
13Paste the code from your word processing software into the text field next to "Target." This tells the shortcut to open with the coded settings every time it's used.[3]
- If you want to use VLC without the capture card, open it from another shortcut (like in your Start menu or Applications folder).
-
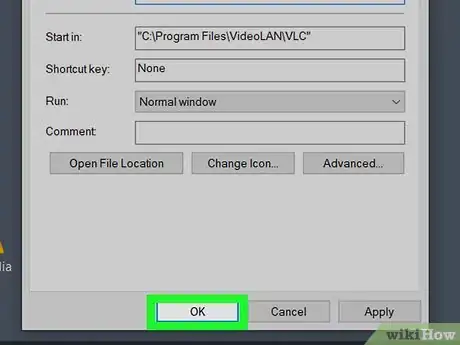
14Click Ok. Your changes to the shortcut will be applied.
-
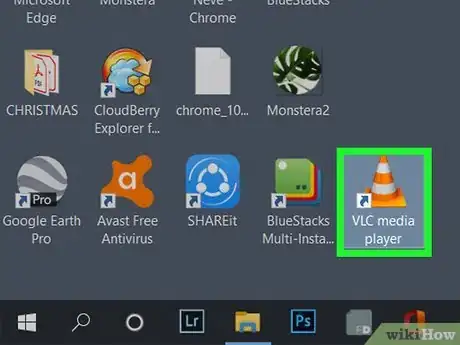
15Double-click the VLC shortcut. Your capture card should open in a new display window that Discord will be able to show on live stream.[4]
Streaming with Discord
-
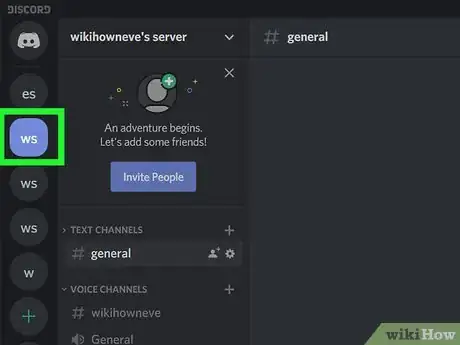
1Open Discord and join a server. If you haven't already joined a server, click the server you want to join in the left column. Once you join the server, a list of its channels will appear in the column on the left side of the window.
-
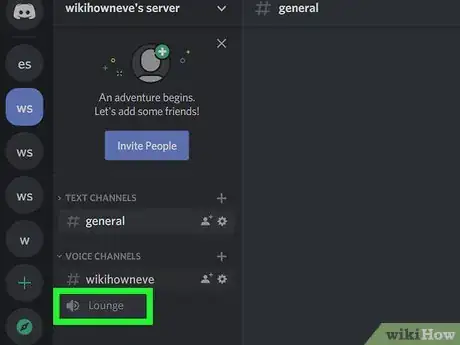
2Join a voice channel by double-clicking a channel with a speaker icon. Voice channels are listed under the header "Voice Channels."
-
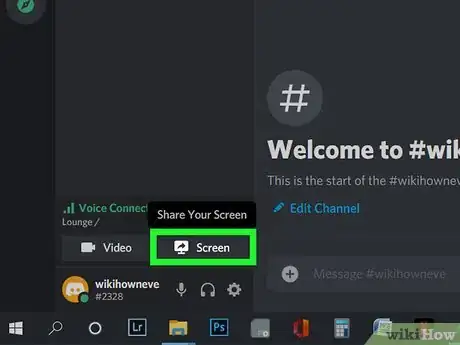
3Click Screen. You'll see this with the icon of a monitor with a sharing arrow at the bottom of the channels list.[5]
- A list of all your applications and screens will appear.
-
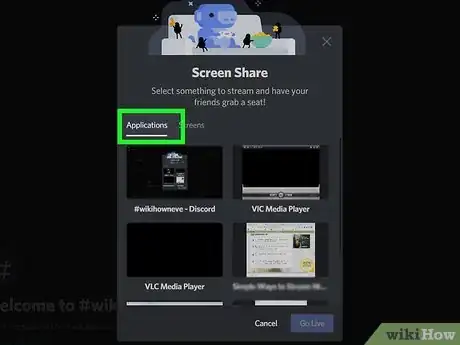
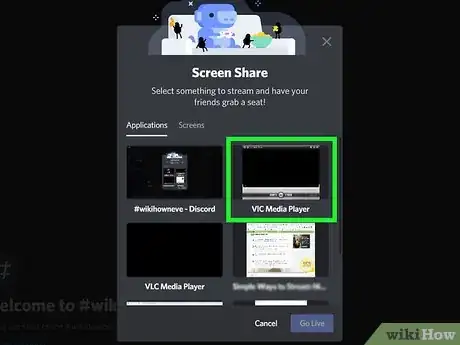
4Click the Applications tab (if needed). You should see your VLC screen displayed here.
-
5Click to select your VLC display. When you share the VLC screen application, your viewers will only see the VLC window, even if you tab to another window.
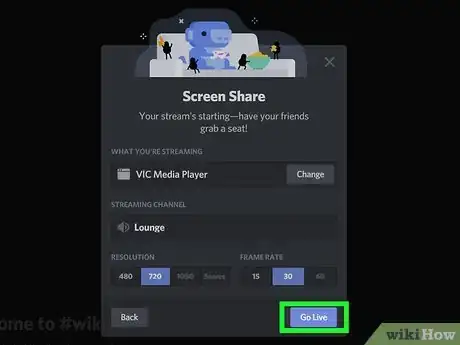
- You'll see some of your streaming settings, such as which channel you're sharing with, what you're sharing, the frame rate, and the resolution.[6]
-
6Click Go Live. You'll see a thumbnail of what you're sharing in the lower right corner. To stop sharing, click the monitor with the X that's inside the thumbnail preview.
References
- ↑ https://www.salisonline.org/how-to-connect-nintendo-switch-to-laptop/
- ↑ https://gist.github.com/ThatGuySam/669ee0d844a67ebc2cd1b8301c8e1b30
- ↑ https://youtu.be/sTvQ4PBqueA?t=213
- ↑ https://youtu.be/sTvQ4PBqueA?t=245
- ↑ https://youtu.be/U2qMNtGlanU?t=91
- ↑ https://support.discord.com/hc/en-us/articles/360040816151-Share-your-screen-with-Go-Live-Screen-Share
About This Article
1. Connect your Switch to a video card.
2. Set up VLC to display your capture card.
3. Join a voice channel in Discord that you want to stream to.
4. Click Screen and select the VLC application window.
5. Click Go Live.
