This article was co-authored by wikiHow staff writer, Jessica Gibson. Jessica Gibson is a Writer and Editor who's been with wikiHow since 2014. After completing a year of art studies at the Emily Carr University in Vancouver, she graduated from Columbia College with a BA in History. Jessica also completed an MA in History from The University of Oregon in 2013.
This article has been viewed 16,547 times.
Learn more...
Shallots are smaller and more delicately flavored than onions. Unfortunately, they're also more expensive. Learn how to properly keep shallots so you're not throwing away these costly ingredients. Store the shallots in a cool, dry place and use them before they become soft. You can also freeze shallots that you've chopped, minced, or sliced.
Steps
Preparing Whole Shallots for Storage
-
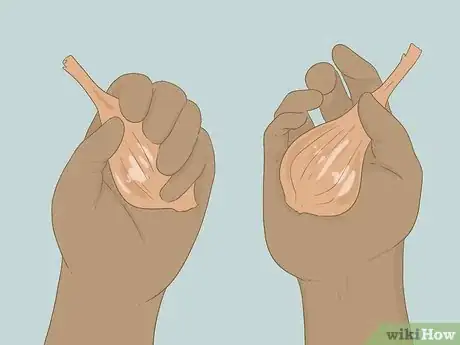
1Select firm, dry shallots to store. Feel the shallots and choose ones that don't have soft spots. Look for any cuts that might cause the shallot to rot or dry out quickly. You want to store shallots that feel plump and don't have wrinkles.[1]
- Avoid storing shallots that are sprouting out of the top. Instead, use these quickly since their flavor will begin to turn bitter.
Did You Know? Shallots are different shapes depending on their variety. You might see small, round shallots that look like miniature onions or long, flat shallots that have a slightly purple hue.
-
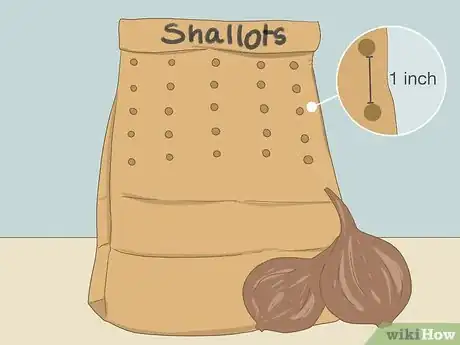
2Place shallots into a paper bag with holes that allow air to circulate. Take a brown lunch bag and fold it. Then, punch holes along each edge of the bag so the holes are around 1 inch (2.5 cm) apart. Put the shallots into the bag and fold the top closed.[2]
- Label your bag with the date, especially if you'll be storing more bags of shallots throughout the year.
- Don't fill the bag more than half-full or air won't be able to circulate between the shallots and they could mold.
Advertisement -
3Put shallots into a mesh bag if you don't have a paper bag. Get out a mesh bag made of string and place as many shallots as you want to store into the bag. If your bag was woven, ensure that the gaps between the strings aren't too wide or your shallots may fall out.[3]
- If you don't have a string mesh bag, use a nylon hose or a metal mesh basket. These will hold the shallots together, but will allow air to move around the shallots.
Storing Whole Shallots
-
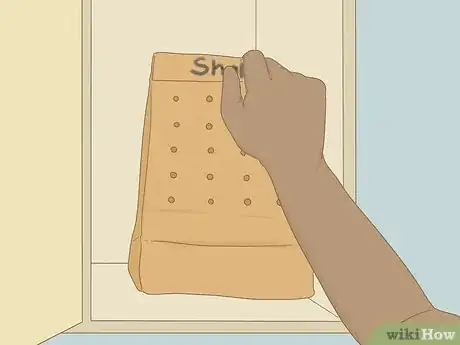
1Choose a cool, dry storage space. Shallots will last longer when they're stored between 32 and 40 °F (0 and 4 °C). Since this is probably too cold for most people's kitchens or pantries, consider storing your shallots in a cellar or basement. Your space should be between 60-70% humidity to prevent the shallots from molding.[4]
- You can store the shallots outside as long as air is able to move between them. For example, put the shallots in a drying rack so they're in a single layer.
- You might find that a cupboard in the basement is cool and dry.
-
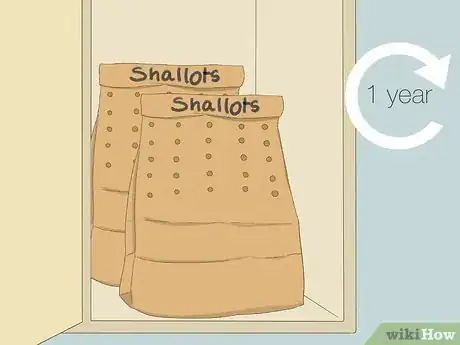
2Store the whole shallots for up to 1 year. As long as your shallots stay dry, you can store and use them for up to 1 year. You might find that they keep fresh even longer than that.[5]
- Throw away any shallots that become soft or develop dark spots. If the shallot smells rotten, you should also discard it.
-
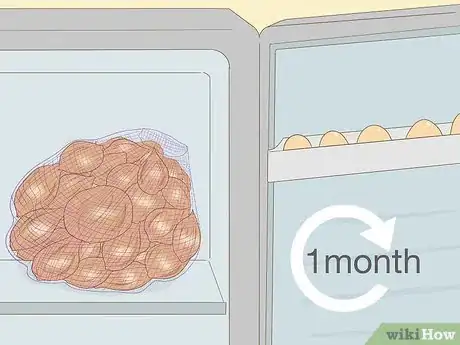
3Refrigerate your whole shallots for up to 1 month. If your kitchen or pantry is too hot or humid, you can put the shallots in the crisper bin of your refrigerator. Refrigerate the shallots for up to 1 month.[6]
Tip: There's no need to cover the shallots. Place the mesh bag of shallots directly into the fridge or take them out of the paper bag before storing them.
Storing Sliced, Chopped, or Minced Shallots
-
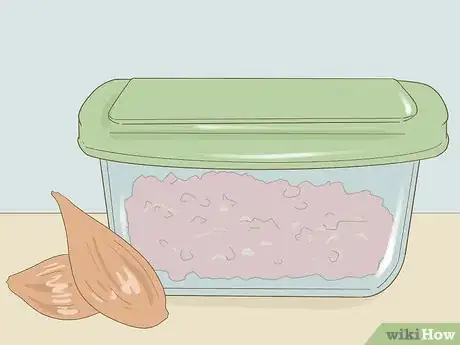
1Put the prepared shallots into a freezer bag or airtight container. Take as many sliced, chopped, or minced shallots as you want and put them into a small freezer-safe bag or airtight container.[7]
- Squeeze as much air out of the bag as you can before you seal it shut. Fold that bag over on itself to push the air out.
Tip: If you don't have a freezer bag or airtight container, place the shallots on a sheet of plastic wrap, wrap them tightly in the wrap, and then wrap them again in aluminum foil.
-
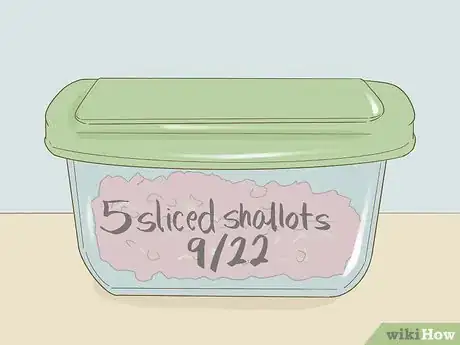
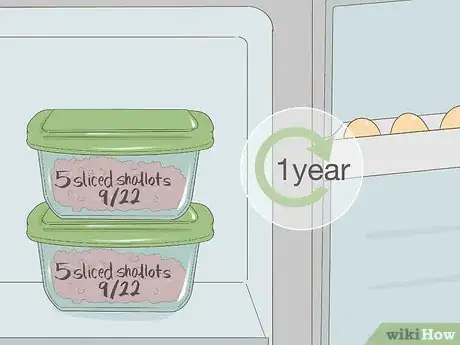
2Label the shallots and put them in the freezer. Use a permanent marker to label the bag or container with what's inside along with the date. Then, put them into the freezer.[8]
- It can also help to write how much is inside the bag or container, so you don't have to open it to find out. For example, write "5 sliced shallots, 9/22."
-
3Freeze the shallots for up to 12 months for the best texture. Keep in mind that the longer you freeze the shallots, the less crisp they'll be when you thaw them. To thaw the shallots, transfer them to the fridge the day before you want to use them.[9]
- It's best to cook with shallots that have been frozen so you don't notice changes in texture.
Things You'll Need
- String mesh bag
- Paper bag
- Hole puncher
- Freezer bag or airtight container
- Nylon hose or metal mesh basket, optional
References
- ↑ https://harvesttotable.com/shallots_bulb_vegetable_shallo/
- ↑ https://www.garden.eco/how-to-store-shallots
- ↑ https://www.garden.eco/how-to-store-shallots
- ↑ https://www.extension.iastate.edu/news/yard-and-garden-harvest-dry-store-onions-garlic-shallots
- ↑ https://www.extension.iastate.edu/news/yard-and-garden-harvest-dry-store-onions-garlic-shallots
- ↑ https://www.garden.eco/how-to-store-shallots
- ↑ https://www.garden.eco/how-to-store-shallots
- ↑ https://www.garden.eco/how-to-store-shallots
- ↑ https://www.stilltasty.com/fooditems/index/18304
