This article was co-authored by Ben Barkan. Ben Barkan is a Garden and Landscape Designer and the Owner and Founder of HomeHarvest LLC, an edible landscapes and construction business based in Boston, Massachusetts. Ben has over 12 years of experience working with organic gardening and specializes in designing and building beautiful landscapes with custom construction and creative plant integration. He is a Certified Permaculture Designer, is licensed Construction Supervisor in Massachusetts, and is a Licensed Home Improvement Contractor. He holds an associates degree in Sustainable Agriculture from the University of Massachusetts Amherst.
This article has been viewed 30,066 times.
Hydroponic gardening is a great way to grow plants without having a garden. If you live in a small apartment and don't have a balcony to store pots on, then a hydroponic garden would be a great idea. If you do have a balcony, then you have even more options. You can keep your garden indoors or outdoors, and you can even try larger vegetables, such as squash!
Steps
Preparing the Planter
-
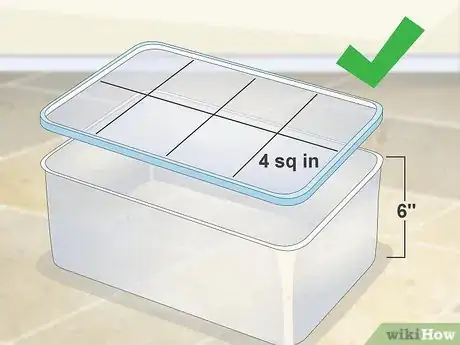
1Buy a plastic box with a matching lid. How big the plastic box depends on how many plants you want to grow and how much room you have. You will need at least 4 square inches (10.16 square centimeters) per plant. The box should be at least 6 inches (15.24 centimeters) deep.
- You can also use a small aquarium and a Styrofoam sheet instead.
-
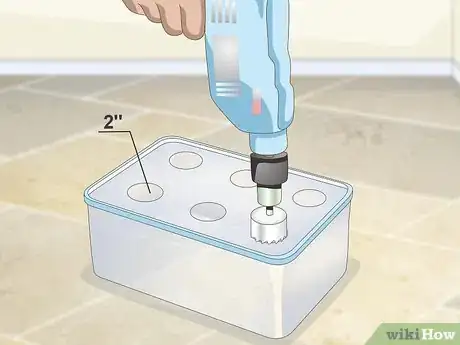
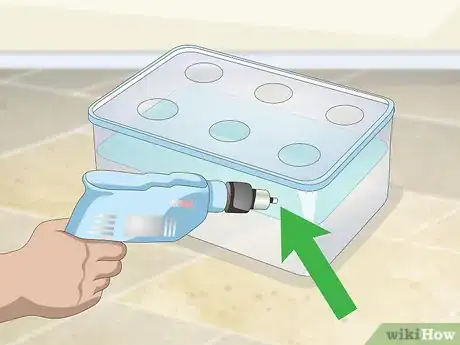
2Drill 2-inch (5.08-centimeter) holes into the lid. You can drill the holes in straight lines or staggered. How many holes you fit depends on the size of the lid, just be sure to leave about 2 inches (5.08 centimeters) of space between each hole.[1]
- If you are using an aquarium, cut the Styrofoam a little smaller than the opening first, then drill the holes.
- You can cut the circles with a dremel, circular saw, or a craft blade.
Advertisement -
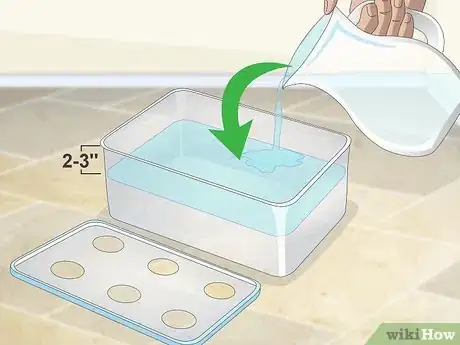
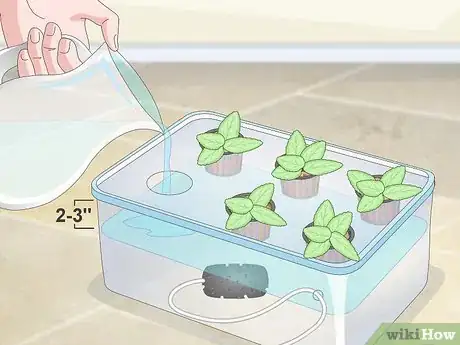
3Fill the box most of the way with water. Leave 2 to 3 inches (5.08 to 7.62 centimeters) of space at the top. This way, the bottom of the pots can touch the water without being submerged.[2]
-
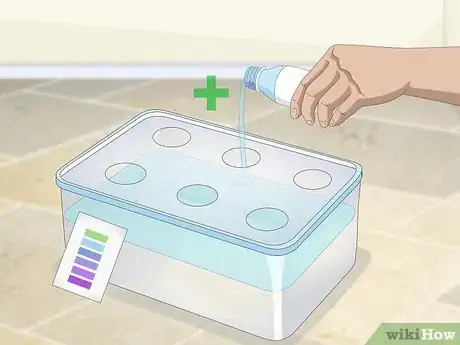
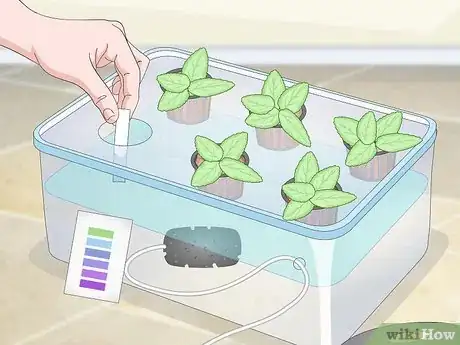
4Add your desired nutrient solution. The type of nutrient solution you use depends on the type of fruit, vegetable, or herb you will be growing. Follow the instructions on the bottle closely, as each brand will be a little different.[3]
- Test the pH after 30 minutes, then make any necessary adjustments. Most plants will require a pH of 6 to 7.[4]
-
5Drill a small hole into the box or the lid above the water line. If you are using an aquarium, drill a small hole in the Styrofoam close to the edge instead. The hole needs to be big enough for the air pump tubing to fit through.
-
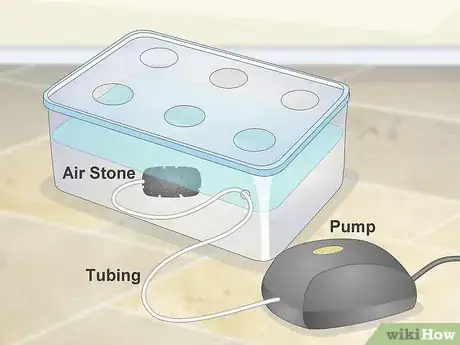
6Add the tubing, air stone, and pump. Insert the air stone and the tubing through the hole first. Secure the air stone to the inside of the box with clips or a suction cup. Attach the other end of the plastic tubing to an air pump. Plug in the air pump to make sure that it is working. You may need to wait a few minutes before you see bubbles forming.[5]
- The air stone needs to be submerged.
Adding the Plants
-
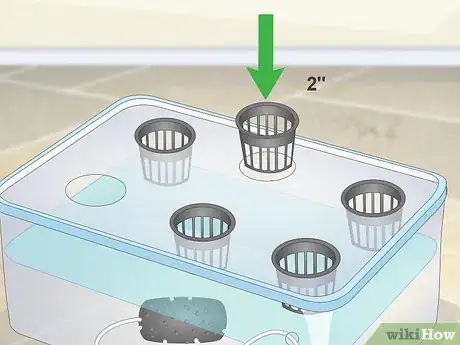
1Insert 2-inch (5.08-centimeter) net pots into the holes you drilled earlier. Net pots are plastic flower pots meant for hydroponic gardening. They are woven to look like baskets.[6]
- Leave one hole empty. This will be your "access hole" so that you can test the water and make any necessary adjustments.
-
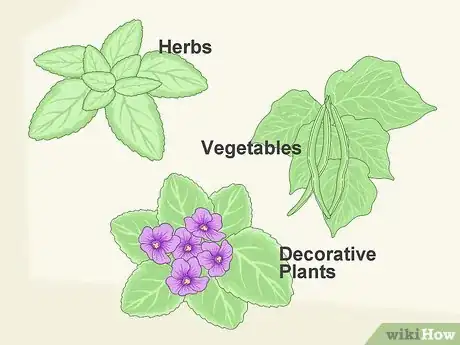
2Choose your plants. You can grow all sorts of plants in a hydroponic garden, including herbs, vegetables, and flowers. If you have a large apartment with lots of space, you may be able to grow larger vegetables, such as squash or cucumbers! Listed below are some great choices:[7]
- Herbs: basil, chives, cilantro/coriander, garlic, mint, oregano, and spring onions
- Vegetables: beans, broccoli, celery, cherry tomatoes, cucumbers, lettuce, peas, peppers, and radishes
- Decorative plants: African violets, coleus, ferns, lilies, marigolds, orchids, petunias, pathos, and spider plants.
-
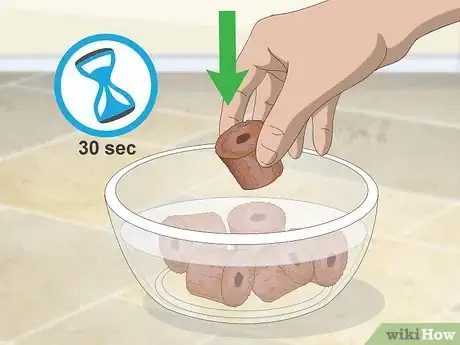
3Prepare the rapid rooter plugs. Rapid rooter plugs are small discs of compacted soil. You use them when starting seedlings. Soak them in water for 30 seconds.[8]
-
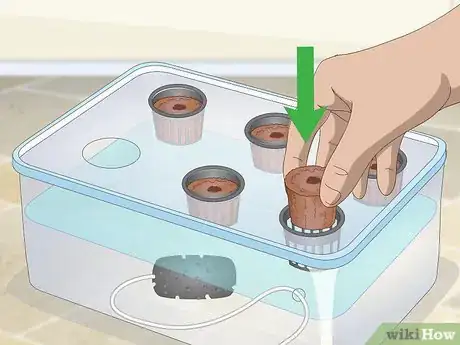
4Place a rapid rooter into each pot. Make sure that you are placing it so that the hole is facing upwards. Don't worry if the rapid rooters are too small for the pots; you will be filling them with more medium later on.[9]
-
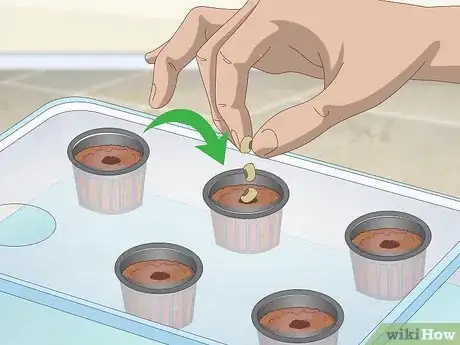
5Add three seeds into the hole in each rapid rooter. Make sure that you are placing the same type of seed into each hole. You are placing three seeds because not all seeds sprout. Planting more than one at a time ensures that at least one will sprout.[10]
- Pay attention to the growing season! Certain types of plants need to be planted during certain times of the year.
-
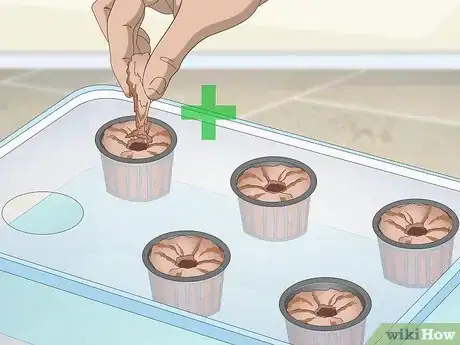
6Fill the pots the rest of the way with your desired medium. Be careful not to cover the hole where you put the seed in, however! Clay pellets are a great choice, but you can also use any of the following: gravel, perlite, sand, and vermiculite. You can even use a combination of two or more mediums.[11]
- Coconut fiber is another good choice, but you have to be careful so that it doesn't get soggy.[12]
Maintaining the Garden
-
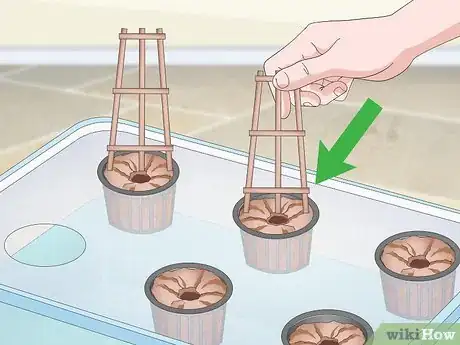
1Add a support frame for large plants, if needed. If you are growing larger plants, such as cherry tomatoes, squash, or cucumbers, consider getting a plant frame, trellis, or teepee to put over the garden. This will allow your plant to grow upward rather than horizontal, and take up less space.
-
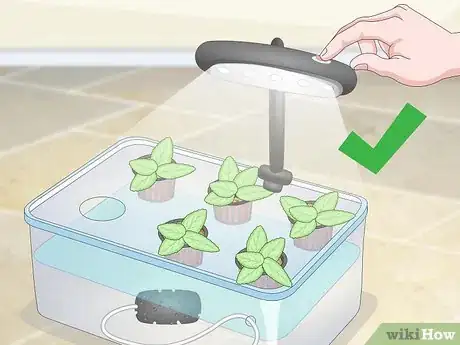
2Add artificial lighting, if needed. Unless you have access to a balcony or a bright, sunny window, you will need grow lights for your plants. Choose LED lighting designed to save energy; this will help reduce your electricity bill and reduce energy usage.[13]
- Some plants like it dark. Read up on your plants' needs, if necessary.
-
3Refill the water tank as needed. As time goes on, the water level in the box will drop. It should always be touching the bottom of the pots, about 2 to 3 inches (5.08 to 7.62 centimeters) away from the lid.[14]
-
4Test the nutrient levels weekly. The plants will use up lots of nutrients, so you will want to test the water weekly. If something changes, you will need to adjust it, either by adding more nutrient solution, or water to dilute it.[15] Use the one hole you left empty to fill your tank as needed.
-
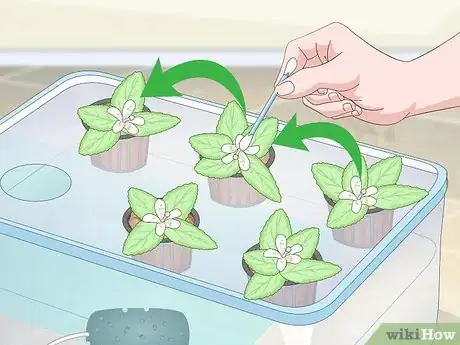
5Pollinate indoor plants to encourage growth. Plants need to pollinate in order to produce fruits, vegetables, and flowers. If you are keeping your garden out on the balcony, the birds, bees, and butterflies will do that for you. If you are keeping them inside, however, you'll need to do it yourself. You can do this be gently shaking or tapping the blossoms with your finger.[16] You can also touch each flower bud with a Q-tip to help distribute pollen.
Warnings
- Be careful of water damage as this may affect your lease or security deposit.⧼thumbs_response⧽
Things You'll Need
- Plastic box with lid
- Aquarium pump (air stone, tubing, and pump)
- Air pump clips or suction cup
- 2-inch (5.08-centimeter) hole saw
- 2-inch (5.08-centimeter) net pots
- Clay pellets, gravel, perlite, etc.
- Rapid rooter plugs or seed starter plugs
- Hydroponic nutrients
- Seeds (vegetable, herb, flower, etc.)
- LED grow-lights (optional, recommended for dark apartments)
References
- ↑ http://www.theprairiehomestead.com/2014/02/hydroponics.html
- ↑ http://www.theprairiehomestead.com/2014/02/hydroponics.html
- ↑ http://www.theprairiehomestead.com/2014/02/hydroponics.html
- ↑ http://www.theprairiehomestead.com/2014/02/hydroponics.html
- ↑ http://www.theprairiehomestead.com/2014/02/hydroponics.html
- ↑ http://www.theprairiehomestead.com/2014/02/hydroponics.html
- ↑ https://dengarden.com/gardening/The-Indoor-Hydroponic-Garden-for-Urban-Living
- ↑ http://www.theprairiehomestead.com/2014/02/hydroponics.html
- ↑ http://www.theprairiehomestead.com/2014/02/hydroponics.html
- ↑ http://www.theprairiehomestead.com/2014/02/hydroponics.html
- ↑ http://gardenclub.homedepot.com/grow-year-round-hydroponic-garden/
- ↑ http://gardenclub.homedepot.com/grow-year-round-hydroponic-garden/
- ↑ http://gardenclub.homedepot.com/grow-year-round-hydroponic-garden/
- ↑ http://www.theprairiehomestead.com/2014/02/hydroponics.html
- ↑ http://www.theprairiehomestead.com/2014/02/hydroponics.html
- ↑ http://gardenclub.homedepot.com/grow-year-round-hydroponic-garden/
- ↑ Ben Barkan. Garden & Landscape Designer. Expert Interview. 14 April 2020.
- ↑ http://www.theprairiehomestead.com/2014/02/hydroponics.html
- ↑ http://gardenclub.homedepot.com/grow-year-round-hydroponic-garden/
