X
wikiHow is a “wiki,” similar to Wikipedia, which means that many of our articles are co-written by multiple authors. To create this article, volunteer authors worked to edit and improve it over time.
This article has been viewed 45,148 times.
Learn more...
Having a house is nice, but having a base is even nicer. A base provides much more comfort and security against all threats, especially in Multiplayer mode, than a house. Normally, it’s a bit more secure than a regular house, depending on where and how it was built. Not every base is similar, since it depends on the preference of the player, but most bases follow some general rules and guidelines to make it more secure and homey.
Steps
Part 1
Part 1 of 3:
Choosing a Location
-
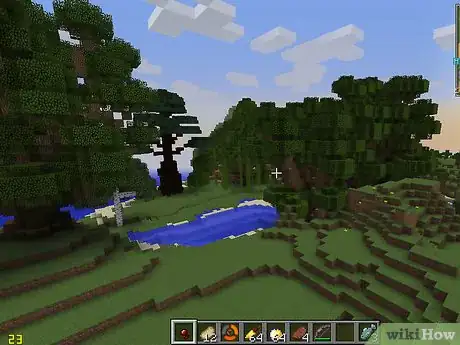
1Know the different biomes. Depending on your original spawn point and preferences, you can build your base practically anywhere you want, as long as it’s viable. Time and time again, players have proved they can live in any setting they please, whether player-made or natural. From the bottom of the ocean to a complicated lava maze, as long as you are prepared and know your area, you can make your own base to your own preference. The next few steps are a guide of some of the major types of biomes, but not a full list. The biomes listed here are the ones with major defining features and most feasibly habitable, and biome types like river and beach variations and the ocean are excluded due to redundancy and lack of variability.
-
2Check out the dry biomes. This biome type has little to no grass, and whatever vegetation grows in the area is dry and brittle-looking.
- Savannahs are the most lush of the dry biome types, having more water and actual vegetation. It is characterized by the yellowing grass, the vast, open plains made predominantly of dirt blocks, and Acacia trees. This is one of the biome types that can spawn Villages upon world generation and one of the only two biomes that spawn Horses naturally.
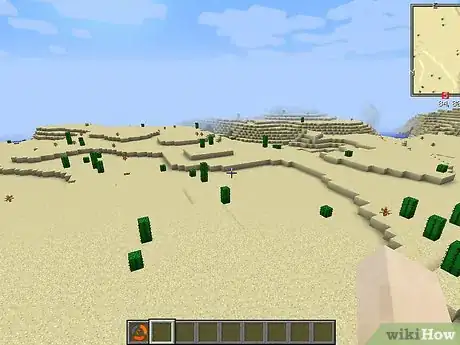
- Deserts are the most well-known of the dry biomes and is nothing but sand with some pockets of water, cacti, and dried bushes scattered here and there. This is another biome type that can spawn Villages.
- Digging under the sand for a few blocks will yield the player some Sandstone. You can also make Sandstone by placing Sand on a 2x2 block formation on your crafting menus.
- Mesas are the rarest of the dry biome types. It’s made completely out of Hardened Clay, Stained Hardened Clay, Red Sand, and Red Sandstone blocks, with some dried bushes scattered here and there. Red Sand acts much like regular sand, but with a reddish-brown coloration.
Advertisement -
3Consider cold biomes. Cold biomes are generally known for their blueish grass, the presence of Spruce trees, and the appearance of snow if you go up to a certain height.
- Extreme Hills are basically as they are named. This biome is full of steep drops, valleys, ridiculous overhangs, caves, ravines, waterfalls, and random lava flows. If you want a spectacular view, this biome delivers.
- Taigas are basically areas populated by Spruce trees, ferns, and Wolves. There’s a more diverse variation of this biome called the Mega Taiga, which has generally larger and thicker Spruce trees, Podzol replacing the usual grass, Coarse Dirt, and Mushrooms scattered here and there. Podzol is a type of dirt that lets you plant Mushrooms even in higher levels. You can’t transplant Podzol to other areas without breaking the dirt under it unless you use a tool called Silk Touch. Podzol also won’t spread to other nearby dirt blocks, unlike Mycelium. Coarse Dirt is just dirt without grass covering it. Grass won’t grow on it, but you can still till it to farm crops.
-
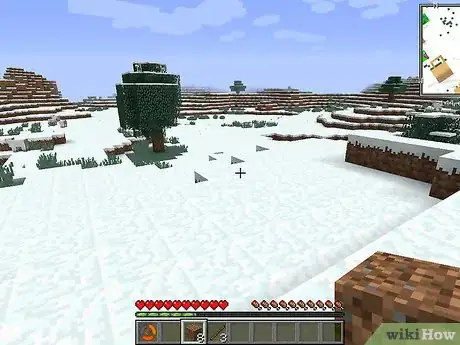
4Consider snowy biomes. Obviously, snowy biomes are perpetually covered in snow. There's not a lot of variation to them, unlike the other biome types, but the abundance of snow and ice makes it pretty picturesque and useful. Do note that snow falls and covers the ground regularly, and water freezes in this biome quickly, though you can thaw it all out with a torch or any kind of light source nearby.
- The Ice Plains biome is hilly and has nothing but snow, ice, and the occasional lava pit. If you want a nice snowy flatland with a view, this biome is for you! There is a very rare variation of this biome called the Ice Plains Spikes, with gigantic ice stalagmites made from a unique block called Packed Ice. This block, unlike regular Ice blocks, doesn’t melt if you place a torch near it. But much like Ice blocks, you can’t gather this block without the Silk Touch tool. If you’re lucky enough to come across this biome, you can get a very uncommon and striking material to build with!
- The other notable Biome of snowy type is the Cold Taiga. Much like the Taiga biome, it’s full of Spruce, fern, and Wolves, but this time it’s covered in snow.
-
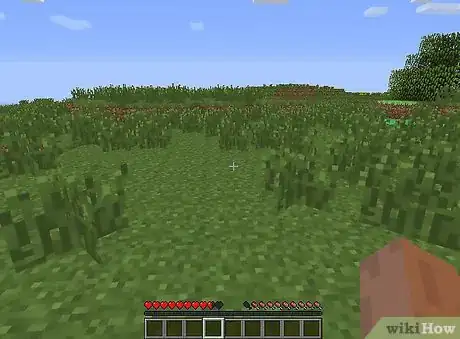
5Consider the lush biomes. Lush biomes are probably the most diverse and universally preferred of the biome types. They’re normally characterized by the abundance of greenery and the presence of plenty of wildlife.
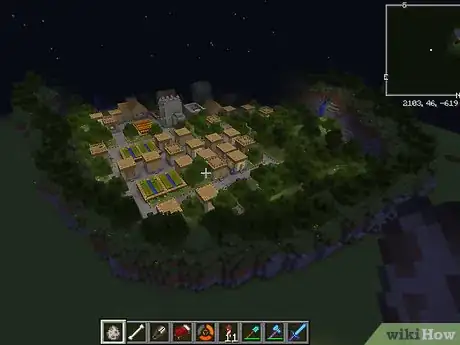
- The Plains biome is basically large, flat expanses of grass and flowers, and is the other biome where horses naturally spawn in. A variation of it contains an abundance of Sunflowers. NPC Villages and ponds are also spawned here as well.
- The Forest biome, obviously, is full of trees. Oak and Birch trees spawn naturally there, with the possibility of finding Wolves. Mushrooms also spawn here occasionally. The Forest is thus regarded to be one of the best biomes to start out with, aside from the Plains. There are variations where it’s predominantly Oak, predominantly Birch, and full of rare flowers. This is also usually the smallest Biome in the game, though also one of the most common.
- Be careful when exploring the Forest at night, since you don’t have much visibility from all the trees and whatnot. Monsters also tend to remain spawned in the area in daytime due to the shade. Monsters may also spawn in this biome if it gets dark enough in some areas.
- The Roofed Forest is its own biome type due to the abundance of the huge Dark Oak trees and the abundance of Giant Mushrooms that are spawned naturally in this biome. Because of this, it can be hazardous to explore this biome due to the thick foliage and the sheer number of the trees and Giant Mushrooms blocking out the sunlight. Regular mushrooms also spawn here occasionally, as well as Rose Bushes.
- Another forest-like biome considered as unique is the Jungle. This somewhat rare biome has unique trees and plant life, and the flora of the Jungle is even more dense than the Roofed Forest, making it difficult to navigate for players. It’s often hilly and full of drops, caves, and vines. This is also the only biome that spawn Ocelots and Melons naturally, as well as contain the unique Jungle Trees.
- Another uncommon biome, and by far one of the most unusual, is the Mushroom biome. This biome is characterized by the purplish Mycelium covering the ground, the absurd amount of Mushrooms, the presence of Giant Mushrooms serving as trees, and the strange, fungal-looking Cows called Mooshrooms. This biome can be a bit weird, but it offers quite a lot of food since Mushrooms can be grown on the Mycelium here even when exposed to the highest light levels of the game. Mooshrooms act much like regular Cows, but with the added bonus of supplying you with Mushrooms when shaved by shears and Mushroom Stew when milked with a wooden bowl. This makes them one of the most useful food source in the game.
- Last of the lush biome types is the Swamp. This biome is the wettest of these types, full of scattered water pockets, sugar canes, water lilies, and mushrooms. The trees of these biomes are Oak, but spawn with vines attached. This biome is full of clay, sand, and dirt under the pools, and is often about sea level. Two uncommon enemies spawn at night and most abundantly during the full moon in this biome: Slimes and Witches. They can be a bit difficult to handle if you aren't prepared enough.
Advertisement
Part 2
Part 2 of 3:
Picking Your Base Type
-
1Don’t be limited. Not all bases are built the same, and will depend on the preference of the player. As long as it’s reasonably secure, you can make any kind of base you want, ranging from simple to completely wacky. These are some common types of base, aside from the usual houses and huts. Of course, you can make your own variation with your own preferences, but these are just to give you an idea where to start.
-
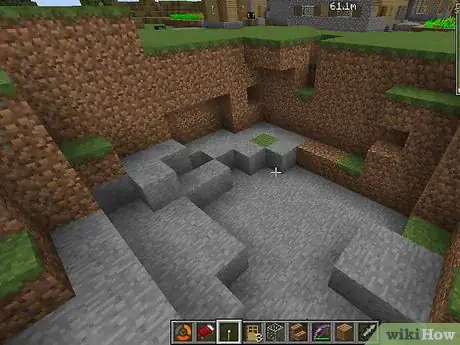
2Dig a hole. This base type is the simplest type to make, preferred by beginners and expert players alike. This is simply because all the player needs to do is dig a hole on the ground or on the side of a hill and create their base almost completely underground. You only need to punch the dirt using the left mouse button (PC), RT/R2 (PS3/4/Vita), or by tapping and holding the block you want gone (PE). The ideal minimum is 4-5 blocks big, though you can make it smaller or bigger to your preferences.
- If you encounter some harder rock blocks, you’ll need to get a pickaxe. Pickaxes can be made on a crafting table with two Sticks and 3 blocks of Wood Planks, Cobblestone, Iron Ingots, Gold Ingots or Diamond.
-
3Set up a cave home. Much like the “hole” house, this base type is mainly underground but relies on the naturally-spawning caves in the game to provide you with the housing area. Simply block off the area you wish to live in by placing blocks to form “walls” and decorate! This is also a great way to access a lot of mineral resources, like iron, coal, and gold, while providing you a close “safe area” to retreat to.
- You can place blocks by right-clicking, pressing the LT/L2, or by briefly tapping the area you want your block placed in.
-
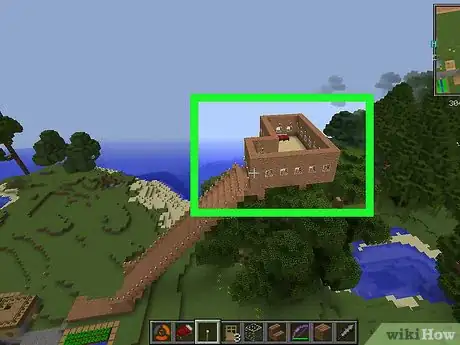
4Make a treehouse. This type is most popular for densely-forested biomes or those with unusual trees like Jungles, Roofed Forests, and Savannahs. As the title suggests, this base type is hidden atop and among some trees, securing it against some mob types like Creepers, Skeletons, and Endermen. Spiders are still a threat, since they can climb trees, but there’s some methods of deterring them, like putting slab “ledges” under the trunk or any surface spiders can climb on. Treehouses are just simply your base on top of a tree, or sometimes inside the tree if you’re using a Dark Oak tree or one of those huge Jungle Trees. It’s a bit difficult getting up and down your house if you need it to be protected from enemies, but it’s one of the less time- and resource-consuming base types.
- When making a treehouse, don’t take away all the Wood in the tree! Make sure to leave some Wood sticking to your Leaf blocks. If you take out all the wood, it will cause the leaves to disappear, leaving you either standing on a bare tree, or falling off!
-
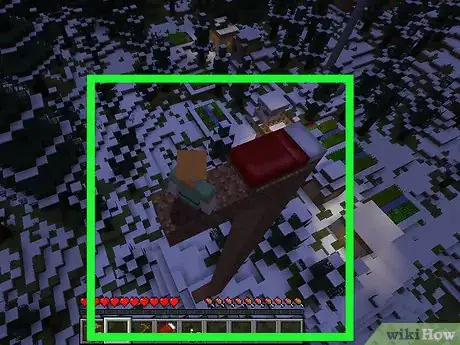
5Build a pillar “tower”. Simply put, this is the base type where you build a tower by pillar-jumping (looking down, jumping, and placing a block under you, then repeating) until you are satisfied with the height, and then you expand the area until it can fit your stuff. This can consume more materials like dirt and stone, since you can simply build your entire abode on an ever-expanding mass above ground. Do take care to light up all the areas to keep monsters from spawning, though.
- Do note that this means you have to bring with you all the renewable resources you can manage to bring and give up on mining. Spiders can still climb up to it, but placing “lips” under the pillar or destroying the block under the main body of the pillar prevents that.
- Being 20–30 blocks away from the ground is preferable, since Skeletons can shoot you from that far away, and also to make sure that if you ever decide to descend, there won’t be monsters spawning.
- Don’t use Sand or Gravel for this method unless you place it on layers of dirt or stone, since sand and gravel are affected by gravity. If a passing Enderman decides the tower looks nice and takes a piece, your tower would literally come crashing down.
-
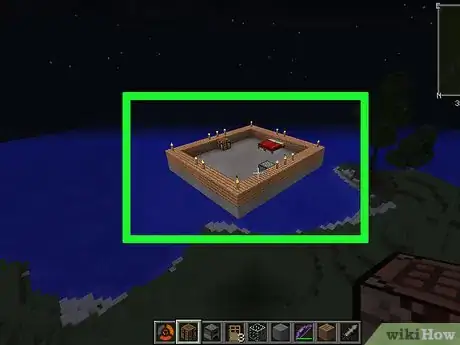
6Build a floating island. This is the more “surreal” cousin of the pillar tower base, simply because it’s just floating at least 10 blocks from the ground. It looks impressive, plus spiders are less likely to climb up on it since they can’t climb on anything! You can do this by “extending” the side of a cliff one row at a time while breaking the row of blocks behind you until you’re far away enough from the cliff that Skeletons can’t reach you anymore. Expand until you have enough space to place all your belongings and such. Much like the pillar tower, you’ll need a lot of materials to pull it off, and keeping it well lit is a must to make the effort worth it.
-
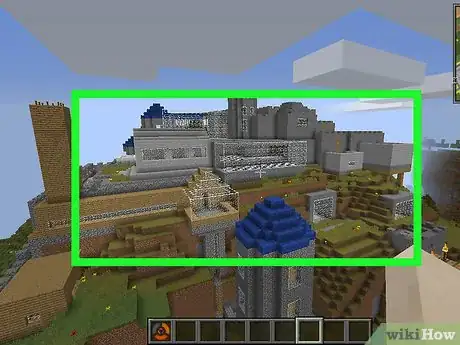
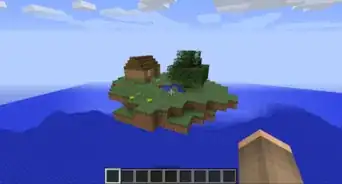
7Build an actual island. This option will shelter you from mobs, keep you away from enemy players and just look cool. While this is an option only for more experienced or prepared players, or for those who chose the ocean as their living area, building an island for their own habitation is the only way to truly live in the ocean. Much like the tower and the floating island, it consumes a lot of resources but enables you to live and thrive in your self-made home.
Advertisement
Part 3
Part 3 of 3:
Making the Base Self-Sustaining
-
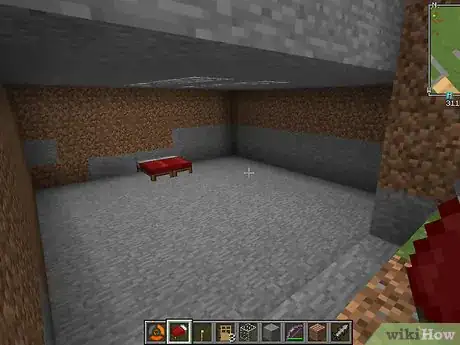
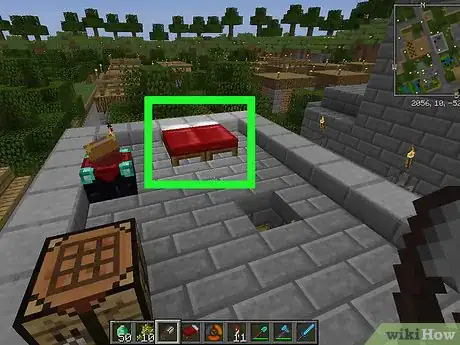
1Get a bed. Beds are necessary since they establish a spawn point for you to come back to whenever you die. They are crafted on your crafting table with 3 Wool, which you can get from killing or shearing Sheep, and 3 Wood Planks.
- When night falls, just head to your bed and sleep on it with a right-click, LT/L2, or by tapping it; you’ll immediately be taken to the next day!
-
2Make a farm. There are many ways to set up a farm in Minecraft. All you need is water, some tilled soil, and a crop. Seeds can be gathered from punching grass covering the ground, and they have to be planted on tilled soil next to water (4 blocks away at maximum horizontally and 1 block vertically) to grow wheat in. Once planted, the plant slowly grows from tiny buds to flourishing green to fully grown wheat!
- To till the soil, you need to make a Hoe. It can be made on your crafting table with Sticks and 2 blocks of Wood, Stone, Iron, Gold, or Diamond. Afterwards, you simply till the soil and plant the seed in. For PC, you right-click the soil with your hoe selected, then right-click the tilled ground with the seeds selected. For Pocket Edition, tap the soil with the hoe selected, then tap the tilled soil with the seed selected. For Console, use the L2/LT.
- If you’re lucky enough to find a pumpkin or some melons, take them to any crafting grid, place one in a slot, and you can get their respective seeds for you to farm. Once planted, a stalk will grow from the tilled plot and eventually spawn pumpkins and melons on a block adjacent to it. This means that you need at least one row of untilled soil or solid material near the tilled plot with the stalk to successfully farm your pumpkins and melons.
- Carrots and Potatoes can be planted by themselves on tilled soil. They are rare drops from zombies or can be found in villages. When they’re fully grown, you can see either white or orange poking out of the ground under the leaves.
-
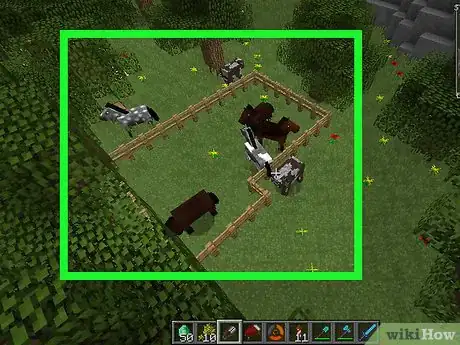
3Tame some passive animals. Different animals have different needs, meaning they have different favorite foods that make them amiable towards you. Passive animals like pigs, cows, and rabbits just follow you around when you hold their favorite food in your hand. Horses, Wolves, and Ocelots need some time before they trust you enough.
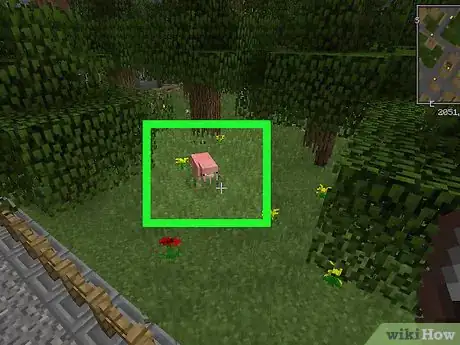
- Pigs, Rabbits, Cows, Chickens, and Sheep follow you around when you bring their respective favorite food, and you can breed them with it too! Pigs and Rabbits love Carrots, Cows and Sheep love Wheat, and Chickens love Seeds! After leading them to your base, just enclose them in a pen either 2 blocks high or made from Fence Posts!
- Ocelots are another passive but skittish mob. In order to tame one, have raw fish in your hand and wait for it to come towards you. The tame will not come up if you trap or enclose it.
- Llamas are another pseudo-passive mob. They have to be mounted until they trust you. Once you see hearts, click your inventory and place a carpet block on it. Note that you can attach chests to it to carry items. The amount of storage room you have depends on its amount of health.
- You can leash it with a lead to attract other llamas and create a caravan. They'll all follow you in a single file line as long as you have a llama leashed. They'll wander off if you don't. In order to "park" them, just attach the leashed llama to a fence post and they'll all stay there.
-
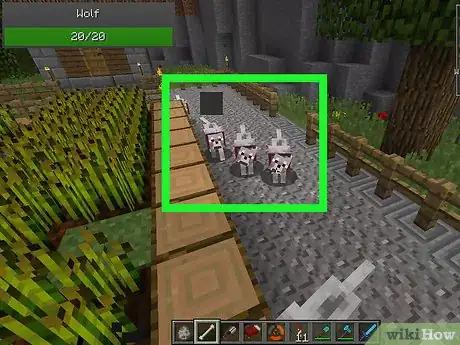
4Tame neutral animals. Wolves need some time before they trust you enough.
- Wolves need to be given food before they are considered tamed. For wolves, just feed them bones and they’ll immediately be tamed!
- Bones can be acquired from killing skeletons and fishing, while fish can be obtained through fishing!
-
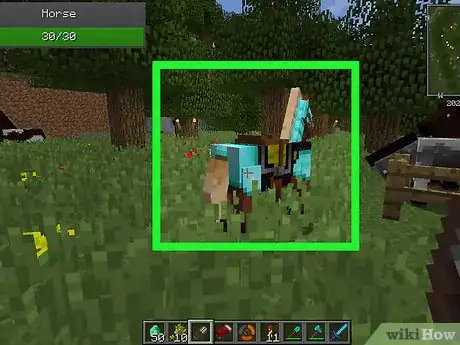
5Tame Horses. Horses (and its Donkey and Mule variations) are a bit stubborn, but once tamed, you can ride them to great distances and leap up to 2 to 5 blocks high! You can also armor your Horses with Horse Armor to make use of them in battle, and use the Mules and Donkeys to carry extra stuff!
- Taming these three animals involve mounting them by right-clicking or pressing LT/L2, being bucked off by the horse, and then repeating until they exhibit floating hearts above them. Afterwards, you can place a saddle (right-click or LT/L2) on them and control their movements! You can also place your Horse Armor on your regular horses or a chest on your Donkey and Mule to carry an additional 15 items with it!
-
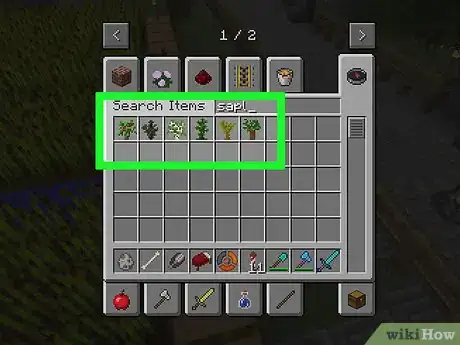
6Plant some trees. Trees are probably the most indispensable renewable resource in the game. Saplings are dropped by tree leaves when you punch them or when they rot away without the trunk to support it, and are infinitely renewable. Since Wood is one of the most useful materials in the game, planting a few Saplings would ensure a steady supply of Wood you can indefinitely sustain.
-
7Experiment! There are a lot of ways you can exploit the mechanics of the game, like making an infinite cobblestone generator from a bucket of lava and some water, or a steady supply of gold from a "trapped" nether portal, or even an automatic "mob grinder" that spawns and kills all those nasty zombies, creepers, and skeletons for you! Search the Internet, ask tips from other players, or even figure things out for yourself. Minecraft is a game with near-limitless possibilities, after all!
Advertisement
Community Q&A
-
QuestionWhat weapons would be good for PVP?
 Community AnswerMost weapons are good, but to stay entirely safe, you will want to rely on bows, potions, and splash potions. Only do melee combat if you have to.
 -
QuestionIs trident better than diamond sword?
 PenguinoCommunity AnswerA diamond sword would be better than a trident for close combat, but a trident would be better for long-range if you have loyalty (loyalty means that your trident will come back to you).
 -
QuestionCan I go into creative build then back into survival?
 Seasalt25Top AnswererYes, you can do this as long as you have cheats enabled on your Minecraft world.
Advertisement
About This Article
Advertisement
