X
wikiHow is a “wiki,” similar to Wikipedia, which means that many of our articles are co-written by multiple authors. To create this article, volunteer authors worked to edit and improve it over time.
This article has been viewed 69,952 times.
Learn more...
Splitting a video is one of the many features that Sony Vegas Pro has for you in store. This application has made made splitting as easy as pressing a single button! This article will guide you to split a video easily using Vegas Pro.
Steps
-
1Open Sony Vegas Pro. You can search the start menu to open the software or open it from your desktop (provided you checked the option to create a desktop icon while installing).
-
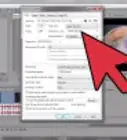
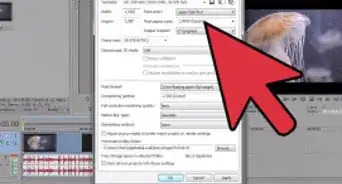
2Open a video. Select the File drop-down menu at the top-left side of the screen to open the list of options. Select Open to open a dialogue box to locate your video. Make sure that the video is in the format supported by Vegas Pro. Read How to Convert Video to MP4 to learn more.Advertisement
-
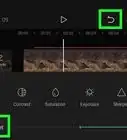
3Zoom the video timeline to ensure accurate splitting. Select the + icon on the bottom-left side of the screen to zoom the timeline for your convenience. Most video editors keep a division of one second for accurate editing.[1]
-
4Use the mouse pointer to locate the place from where the video is to be split. Move the cursor to the part of the video from where it is supposed to be split. Click when you've spotted the place. A thin blinking vertical line will appear to mark the place.
-
5Press S to split the video. As soon as you press S, the video will split from the specified point.[2]
-
6Drag one part of the video a little away from another. Dragging will give the split effect to the video. Not dragging them away from one another will make the video appear to be continuous.


Advertisement


References
About This Article
Advertisement