This article was co-authored by OrthoNOW. OrthoNOW is a network of orthopedic, rehabilitative, and emergency care professionals based in the Miami, Florida metro area. Providing services such as diagnosis, digital x-ray, ultrasound, fluoroscopy, MRI, and pre-concussion testing, OrthoNow focuses on an alternative urgent care delivery model. OrthoNOW was founded by Alejandro Badia, MD, FACS, who completed his MD at New York University and completed fellowships at Allegheny General Hospital in Pittsburgh, Pennsylvania and in Freiburg, Germany.
There are 10 references cited in this article, which can be found at the bottom of the page.
wikiHow marks an article as reader-approved once it receives enough positive feedback. In this case, 90% of readers who voted found the article helpful, earning it our reader-approved status.
This article has been viewed 116,638 times.
Hip replacement surgery can restore your mobility and relieve your joint pain. In fact, more than 285,000 total hip replacements are done each year in the United States alone.[1] But a successful recovery really depends on how well you take care of yourself after hip replacement surgery. One of the most challenging daily activities post surgery is taking a shower, as your mobility is limited and you cannot lean on your new hip for support. In this article, we’ll show you how to modify your bathroom, protect your incision in the shower, and more. Let’s take a look!
Things You Should Know
- Purchase a shower seat and non-slip mats for your floors and the bottom of the tub. Move all of your showering items into the shower or within easy reach.
- Wait 3-4 days after surgery to take your first shower. If you don’t have waterproof bandaging over your incision, cut and tape plastic bags over the site.
- Use a sponge with a long handle to clean your lower body, making sure not to scrub or bump your incision (just let the water flow over it).
- Ask for help if you need it. A family member, friend, or caregiver can help you undress, get situated in the shower chair, and wash while you recover.
Steps
Modifying Your Bathroom Before the Surgery
-
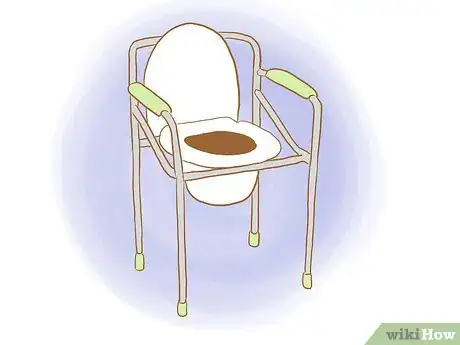
1Purchase a shower seat or bathroom commode chair at your local medical supply store.[2] This will allow you to sit on a seat while bathing, making soaping and cleaning your body with a sponge a lot easier. A bath seat also ensures you are not bending your hips greater than 90 degrees when sitting, it ensures your bottom is supported, and it helps you stand up easily after bathing.[3]
- Look for a metal, non-skid shower chair with a back to add more stability. Metal chairs are also more durable than plastics.
- Use a chair that is 17-18 inches higher than the floor to avoid bending your hips more than 90 degrees.[4]
- Try to get a shower chair with a footrest so if you are trying to shave your legs, you do not have to bend over.
-
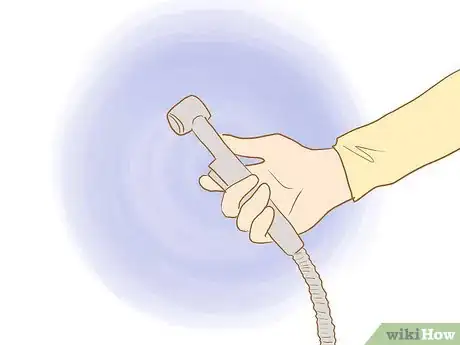
2Have a bidet installed near your toilet. A bidet allows you to clean up after you go to the bathroom by having warm water sprayed on your bottom to wash and clean it. It also lets out warm air to dry your bottom.[5]
- It may be a good idea to also install a handheld showerhead. This will allow you to direct or control the flow of water on your body, especially if you are sitting down while showering.
Advertisement -
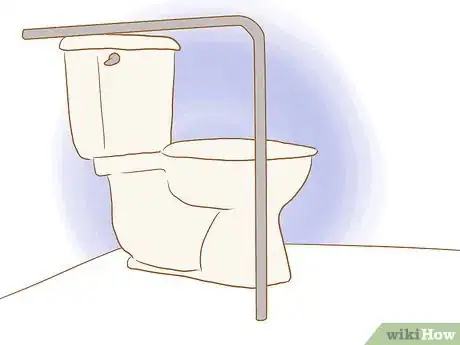
3Install horizontal and vertical grab bars by your toilet.[6] Horizontal bars will help you get in the bathtub and lower yourself down to a sitting position in the toilet, while vertical grab bars will help you get up from sitting on the shower seat or from the toilet.[7]
- Remember not to grab towel racks for support because these are not strong enough to hold your weight; you might end up falling.
-
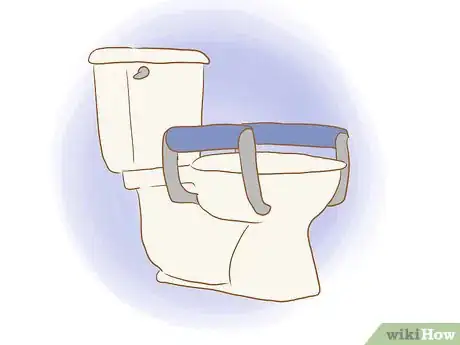
4Raise your toilet seat. This will prevent you from flexing your hip joint too much when sitting on the toilet after the operation.[8] One of the precautions after hip replacement is avoiding hip flexion greater than 90 degrees so you want to avoid bringing your knee up higher than your hip when sitting.[9]
- You can also purchase a detachable elevated seat cover or have a toilet safety frame installed. In your pre surgery consultation, ask your orthopedic surgeon where you can purchase a toilet safety frame.
-
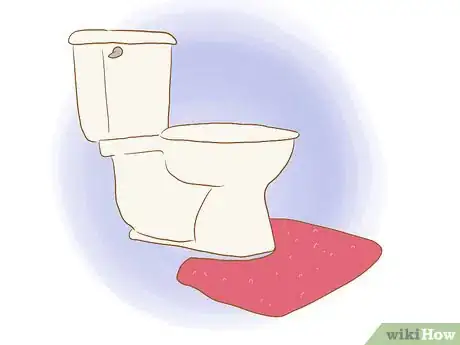
5Place non slip rubber suction mats or silicone decals in the tub and on the floor surrounding the toilet seat. This will prevent any slips or falls when you are using the bathroom post surgery.
- Make sure you also place a non slip or non skid bath mat outside the bathtub or shower door to help you get a firm footing after you bathe or shower.
-
6Move all bath toiletries so they are within easy reach. Position your shampoo, soap, and sponge within reaching distance from your shower seat so you don’t have to exhaust yourself trying to access them post surgery.
- If possible, switch out bar soap for liquid soap. You can easily drop bar soap by accident, which will force you to reach or bend for it. Liquid soap will be easier to use.
-
7Place a stack of clean towels in the bathroom. You can store them on a low shelf in the bathroom or in a spot that is a short distance away and easy to access so you can dry yourself off in the bathroom, rather than having to get up and look for one.
-
8Keep in mind you will instructed not to shower for 3-4 days after your surgery. This is to prevent your incision and bandages from getting wet. Your doctor will let you know when you can shower after your surgery.[10]
- In the meantime, wash your upper body with the usual soap and water by using the sink or a small basin. You may ask the nurse at the hospital to help you wash or clean your private areas/genitals. They will know how to assist you.
- Since you won’t be doing any other tasks other than to get well after your surgery, you won’t be perspiring much so just try to relax and focus on resting.
-
9Get a referral for an occupational therapist to assess your bathroom. If you aren’t sure what changes may be necessary or best for your bathroom set up, your orthopaedic or rehabilitation doctor can refer you to an occupational therapist who is qualified to look at your bathroom and make safety recommendations before surgery.[11]
Showering After Surgery
-
1Protect the surgical site from water if waterproof dressings are not used. Most surgical sites have waterproof dressings so your doctor may already permit you to take a shower provided you take some precautions. But if they are not used, your doctor will advise you not to get the dressing on the surgical site wet as a moist dressing is a breeding ground for harmful microorganisms that could lead to an infection.[12]
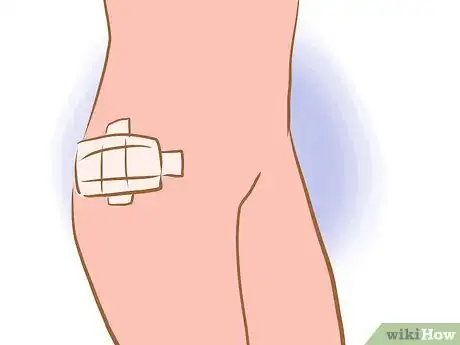
- To protect a surgical site without waterproof dressings, get a plastic bag and cut it so it just covers the surgical dressing (should be at least a few inches larger than the dressing). Make two plastic bag covers. The second one is a backup in case the first bag has any holes.
- Place the two cut plastic bags on the surgical site. Get tape and secure it. Make sure that a part of the tape touches your skin to prevent water from entering. If you cannot do this on your own, ask someone for assistance.
- You can also use medical or surgical tape, which can be purchased at your local drugstore.
-
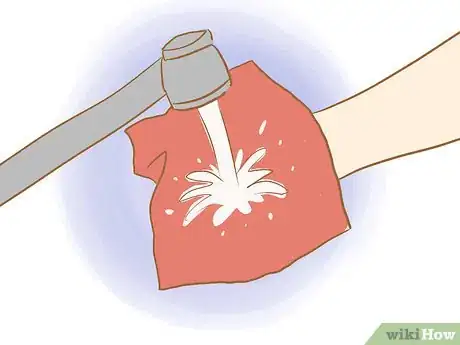
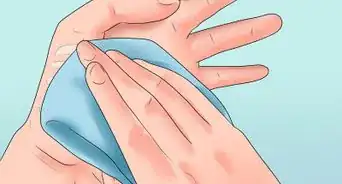
2Use a wet cloth to remove any tape on your skin from the waterproof dressing. Almost all tape on the skin hurts when you remove them. Using a wet cloth on the tape will make it easier to remove the wet tape without hurting yourself.
- Do not to reuse the plastic bag covers as it may rip off upon removal of the tape. Use a new one each time you take a shower.
-
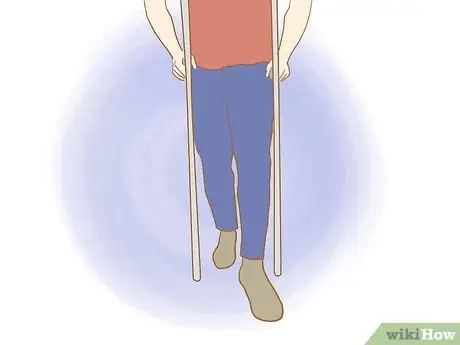
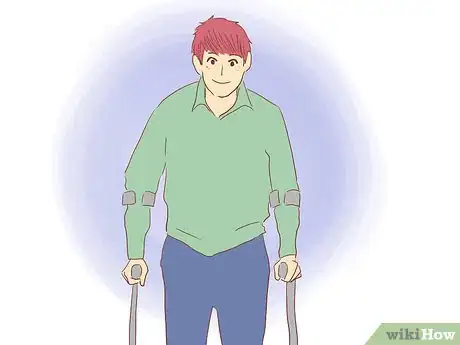
3Move both crutches, followed by the unaffected leg and then the affected leg into the bathroom. Usually, your doctor will provide you with crutches after surgery to avoid putting too much weight on the newly repaired hip.[13]
- Make sure your crutches are placed within reach in the bathroom so you can grab them easily after you’re done showering.
-
4Let someone assist you with taking off your clothes and preparing the shower chair. Having a family member, friend, spouse, or professional home care worker help you do this makes it easier for you to shower and prevents you from stumbling or falling.
- Make sure there is a clean, dry towel within reaching distance, such as on the rubber mat on the floor, just outside your bathtub or close to the shower seat.
-
5With help, sit down on the shower chair. If you feel comfortable bathing on your own, instruct your assistant to stay outside of the bathroom where they can hear you in case you need help.
-
6Turn on the shower and begin to wash yourself. Use a shower sponge with a long handle to clean your legs, feet and toes. Then, use the sponge to clean the rest of your body.
- You can stand up from the shower seat once or twice when bathing as long as you make sure that before you stand up, you dry your hands with a towel nearby and grab the vertical hand bars to support your weight.
-
7Once you are finished bathing, turn off the shower and slowly pull yourself up from the shower seat. Make sure your hands are dry when grabbing the vertical bars or horizontal bars to avoid slipping. You can also have someone assist you as you get off the chair.
-
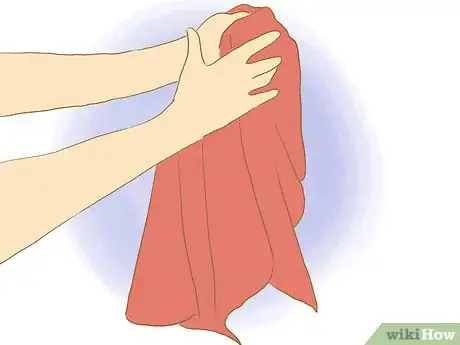
8Pat yourself dry with a clean towel. When drying your body, do not attempt to bend down from your waist beyond 90 degrees and avoid excessive inward or outward turning of your feet when standing. Do not twist your body.
- Hold onto the horizontal bars and make small stomping gestures with your feet to dry them out.
Recovering After Hip Replacement Surgery
-
1Get actively involved in the healing and recovery process. This means using the help and guidance of a health care team, such as your orthopaedic surgeon, your rehabilitation doctor and her team and your loved ones to support your recovery.[14]
- Returning to everyday activities will take time and you may need to make some modifications to your lifestyle as you recover. Performing basic activities like bathing, walking, running, toilet activities and sexual activities will need to be done in a modified way to account for your new hip.
-
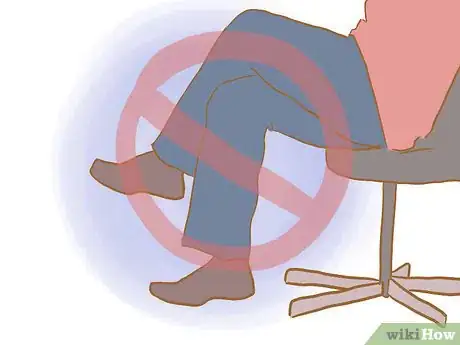
2Do not cross your legs for eight weeks after surgery. This could lead to the dislocation of your new hip joint.[15]
-
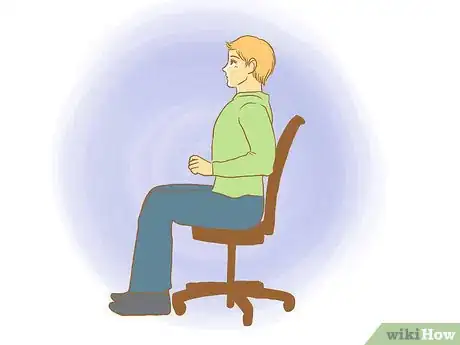
3Avoid bending your hips beyond 90 degrees or leaning forward when sitting. Do not bring your knees higher than your hip joint and always keep your back straight when sitting.
-
4Get someone else to pick something off the floor for you while you are sitting. This is especially important when bathing. If the soap falls out of your hand while bathing, your knee jerk response may be to bend down and pick it up.
- Using liquid soap instead of bar soap will limit the chances of this happening.
- Anything you have dropped on the floor while bathing must not be picked up. Instead, dry yourself and get out of the shower or bathroom to ask for assistance from a trusted family member or a caregiver, in picking up the soap or whatever has been dropped to the floor.
Understanding Hip Replacement Surgery
-
1Understand how your hips work. Your hip joint is composed of a ball and a socket. The ball-like structure is attached to the long bone of the thigh called the femur, while the socket is located on the hip bone or pelvis. When you move your legs, this ball rotates into the socket (acetabulum).[16]
- In a healthy hip, the ball-like structure is able to glide smoothly in any direction inside the socket. This is because the smooth cartilage, which is a flexible tissue covering the ends of the bones, serves as a cushion.
- If the smooth cartilage gets worn out or damaged due to a fall or an accident, the movement of the ball and socket becomes rough and rubs against each other. This causes damage in your hip’s bone structure and reduces the mobility of your legs.
-
2Be aware of factors like age and disability that could lead to hip replacement surgery. While there is really no absolute weight or age criteria for total hip replacement, most people who need hip replacement surgery are within 50-80 years of age. Orthopaedic surgeons will evaluate hip issues on a case to case basis but will often recommend it if you demonstrate:[17]
- Hip joint pain that severely limits your ability to do basic, daily activities.
- Hip joint pain that is present both at rest and during movement, day and night.
- Hip joint stiffness that limits your hip joint’s normal range of motion, especially when lifting your legs or while walking or running.
- If you have a degenerative hip joint condition, such as osteoarthritis, rheumatoid arthritis, bone necrosis, fracture or in lesser cases, hip joint diseases found in children.
- If you are not getting enough support or pain relief from medications, conservative treatment and orthopaedic assistive devices for walking such as a cane or walker.
-
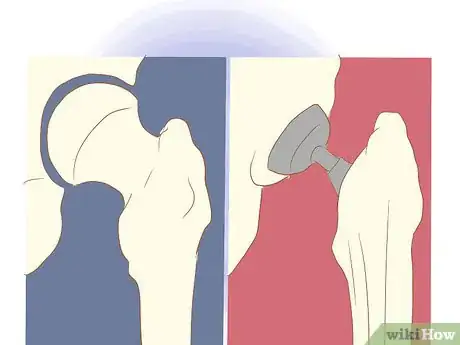
3Ask your doctor if you require partial or total hip replacement. In partial hip replacement, only the head of the femur is replaced by a metal ball so that it will glide into the socket smoothly. In a total hip replacement, both the ball and socket are replaced.[18]
- Total hip replacement surgery or hip arthroplasty, is a surgical procedure where the damaged bone and cartilage of the hip joint is removed and replaced with prosthetic parts.
- A socket made of a durable plastic replaces the worn out socket. It is then stabilized using a cement-like material. Your doctor may also just leave it in the socket to allow new bones growing in the area to stabilize it.[19]
- Total hip replacement surgery will eliminate debilitating pain in your hip joint and help you resume normal activities such as bathing, walking, running, driving, etc. which have become virtually impossible to do pre-operation due to your injured hip.[20]
-
4Try non-invasive treatments before getting hip replacement surgery. Not everyone who experiences hip joint pain are good candidates for hip replacement surgery. Even if you are a good candidate for surgery, your doctor will almost always prescribe non-invasive procedures first to treat your hip joint pain[21] such as medications, exercise, and lifestyle modification such as losing weight and a physical therapy program.
- Your doctor will only recommend hip replacement surgery when these non-invasive treatments have not adequately helped you recover and resume your daily activities.
References
- ↑ http://www.hcup-us.ahrq.gov/reports/projections/2012-03.pdf
- ↑ OrthoNOW. Orthopedic Professionals. Expert Interview. 13 July 2021.
- ↑ http://orthoinfo.aaos.org/
- ↑ Justesen, S., 2009, July 1
- ↑ http://www.nlm.nih.gov/
- ↑ OrthoNOW. Orthopedic Professionals. Expert Interview. 13 July 2021.
- ↑ http://www.nlm.nih.gov/
- ↑ http://www.nlm.nih.gov/
- ↑ http://orthoinfo.aaos.org/
- ↑ http://www.nlm.nih.gov/
- ↑ http://www.nlm.nih.gov/
- ↑ Best, C., 2008, September 15)
- ↑ Schoen, D., 2000, January 1
- ↑ OrthoNOW. Orthopedic Professionals. Expert Interview. 13 July 2021.
- ↑ http://orthoinfo.aaos.org/
- ↑ Callaghan, J., Rosenberg, A., Rubash, H., 2007
- ↑ http://orthoinfo.aaos.org/
- ↑ http://orthoinfo.aaos.org/
- ↑ (Kennon, R., 2008, January 1)
- ↑ http://www.webmd.com/
- ↑ http://orthoinfo.aaos.org/
About This Article
Showering after your hip replacement surgery can be a challenge, but with the right preparation, you’ll manage. Buy a shower seat from a medical supply store or online so you won’t need to put pressure on your hip. If your doctor instructs you not to shower for a few days after your operation, use wet wipes to clean yourself. You’ll also need waterproof dressings to protect your surgical site in the shower. Don’t be afraid to get a family member or your home care worker to help you undress and get to the shower. Then, shower while sitting down in the chair. It’s best to get grab bars installed to help you get in and out of the chair. For more tips, including how to make it easier to go to the toilet after hip replacement surgery, read on.
















Medical Disclaimer
The content of this article is not intended to be a substitute for professional medical advice, examination, diagnosis, or treatment. You should always contact your doctor or other qualified healthcare professional before starting, changing, or stopping any kind of health treatment.
Read More...