This article was co-authored by Anthony "TC" Williams. Anthony "TC" Williams is a Professional Landscaper in Idaho. He is the President and Founder of Aqua Conservation Landscape & Irrigation, an Idaho Registered Landscape Business Entity. With over 21 years of landscaping experience, TC has worked on projects such as the Idaho Botanical Garden in Boise, Idaho. He is a Idaho Registered Contractor and a previously Licensed Irrigator in the State of Texas.
This article has been viewed 140,899 times.
While the task of screening a porch is one that does take some time and attention to detail, the process can usually be managed over the course of a weekend without much trouble. Requiring the use of a few basic hand tools and supplies, a porch screen installation involves preparing the porch itself followed by creating a framework that will support the screen. It is possible to screen a porch all by yourself, or manage the project with the help of a couple friends.
Steps
Preparing the Porch Area
-
1Clear the area. This involves removing all furniture and plants from the porch area. Doing so will create a safe work space that is free of hazards and will allow you to see all the details of the space that you might need to alter or work around.
-
2Clean the floor and ceiling thoroughly. Having a clean, fresh space will make it much easier to identify any alterations that might be necessary before installing the frame and mounting the screening.Advertisement
-
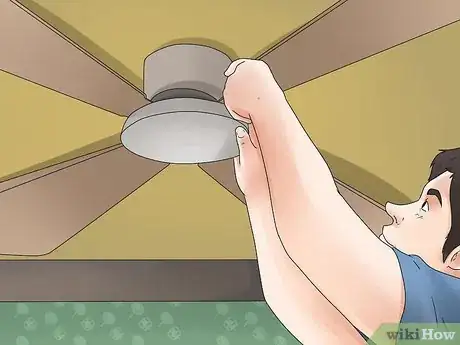
3Install ceiling fixtures. Before beginning on the full porch screen, make sure to install any ceiling panels or ceiling fans you may want on your porch. Obviously, ceiling fans must be installed before ceiling panels to allow the wiring to be installed properly.
-
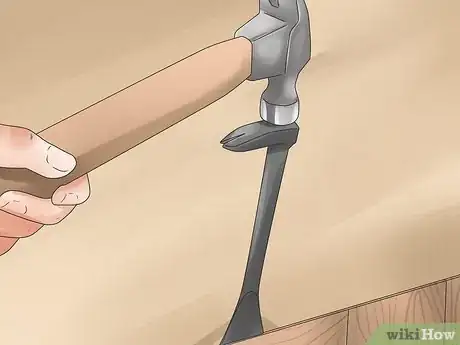
4Remove old battens. Using a hammer and pry bar, remove any wood battens that may be attached to the existing porch frame.[1]
- A batten is simply a squared piece of wood or metal used to hold the frame in place.
Installing the Sill Plates
-
1Know the basics. Sill plates (also sometimes referred to as "sole plates") are usually just pieces of pressure-treated wood, often 2x4 lengths cut to measure, that are attached horizontally along the floor and ceiling of the porch area. Sill plates function as the base for the screen frame as they effectively create a network between the existing supports of the porch roof.
-
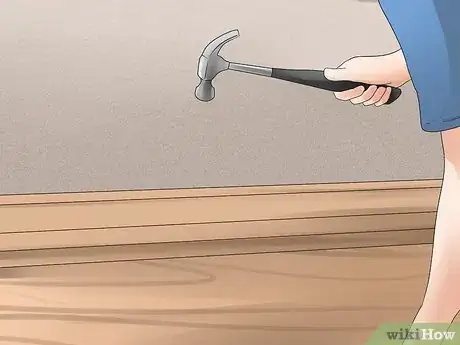
2Create the sill plate perimeter. Install the wood around the perimeter of the porch, making sure the corners are square (you can use a framing square for this purpose).[2]
- On a wooden porch, the plates can be nailed into position. With a concrete porch, using a drill and masonry screws or a masonry nail gun will be required.
-
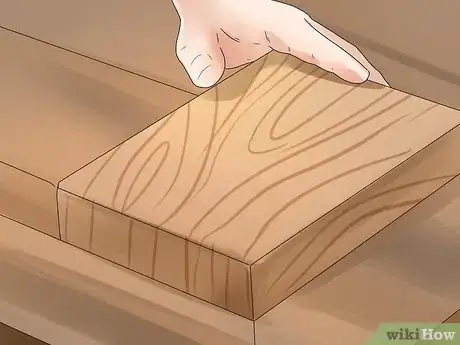
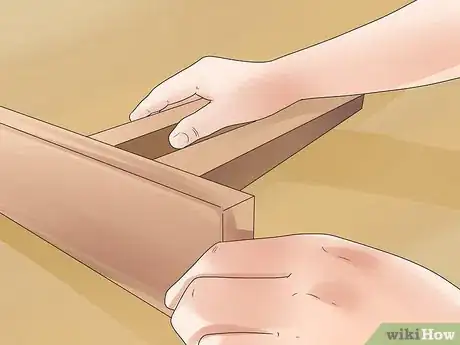
3Add an extra layer. To provide a nice base for the interior trim work, attach another layer of untreated wood on top of the sill plate.[3]
Adding the Screen Frames
-
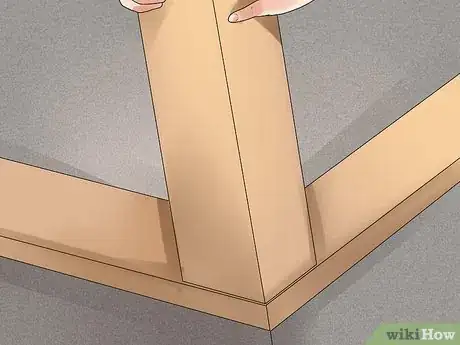
1Add the wall studs to the sill plate frame. The studs are heavier lengths of wood that attach to the porch walls, running vertically from the floor plates to the ceiling plates. As with the plates, nails can be used to affix the studs to a wooden structure, while a masonry nail gun or masonry screws are necessary to secure the studs to brick or other types of masonry walls.
-
2Install the wall studs. Be sure to check the width of your screens. Most screens are three feet wide, so space your studs three feet apart, measuring from the center.[4]
- Important: For door frames, use two wall studs on each side of the door. One for attaching the screen, and one for the door hinges.
-
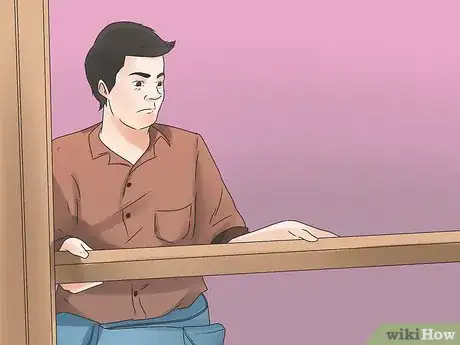
3Position and attach the balusters and rails within the screen frame. These are the horizontal pieces that help to provide stability to the overall frame.[5] Use the measuring tape, chalk line, and level to make sure the rails and balusters are positioned properly before securing the pieces in place with the hammer and nails.
-
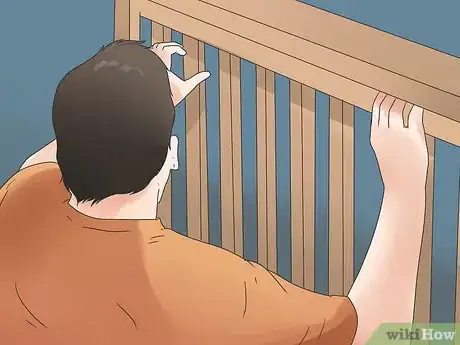
4Attach all pieces together. Each individual frame piece needs to be screwed (or nailed) together. Make sure you attach the balusters to the rest of the frame to allow for maximum stability.
- Once the rails and balusters are firmly affixed to the sole plates and wall studs, the frame is complete.
Attaching the Screens
-
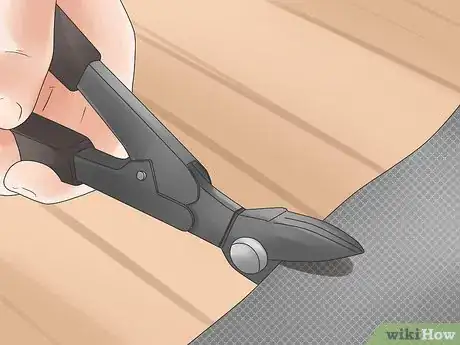
1Cut the screens to size. Cut sections of screening to fill in the spaces within the framework. Make sure to leave a little excess to allow room for error.[6]
-
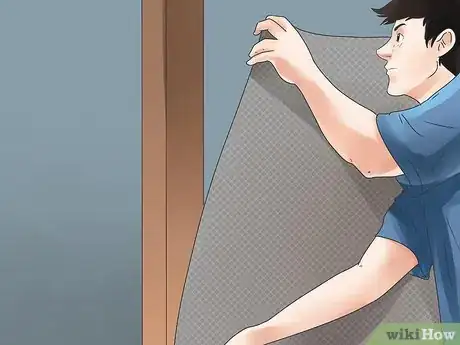
2Attach the screens. Begin at the top middle of the opening, and secure the screen using the staple gun. Working toward the outer area of the space, smooth the screen and staple at regular intervals. Make sure that the screening lays flat and is stretched taut as you go.[7]
- Once the top is secured, staple the sides and bottom, always stretching the screen to make sure it remains taut. Continue until the screen is firmly in place across the expanse of the framework.
-
3Cut off the excess screen. Using a utility knife, trim off the extra edges of the screening material, outside of the the staples.[8]
- You might consider using more durable screening material on the bottom part of the screen, especially if you have pets who might rub up against the screen or scratch it with their claws.
Applying the Finishing Touches
-
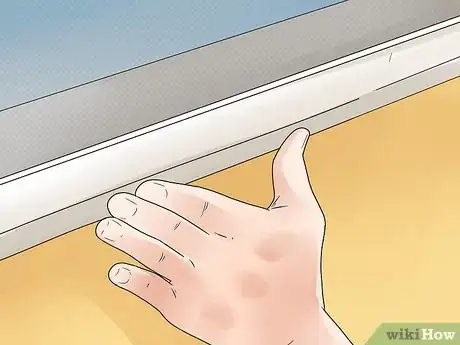
1Cover up the seams. Use wood strips to hide the stapling along the frame, providing a more finished appearance. Consider attaching the strips using wood screws, since this will make it easier to remove the strips and replace a section of torn screen if necessary.
-
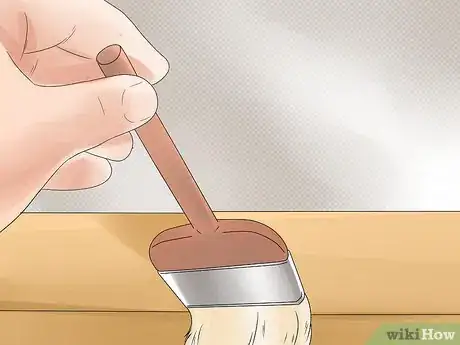
2Paint or stain the wood. Consider painting or staining the visible wood of the porch (especially the pieces you just added) to match the rest of the house so that the color scheme flows seamlessly into the new porch addition.
-
3Clean up and enjoy. Make sure you clean up the mess that inevitably accumulates during a project like this. Sweep the floor and return any plants or furniture that you previously removed. Then stand back and admire your handiwork!
Things You'll Need
- Vinyl or Metal Screening
- Pre-cut Sole Plates
- Pre-cut Rails
- Pre-cut Balusters
- Chalk Line
- Level
- Measuring Tape
- Hammer
- Nails
- Drill
- Wall Studs
- Stud Screws
- Staple Gun
- Wood Strips
- Saw
References
- ↑ https://www.thisoldhouse.com/how-to/faster-way-to-install-porch-screens
- ↑ https://www.diynetwork.com/how-to/outdoors/patios-and-decks/how-to-screen-in-a-porch
- ↑ http://www.diynetwork.com/how-to/how-to-screen-in-a-porch/index.html
- ↑ http://www.diynetwork.com/how-to/how-to-screen-in-a-porch/index.html
- ↑ https://www.todayshomeowner.com/video/how-to-screen-in-an-existing-porch/
- ↑ https://www.familyhandyman.com/garden-structures/screen-porch-construction/
- ↑ https://www.todayshomeowner.com/video/how-to-screen-in-an-existing-porch/
- ↑ https://www.thisoldhouse.com/how-to/faster-way-to-install-porch-screens
About This Article
To screen a porch, you'll want to start by creating a sill plate perimeter around your porch, and adding an extra layer of untreated wood on top to provide a nice base for the interior trim work. Then, you'll add wall studs to the sill plate frames and attach the balusters and rails in the screen frame. Once all of the pieces are in place, you can screw or nail them together for stability. Finally, you'll need to cut the screens to size and attach them to the structure with a staple gun. To learn how to cover up the seams on your new screened porch, keep reading!

